healthy recipes, cooking technique + other practices for a life of vibrant energy.
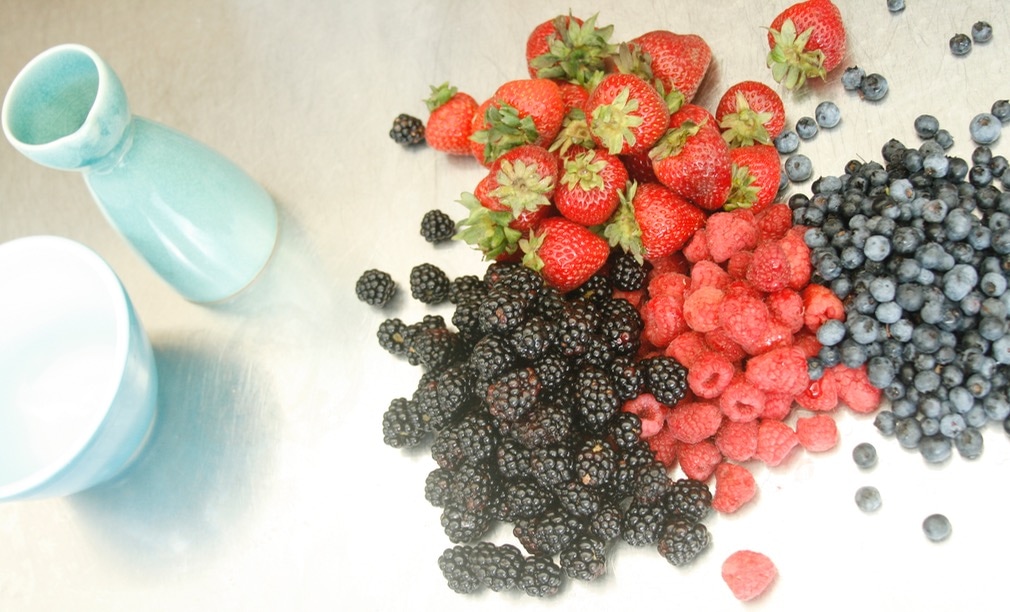
Pushing past June beetles and prickly stems, berry picking is done of love, a tedious process. One in the mouth, one for the basket. As it should be. Just like that, no washing.
It’s a crime to eat fresh berries any other way but unaffected, straight out of the garden. But should an abundance of summer berries become your windfall, a sorbet is a preparation that will render a juicy, tongue stained pardon from the judge. Any combination of the four radiant jewels – raspberries, blueberries, blackberries or strawberries – will work here. The beauty of this method is that it leaves the berries in their raw state, conserving their glow bestowing nutrients in a fun, chilly way. 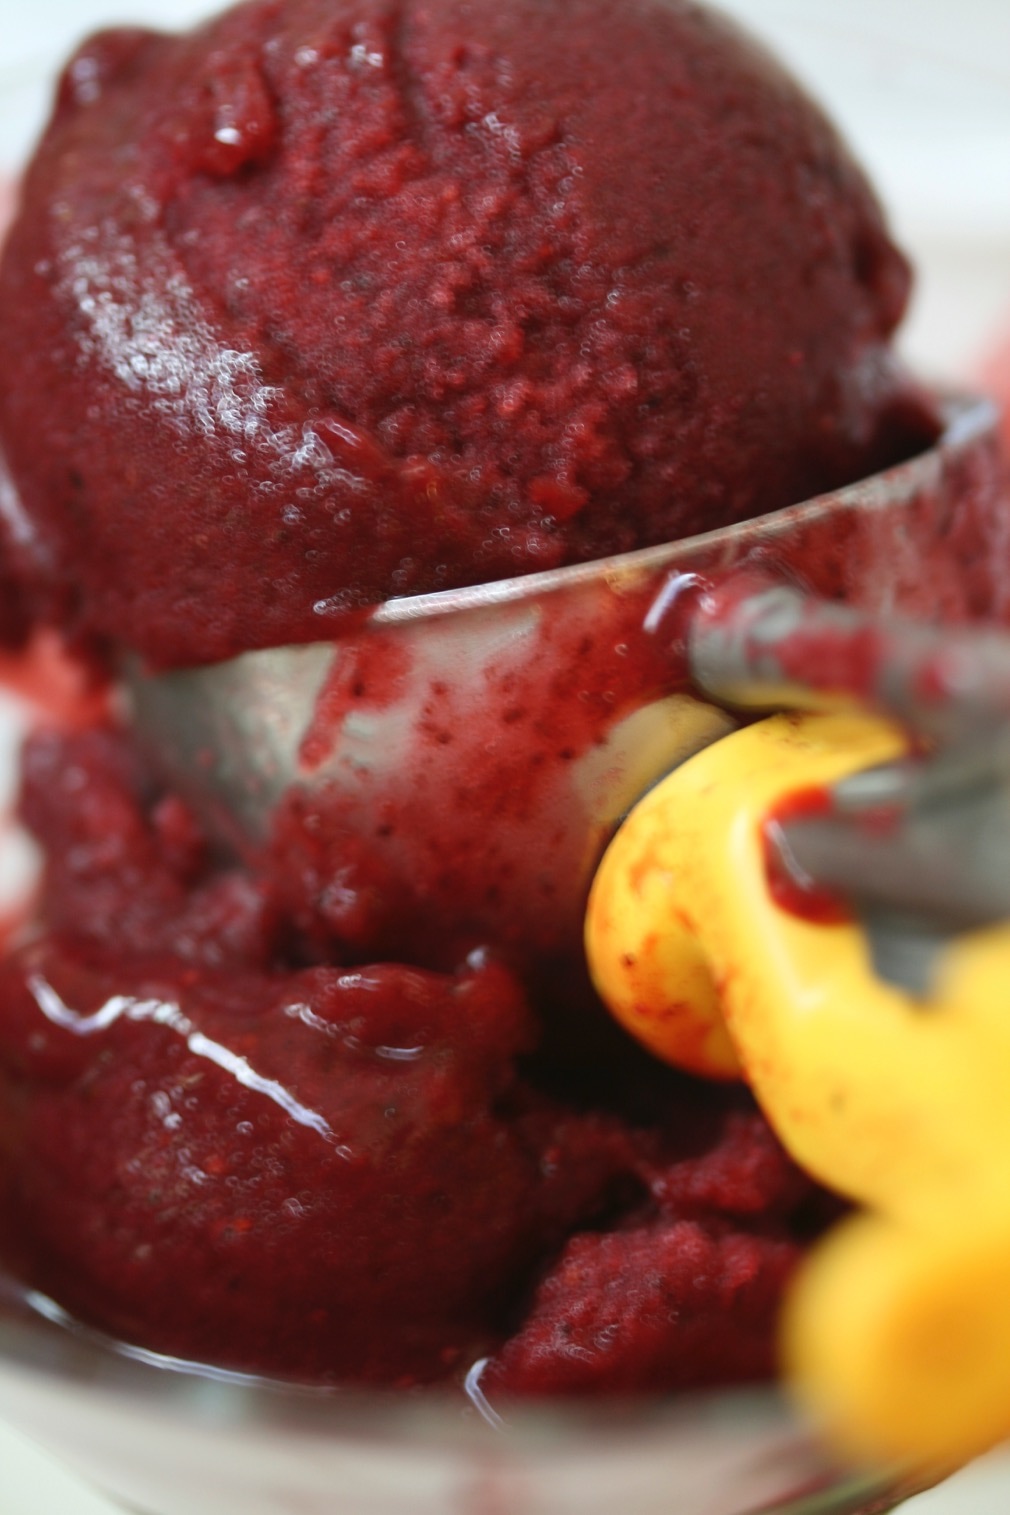
The presentation can be altered to please you: a classic sorbet scooped into beautiful glass dishes or frozen in any size and shape of Popsicle mold. And truth be told, the base for the sorbet could be shaken with ice and your favorite spirit and then strained into a martini glass. It’s summer. All things are possible.
Any discussion of a berry recipe brings up the issue of seeds, which inspires all kinds of reactions. Yes, the seeds are such an important part of the nutritious profile of berries. Especially the ones with hardier seeds: the blackberry and raspberry. Some feel strongly that it is wasteful and irresponsible to strain them out. But others aren’t able to get past the granulated mouth feel the seeds contribute to an otherwise smooth experience. This recipe suggests a compromise. But please skip the straining step if you feel it best. If you are missing one or more type of berry, substitute more of another. Any single variety can stand alone in this recipe as well. And don’t get too caught up with the measurements. More or less of this or that berry is okay. 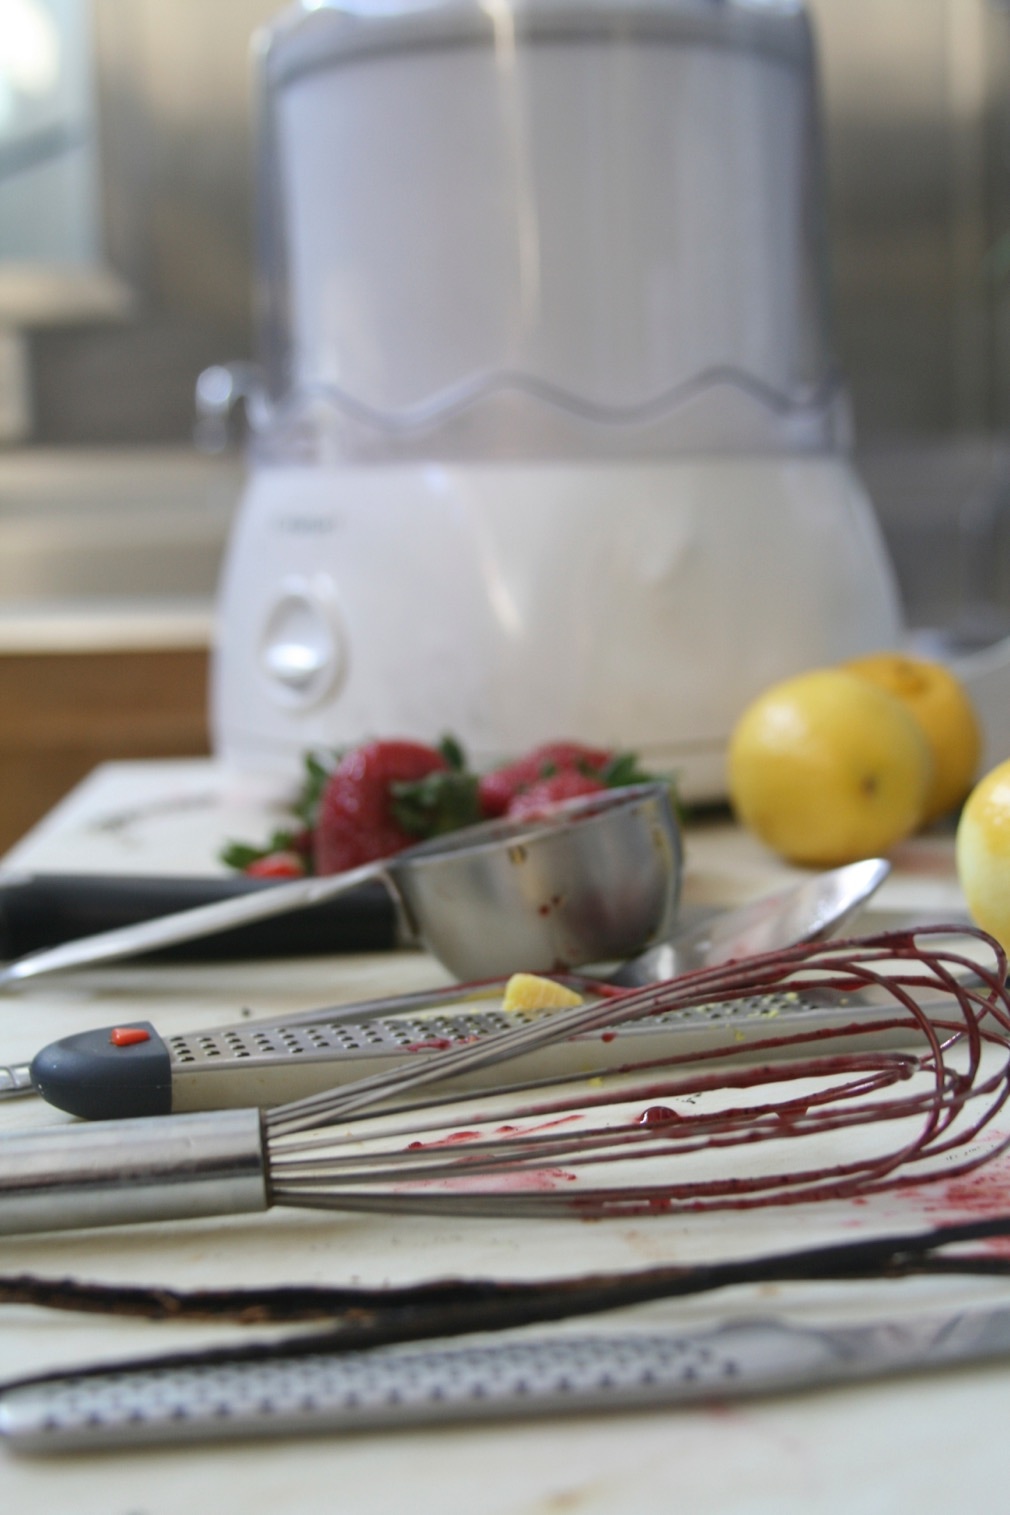
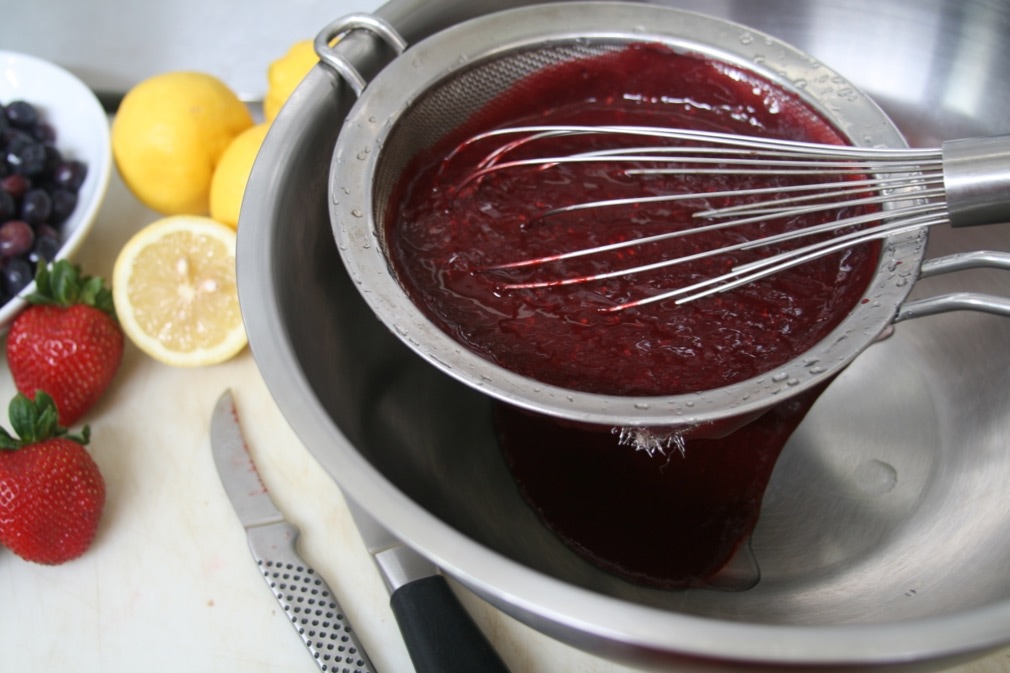
The seeds are going to be strained from the blackberries and raspberries, so start by blending them together. In a blender process the blackberries and raspberries until they are a smooth puree. If your blender stalls and won’t process the fibrous berries, add one tablespoon of cold water at a time until the blades get moving. Pass the puree through a fine mesh strainer into a mixing bowl, pushing out all of the fruit liquid and leaving the seeds behind. Discard the seeds and set the puree aside while you move on to the other berries. Give your blender a quick rinse and put in the strawberries and blueberries. At this point, add the ginger as well. Again, process until smooth. Without straining these berries, add them to the blackberry – raspberry mixture. 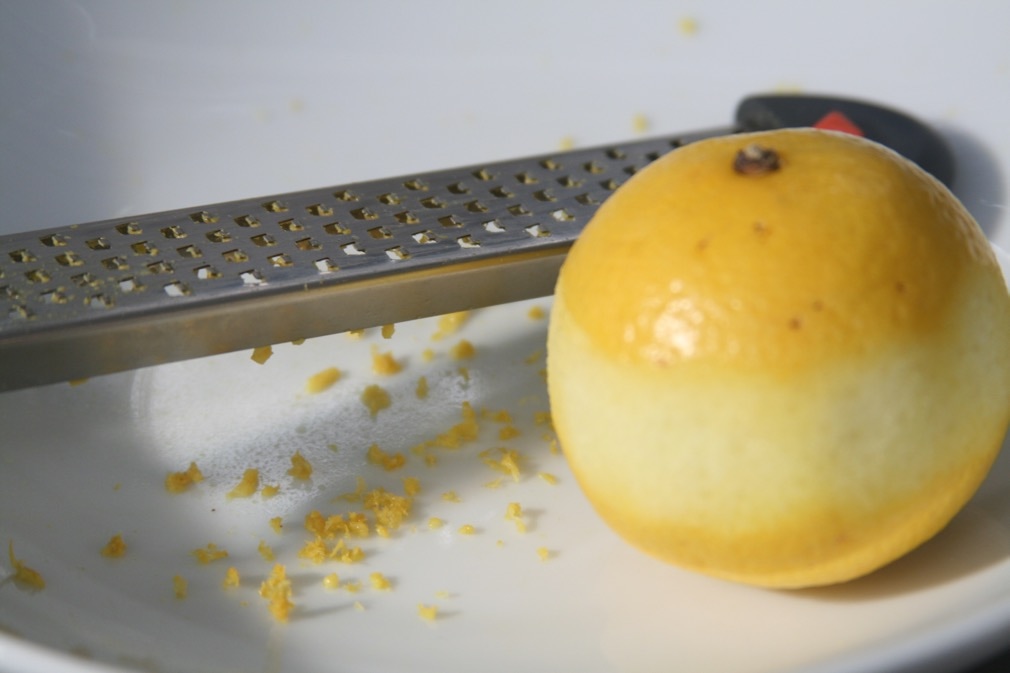

Whisk in the lemon zest and lemon juice, the vanilla and seeds, if using and then on to the sweetener. Agave is recommended, but honey would be fine too.
The sweetness of a berry is unpredictable. That’s part of its charm. Something that looks so juicy can fool. So begin with the least amount of agave. Then taste. Add more sweetener to your satisfaction. With high citrus and warm vanilla, this sorbet can stand without being overly sweet. Follow your palate. Choose your medium: a commercial ice cream maker to process the berries into a sorbet or Popsicle molds. Or, with spiced rum….. 
The Recipe
2 cups each of strawberries (capped and quartered), blueberries, raspberries and blackberries. If you are missing any of the four, add more of the others One quarter inch of fresh ginger, peeled One quarter to half a cup raw, organic agave One whole lemon, zested and then cut in half 1 tablespoon of vanilla extract One quarter inch vanilla pod scraped of seeds, optional Process all of the ingredients, except the vanilla seeds and lemon zest, together in a blender. Strain out the seeds, if you desire. Then add in the vanilla seeds and lemon zest. Taste and add more agave if you like. Freeze in a commercial ice cream machine per the manufacturer’s directions or pour into popsicle molds.
product recommendations
 This quote by Pema Chodron has talked me down off the ledge more than once when I was feeling overwhelmed by life; you know, out of sorts, off balance. I remember it something like this: “you could say that things are always falling apart. Or you could say that things are always coming back together.” I often think about this when I am doing the dishes. And there are always dishes to be done. This idea that things are always coming back together created a huge shift in thinking that changed my life. It’s not that I now love doing dishes. It’s that I no longer resist the reality that they must be done. I began to see the task as an opportunity to restore order, and that made a difference. The cells of all living things are always seeking equilibrium. We are homeostatic to our core. We want to flow, to be at peace with our lives. We crave balance. I came to think of this feeling as being “centered.” Because when I am in that state of mind (and that’s all it really is), I feel focused and calm. That’s so much more fun than feeling chaotic and anxious. But life is always challenging me, pulling me off center. It never stops. It never will. Accepting that reality is the foundation for the various things I’ve learned to do to get back to center, stat. To find my way back, I had to recognize that sometimes I would be off. I am no different than my cells, always dancing between the two states of being, preferring one to the other. Below are some practices we can employ to help us stay centered more often and longer. We are indeed simply practicing these behaviors, tweaking them constantly, honing our skills. Perfection stops being our goal. Coming back home to ourselves as often as possible is the only objective. Your breath is your greatest guide…. Life can push us hard for months, years at a time, making it difficult to stop long enough to feel truly connected to ourselves, to know what it feels like to be calm and at peace. If that’s our starting point, then we will need some time and space to try on the feeling of equilibrium. There is no better practice for stilling the mind, I have found, than connecting to the sound of our own breath. 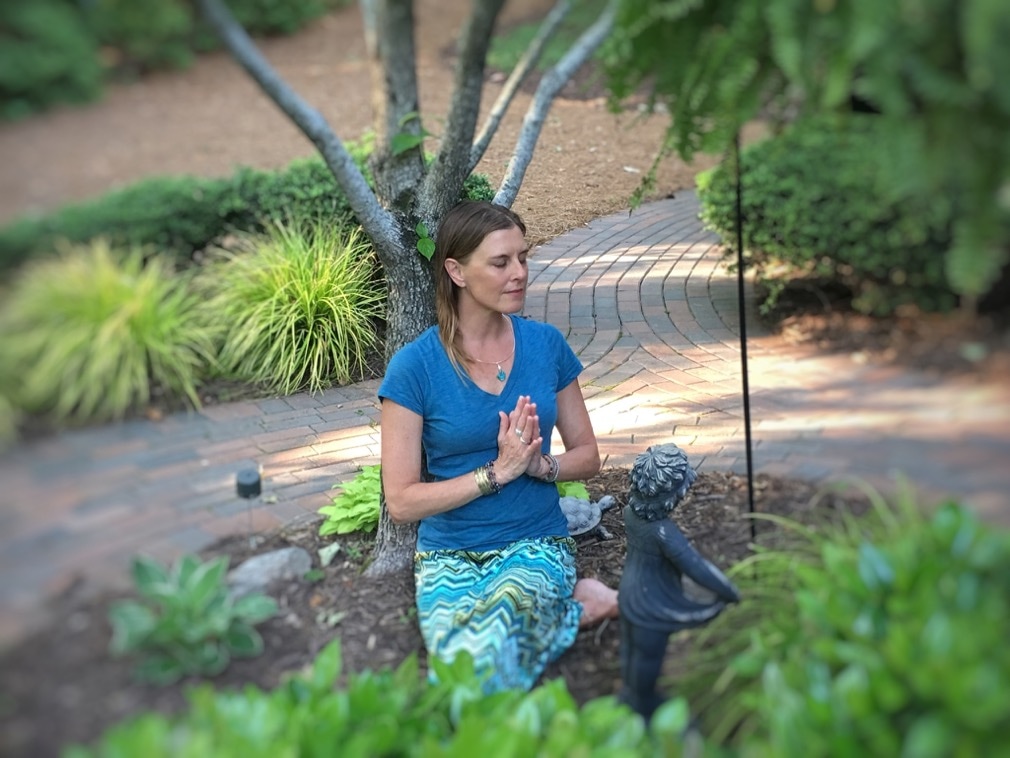 The basis for all meditation practice is using the breath – the sound of ourselves breathing in and out – as a focal point for quieting our minds and calming our bodies. It can be done anytime, anywhere. Doing the dishes, for example. A formal sitting meditation practice is good training for taking this skill off the cushion into the world. But it doesn’t have to be that complicated. Your breath is the only constant thing in your life, until you die. It is with you always. And returning to the sound of it, over and over, is a practice that can change your life. I use this practice all the time to maintain an awareness of what is going on in my body. I will be driving down the road, remember to focus on my breath to quiet my mind and suddenly I will realize that I have been tensing up the muscles in my left foot! Or I will notice that my mind is obsessing over something someone said and that my mood is being affected by it. A few conscious in and out breaths and I can feel my whole body relax and my ruminating mind empty out. Experiment with a loose routine….. I find routines to be a good way of staying grounded within myself. Not the rigid boring kind of routines that require precise day-timers and 20 alarms on our cell phones. Just a general sketch of how our day might flow more sanely with certain habits in place. Having a routine established gives us something to come back to. It is a lifelong process and we are always refining it. I mess around with my routines all the time. Always honing and observing to find what works better. It changes with the seasons, my energy levels, etc. Envision tasks as rituals connected to a deeper meaning….. One of my favorite things every day is opening and closing the blinds. Little daily actions like that can become so boring or annoying. But when you connect a deeper meaning to a thing, it becomes a beautiful ritual. In the morning when I open the blinds, I recognize that I am a part of a circadian rhythm. It feels so good to greet the sunlight. At night when I close them, I am completing that cycle. Setting the tone for rest, slowing down. We can assign meaning to any task. Folding the clothes? Creating order. Making a healthy breakfast? Showing ourselves love. 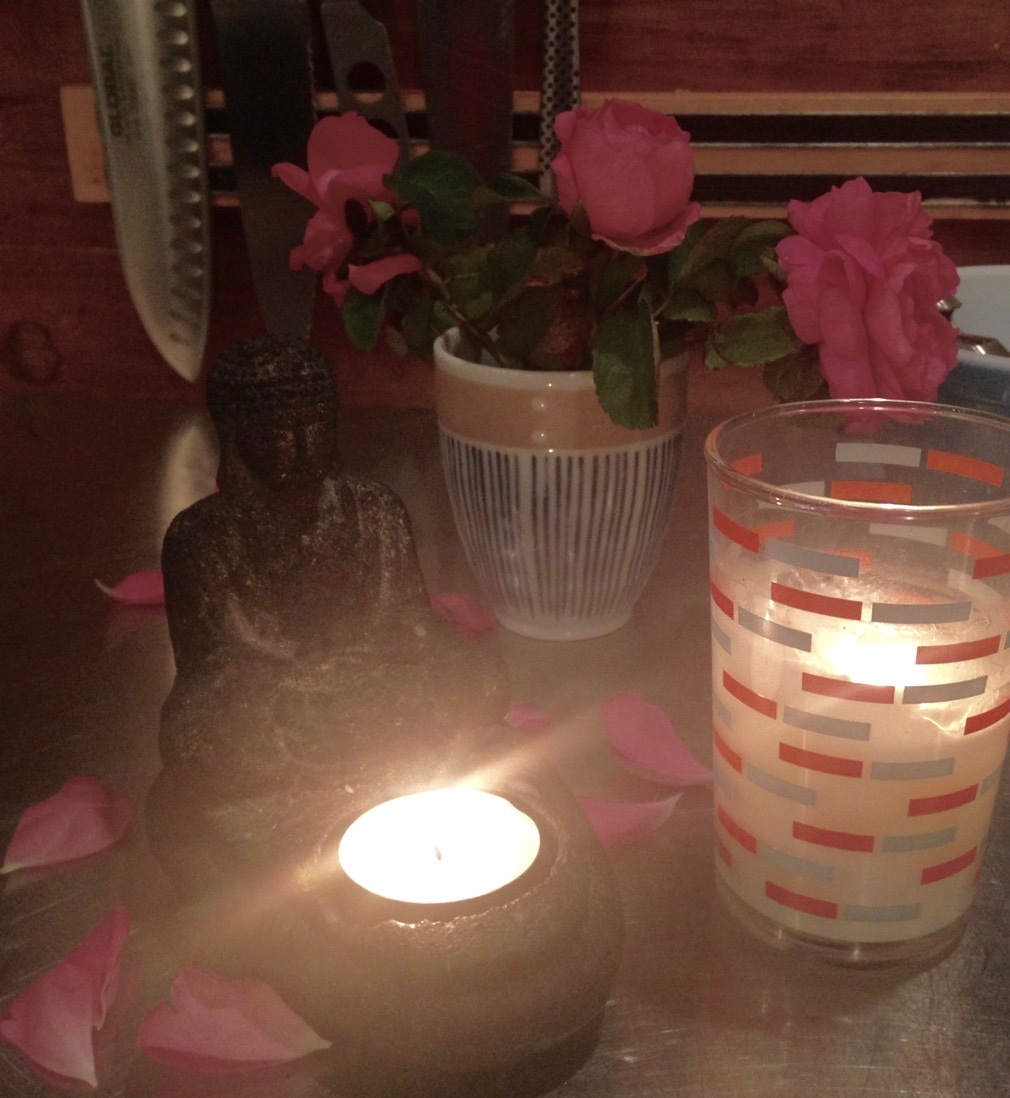 And then there are the little things that can amp up the power of rituals. I light a candle in my kitchen every morning, in honor of my soul. I fall asleep every night focusing on the sound of my breath. These little actions throughout the day bring me back to myself, if even briefly.
Embrace patience…. It’s easy to desire these routines or practices to stay the same and to always be in a state of flow. We get frustrated or angry when our best-laid plans get disturbed by anything. But anything that can mess up our plans, without exception, falls into the category called “life.” Life happens. And we get thrown off center. The practice is to simultaneously seek balance while being detached from needing to experience it at all times. The more we connect with the rituals that connect us with ourselves, the more confidence we gain in our ability to recalibrate faster as time goes on. I don’t fear the chaos, because I have patience on my side. I know I will find my way home to myself, to a state of flow. Give yourself a wide space for finding your way back…. I have to apply this idea especially to my diet when life (vacation, parties, family visiting) pulls me away from what I have learned is best for my body and health. A few days out of my normal eating routine and there’s no way I am going to wake up and bounce right back. Cravings have likely taken over. Or exhaustion gets in the way. So I give myself a day or two to settle back into a way of eating that feels best to me, to slough off the dopamine memory of cheesecake, or whatever. This is true when the house is a complete mess. I no longer expect myself to restore complete order in 2 hours. Instead, I give myself a few days. That feels better. It’s more realistic. And it’s more kind to myself. Identify the most powerful action for re-centering…. It’s different for all of us. And it vacillates constantly. Sometimes the most important thing I can do to get back in balance is to clean the kitchen. Sometimes it’s sitting down and making a list and getting it all out of my head onto paper. Other times it’s getting my ass to my yoga mat to reconnect with my body. The more of these practices you integrate into your life, the more you will intuitively know which one to reach for at any given moment. Be grateful for the things that pull you off center…. The push and pull means we are immersed in a living a full life; which is what we want, right? Gratitude for the experiences that are pulling us off center is powerful. My dog barking when I am trying to rest, for example. Without appreciation for the job he thinks he is doing for me (he is loyal protector), I could get buried in the frustration. Gratitude reminds me that he won’t always be there; it pulls me back into the present moment. Even when I yell at him to hush! We are no different than any other beautiful life process. We ebb. We flow. Constrict. Expand. As we become more acquainted with the rituals and practices that help us feel more centered and at peace, we gain confidence in ourselves to find that place over and over. And we can start to let go of the attachment to things being that way 24/7. It’s a process of coming home, again and again. We go out into the chaos. But we know where home is, we know what centered feels like and we are always working our way back to that sweet spot. __________________________________________ Note: Thank you to the beautiful model in the photo above, Joanne Matson of www.joannematson.com. 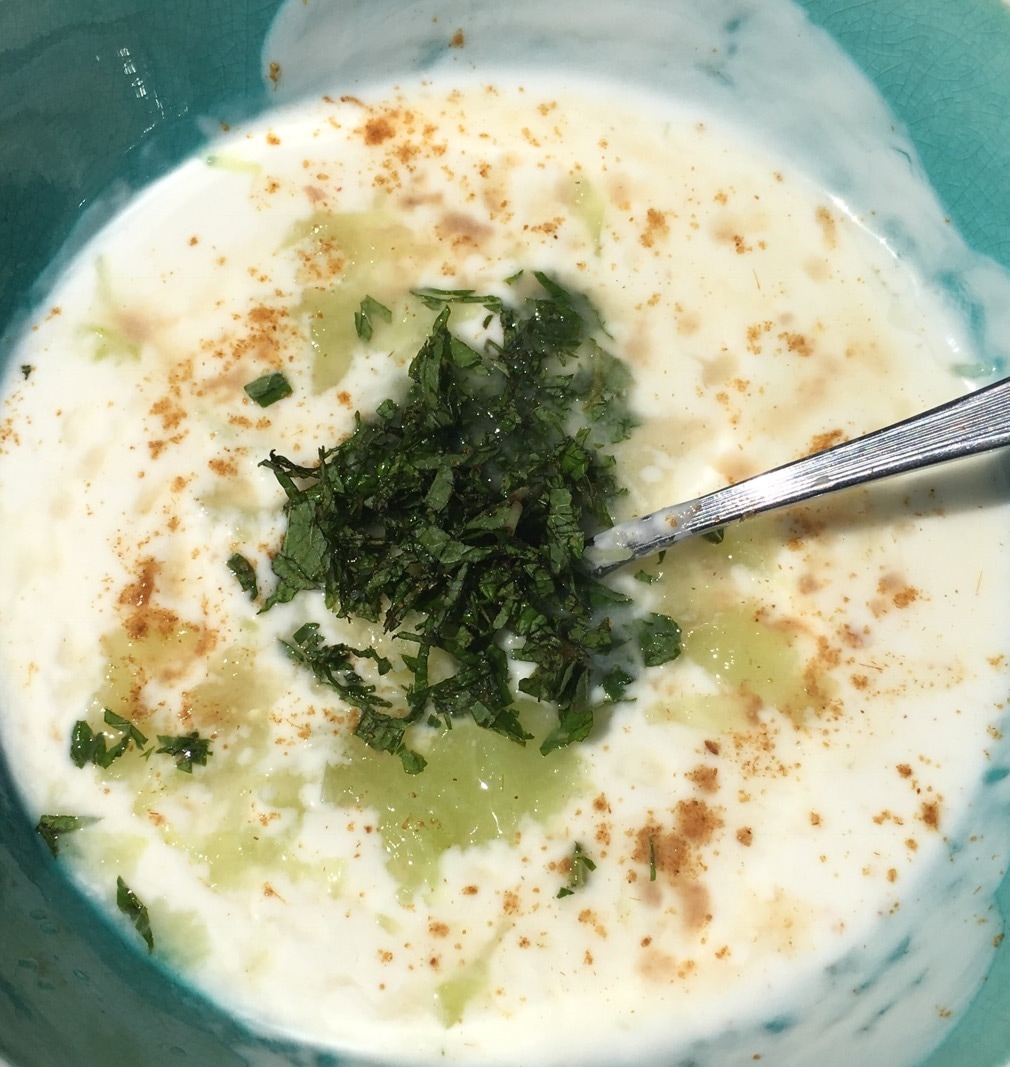
When I make this sauce, it’s usually because I am making some kind of Middle Eastern or Indian rice and vegetable dish. It’s a dairy free version of an Indian raita or a Greek tzatziki sauce. The two are so similar. There are inevitably leftovers, which means for the next few days, I will put this stuff on everything else I eat: scrambled eggs, roasted vegetables, green salad. It’s so versatile; I should keep a batch made at all times.
And when you look at the ingredient list, that’s not such a bad idea. The fermented coconut or almond yogurt has probiotics. There’s vitamin c from the lemon juice. There’s the anti-inflammatory boost from the garlic (you could get crazy and add some fresh ginger too!) and cucumber. And fresh mint, like most fresh herbs, is full of antioxidants and other phytonutrients. Research here. 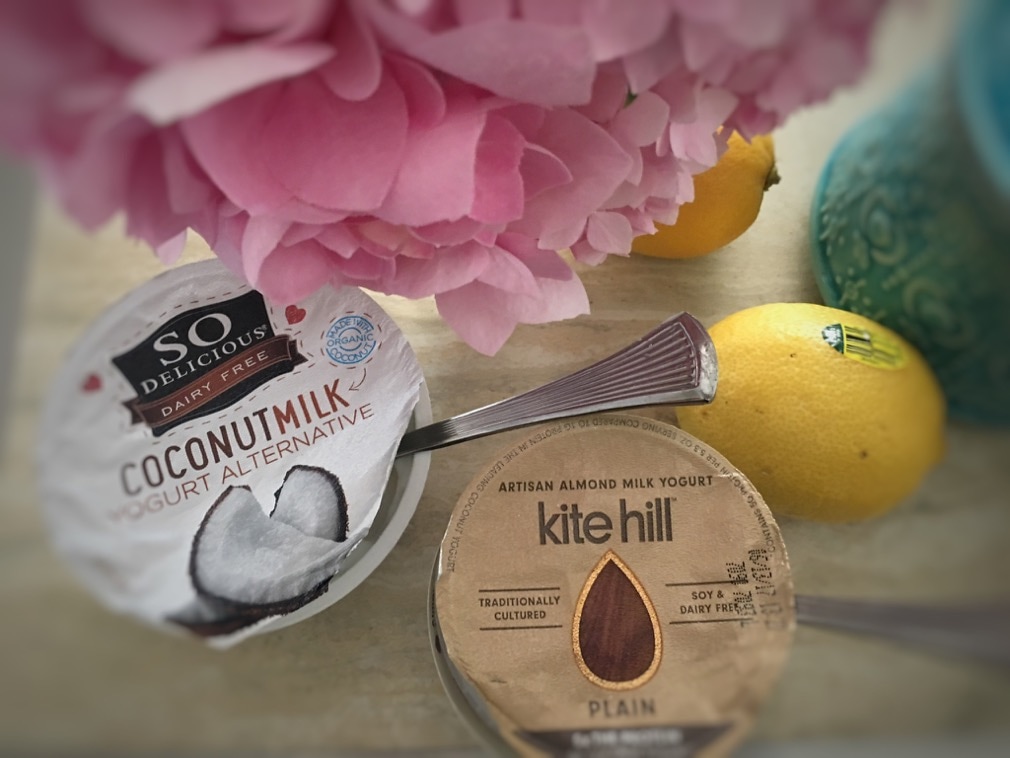
Veganizing a cucumber yogurt sauce has been pretty easy for a while with all the soy yogurt products on the market. But until recently, if you were vegan and soy free, it wasn’t an option. I love both the So Delicious brand of coconut yogurt and the Kite Hill almond yogurts that are readily available now. Look for plain, unsweetened varieties of any nondairy yogurt you choose for this recipe.
Coconut milk yogurt tends to be a little thicker and a brighter shade of white than almond milk yogurt. But those details are negligible. Experiment with both, as well as the other brands on the market, to discover which kind best suits you. Always look for brands without added preservatives like carrageenan. The only ingredients necessary are the nut milk, probiotics and something like guar or xanthum gum or pectin which are natural thickeners. 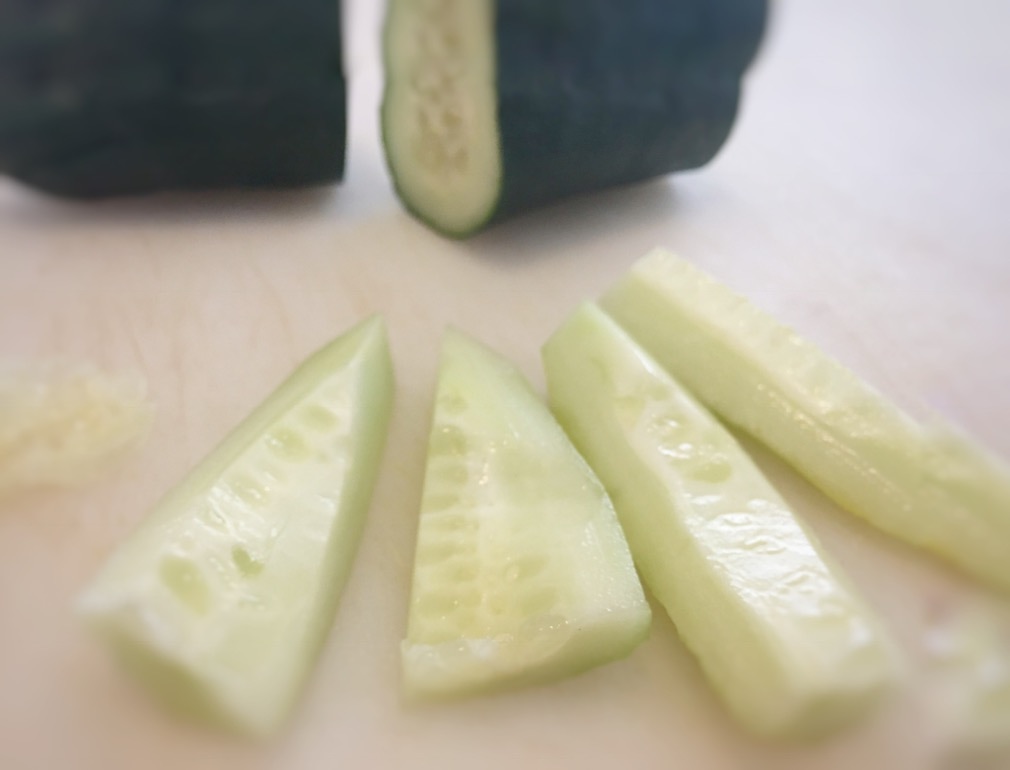
You could handle the cucumbers a number of ways for this sauce. You could leave the skins on. I sometimes do if I am fortunate enough to have an organic cucumber in my possession. You could peel and discard the skins. If the tiny seeds don’t bother you, leave them in. I tend to deseed most things: it’s a texture thing for me.
You could shred the cucumbers into the sauce. Or you can dice them. The size of the dice is also completely subjective. You can dice the cucumbers large, medium or small. How much of their presence do you want to feel in the sauce? 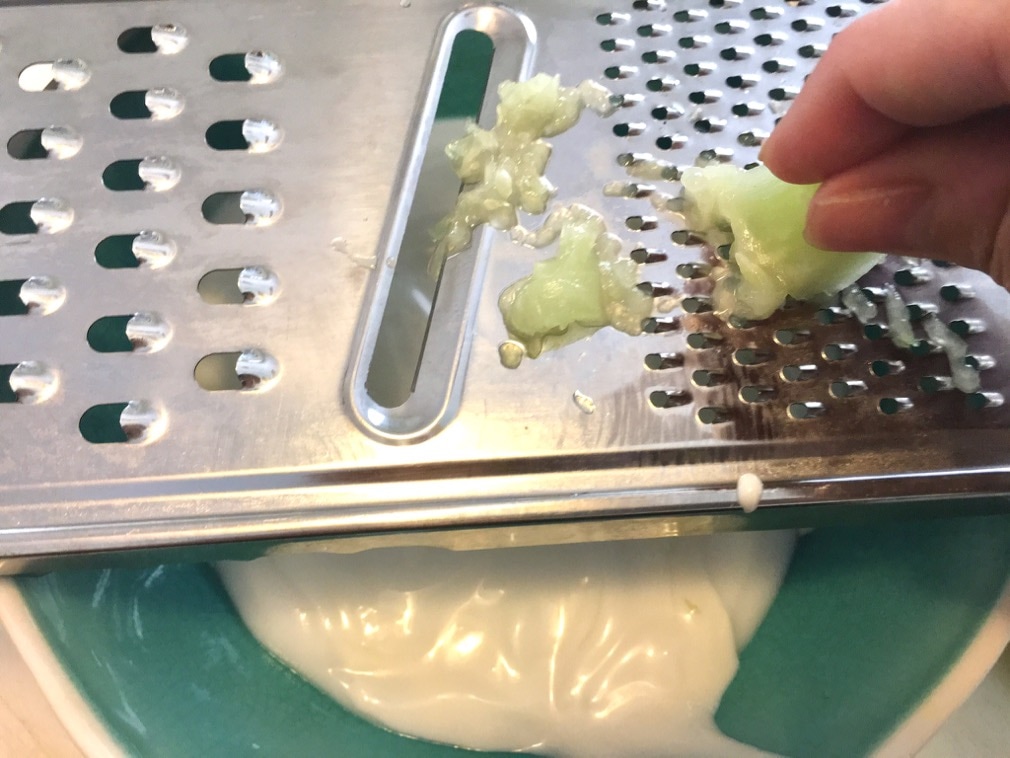
Lately I have been mincing the peeled and deseeded cucumbers with a micro grater so that the flesh melts into the sauce, contributing flavor but little of the normal crunch.
THE RECIPE
Serves 4 to 6 Two 5.3 ounce containers coconut or almond milk yogurt, unsweetened and plain ½ medium cucumber, peeled and finely grated 2 cloves garlic, finely minced ½ teaspoon sea salt 1 teaspoon ground cumin 4 to 6 sprigs fresh mint, chopped fine Juice of half a lemon Mix all the ingredients together. Taste and add more lemon, garlic, salt or cumin to your liking.
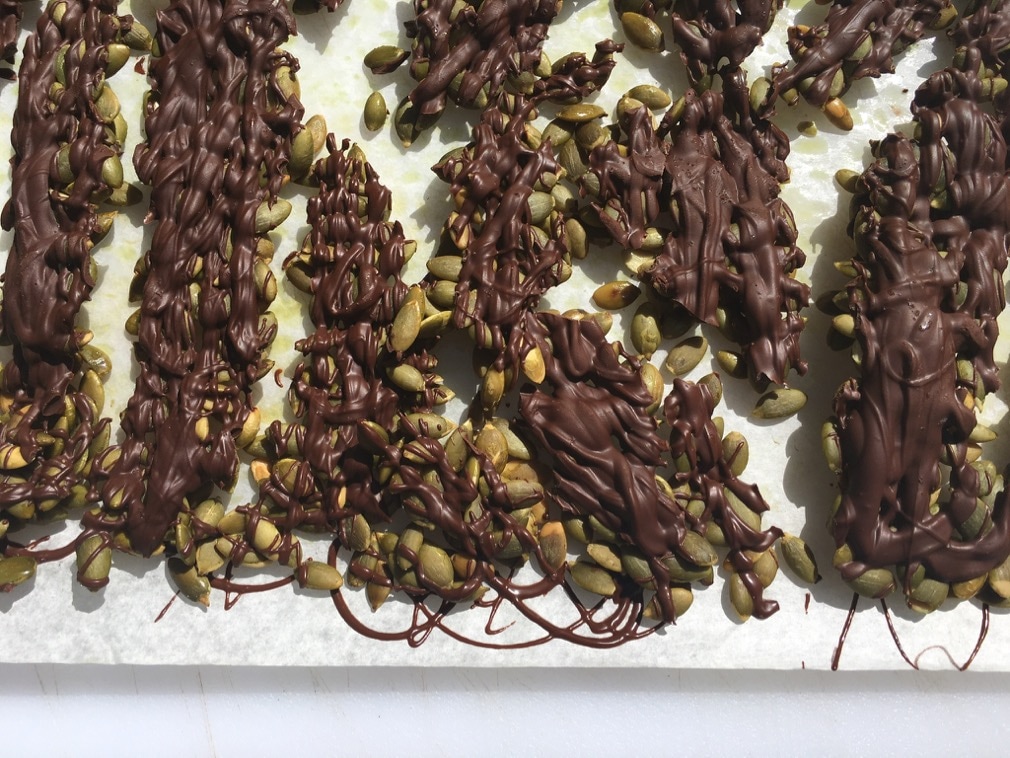
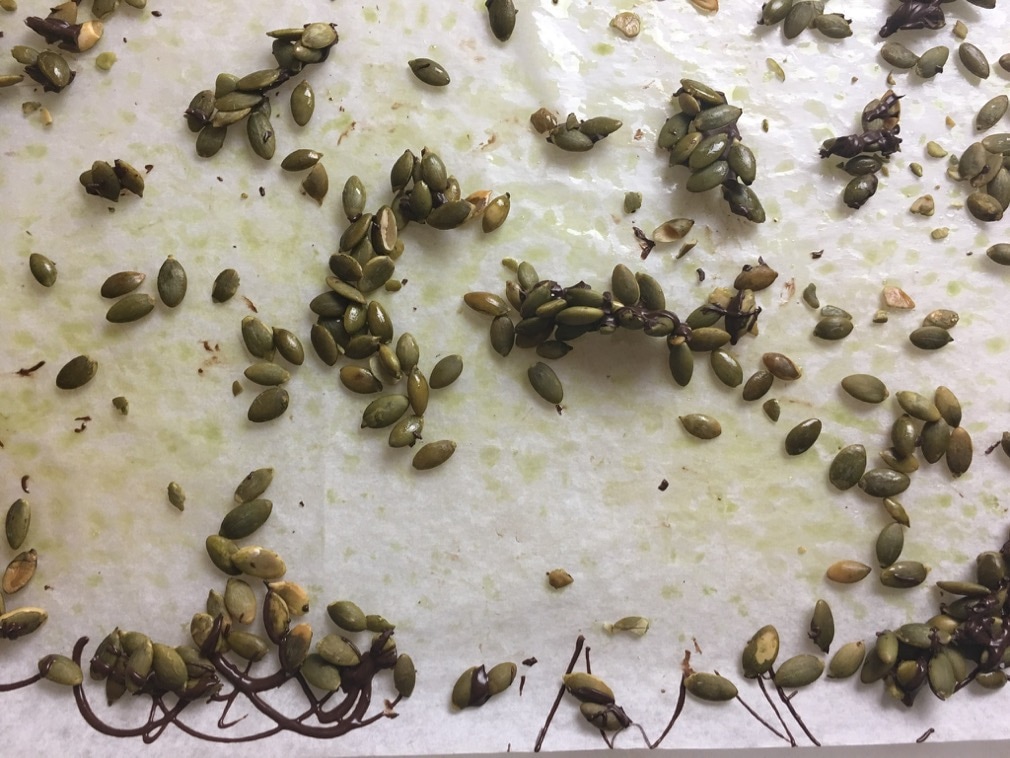
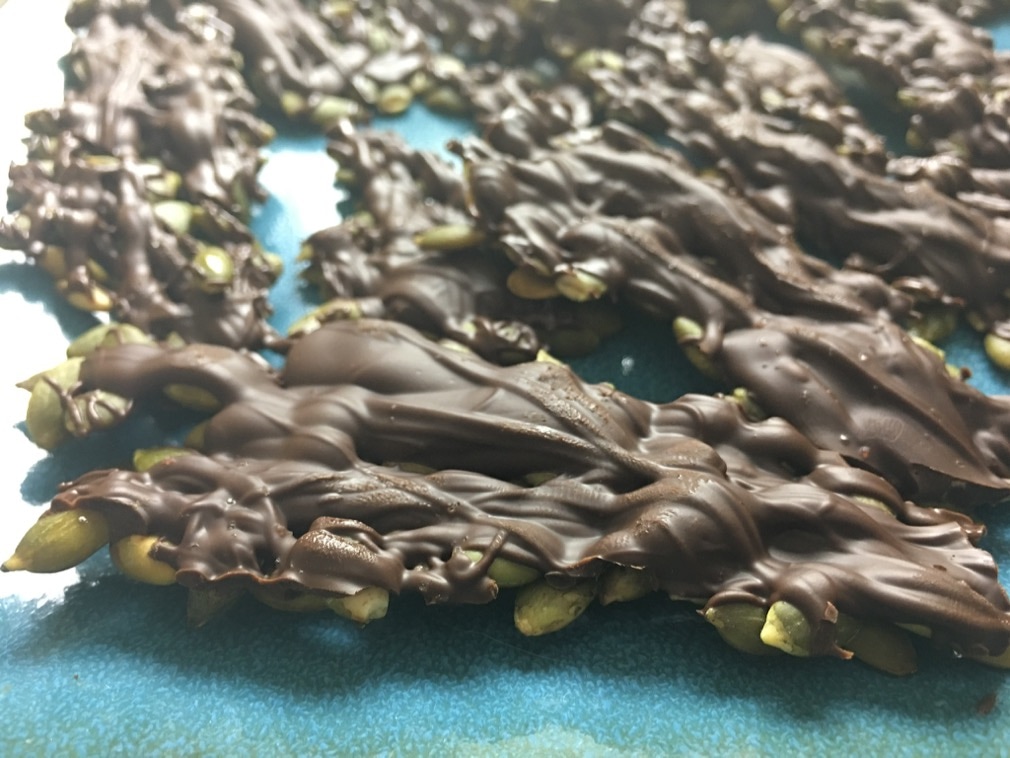
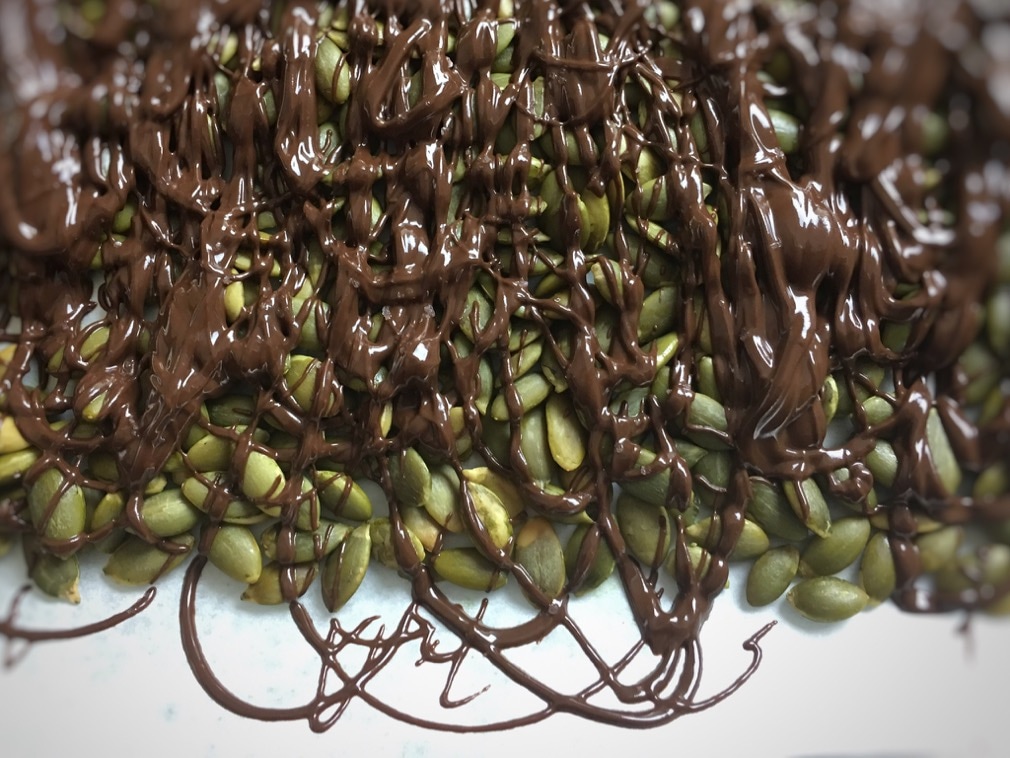 Twice a year, I pack my car full to the ceiling and drive three hours to cook for a yoga retreat deep in the woods of Kentucky. The kitchen - my station for the weekend - overlooks an expansive lake, although its view is mostly blocked by thousands of huge trees. Little streaks of blue peek through the green leaves; more or less, depending on the season. Late fall means more visibility of the water. Although I love the fullness of the oaks, maples and birches in late spring just as much. I watch hawks circle above the tree line while I chop vegetables and listen to the group of 20 or so women practicing in the great room that’s open to the kitchen. Cooking is a form of meditation for me, no matter the location or kitchen. But in this scenario, everything I love about it is amplified. There is a rhythm I fall into that is as restorative for me as the asanas are for the yoginis. The openness of the kitchen to the living-room-turned-studio obliges me to tune into the tempo of their practice. When they are in meditation, I move slower, more deliberate. I am quiet. This is not the time to load the dishwasher or do heavy chopping. I save those tasks for the active part of the practice. I can bang around a little when they’re up doing headstands and backbends. Being tuned into the pace of their practice becomes my own practice. As I work, I listen to the teachers’ lesson for the day. Whether she’s talking about the history of the goddess or the secret life of trees, I listen along and sometimes stop to take a note. I am at perfect peace there; and laugh when the women express their guilt that I am working while they relax. They don’t understand: this is how I relax. 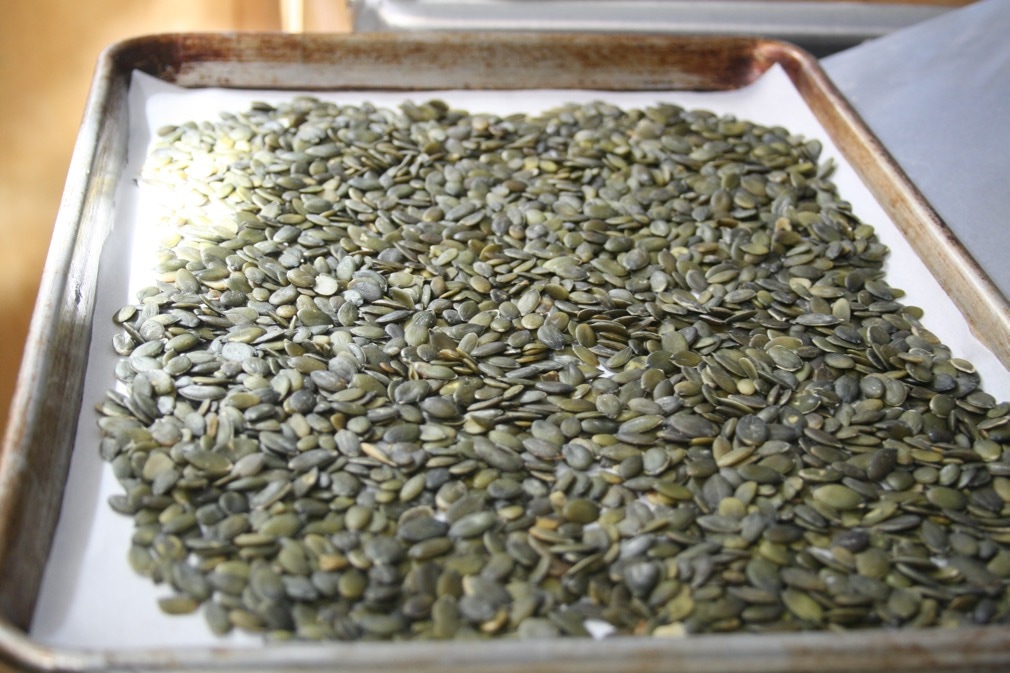 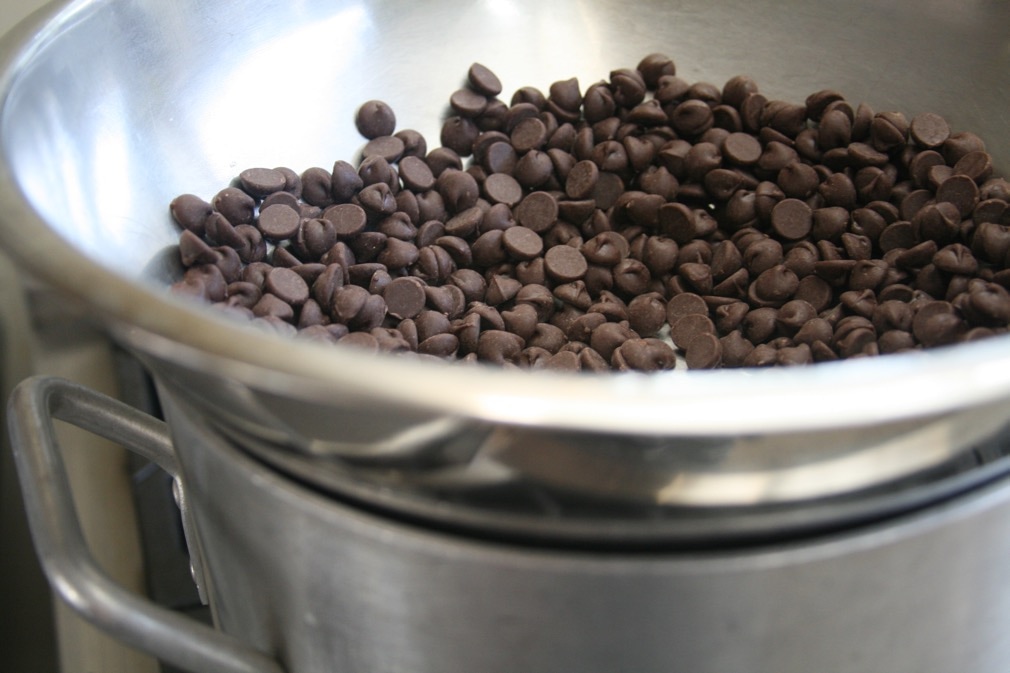 ____________________________________________ The yoginis always want this chocolate pepita bark on retreat. That's fine with me. It's super easy, requiring only two ingredients, not counting the sea salt or any other little exotic garnishes. Pumpkin seeds are one of the healthiest foods on the planet, full of phytonutrients, minerals and fiber. (Research here.) But no doubt it's the crunch + chocolate + salt factor that makes these non- negotiable for the weekend's menu. There are countless types of chocolate you can melt to drizzle over the toasted seeds. I suggest a semi sweet chocolate chip of your choice. I love the Enjoy Life brand of chocolate chips: they’re soy, gluten and dairy free. The also have a dark and milk chocolate version. Buy raw pumpkin seeds and toast them yourself. That gives you total control over the level of crunch. I love to let them go almost to the edge of burnt. They pop as they roast. You could just as well leave them raw, if you like. 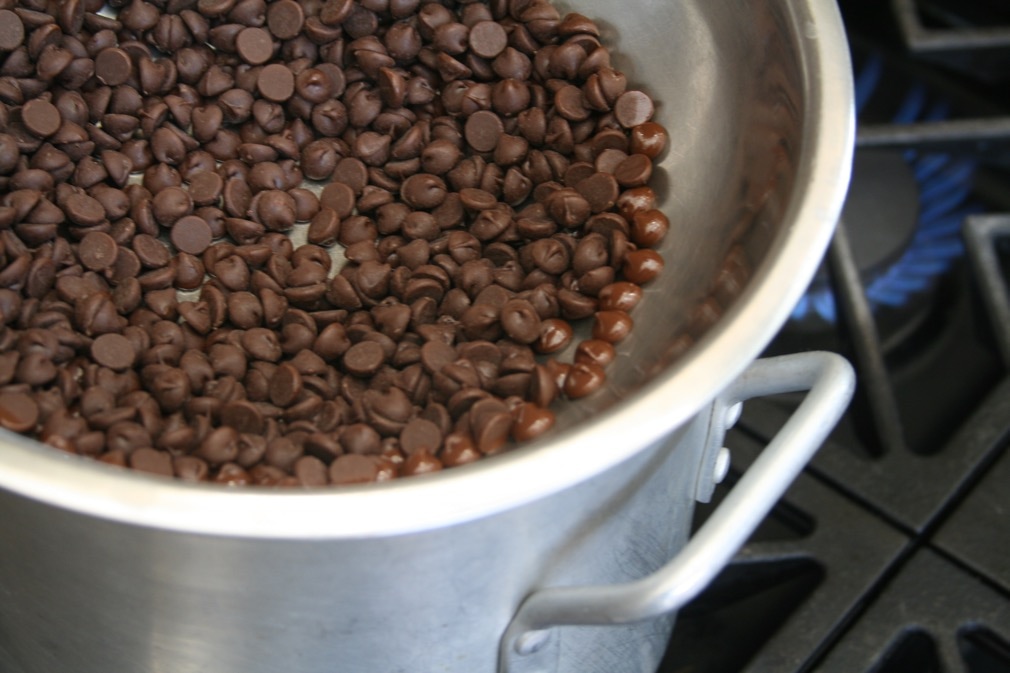 Notice the chips on the right side of the bowl. When all the chocolate has turned that lighter shade, then you can stir. RECIPE: ½ pound raw pumpkin seeds 12 ounces vegan or regular semi sweet chocolate chips Parchment paper Preheat the oven to 350. Line a baking sheet with parchment. Spray the paper lightly with olive oil pan spray. Spread half a pound of raw pumpkin seeds out evenly, in a single layer as much as possible. Toast for 12 to 15 minutes until they start to brown. Let them cool down but make sure they stay evenly spread over the pan. Gently shake the pan to redistribute them, if need be. In a sauce pan that comfortably fits a stainless steel or glass bowl, bring an inch or so of water to boil. You could also use a double boiler here, if you possess one. Spread the chocolate chips out in the bowl in a single layer and set over the water. Leave the chocolate undisturbed until every last morsel has melted, when all of them have faded into a lighter shade. Whisk until the chocolate is smooth with no lumps at all. Dip the tip of a teaspoon into the chocolate and drizzle the chocolate across the seeds, with staccato flicks of your wrist as if this were an abstract expressionist painting. Do maintain control though or you’ll find strings of chocolate on everything outside the rim of the baking sheet. Cover as much of the seeds as possible, but know that some will inevitably fall away later, when you break the mass into long chards. Throw those stragglers in a bowl and eat them too. Once you've covered all the seeds, you can sprinkle some sea salt or candied ginger over the chocolate if you like. The yoginis love them both. There are infinite other possibilities: dried lavender? Pink peppercorns? Chili flakes? This is your work of art - you decide. Set the pan in the fridge for half an hour or so. Then carefully break up the bark into pieces and serve. Leftovers should be kept cool and dry. Click the link here to print the recipe:
   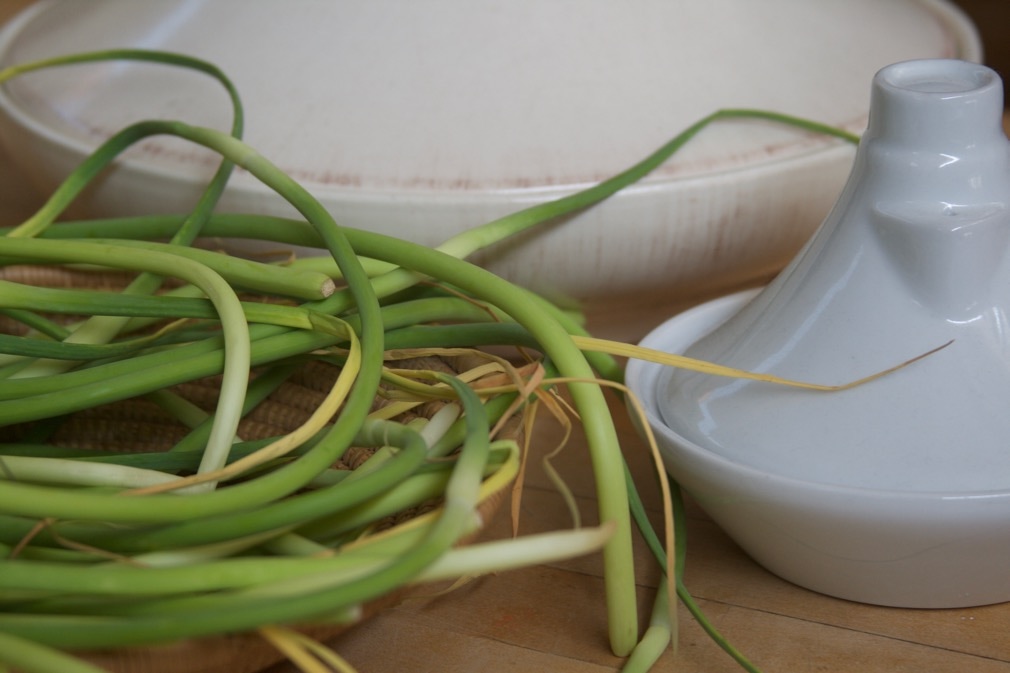 They shoot up from garlic plants like a crazy stalk and then fall gracefully into quirky curls, this way and that, heavy from their own weight. And when their curvaceous seed pods burst into flowers, you know the garlic bulbs below the soil are nearly, if not completely, ready for harvest. Garlic scapes taste like garlic. A crunchier, greener version of garlic. They can be sautéed or stir-fried or braised in place of or with regular cloves, heightening the garlic flavor. Garlic scapes are in season in June. It’s a fleeting season, so a sense of urgency is important. Snatch them up from your local farmers’ market. Though they’re not available for long, they will keep for awhile. Seek to preserve their sinuous nature when you cook with them. Challenge yourself to slice them lengthwise, creating long thin wisps that twist and turn in the dish. It’s a fun exercise. Alternatively, dice them fine, like a green onion. 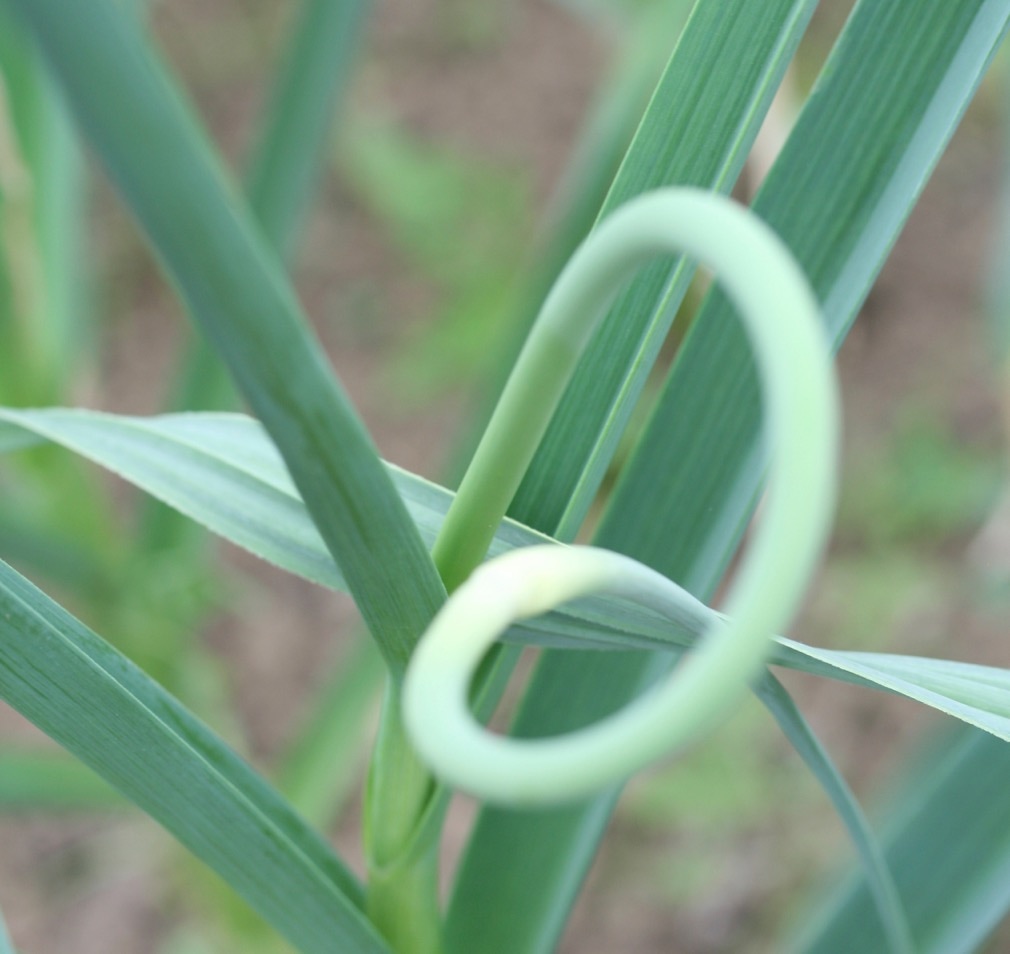 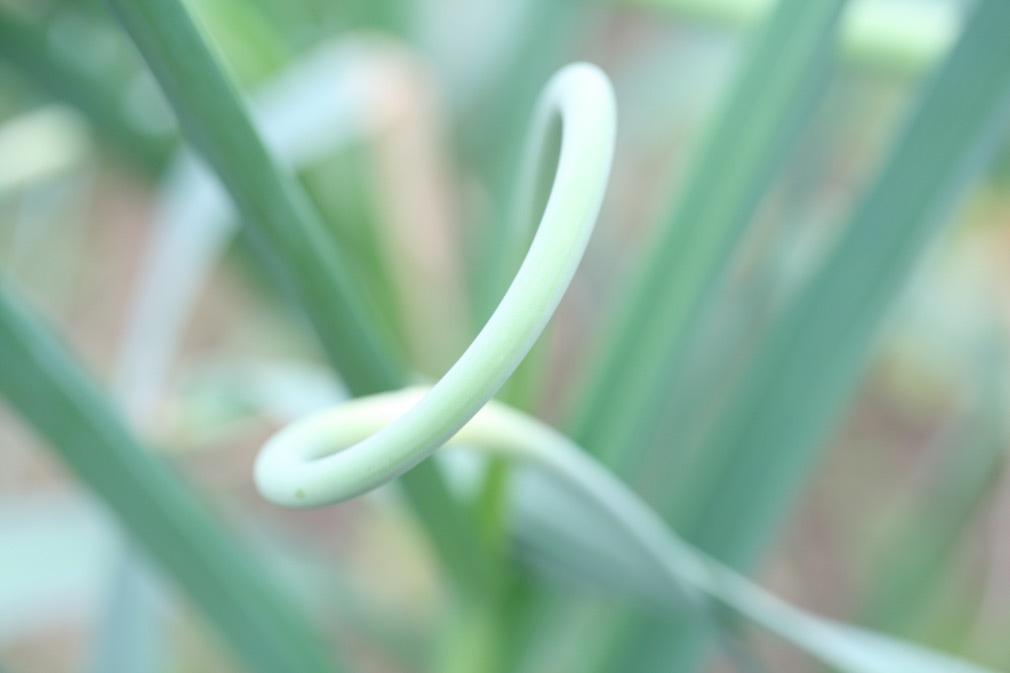 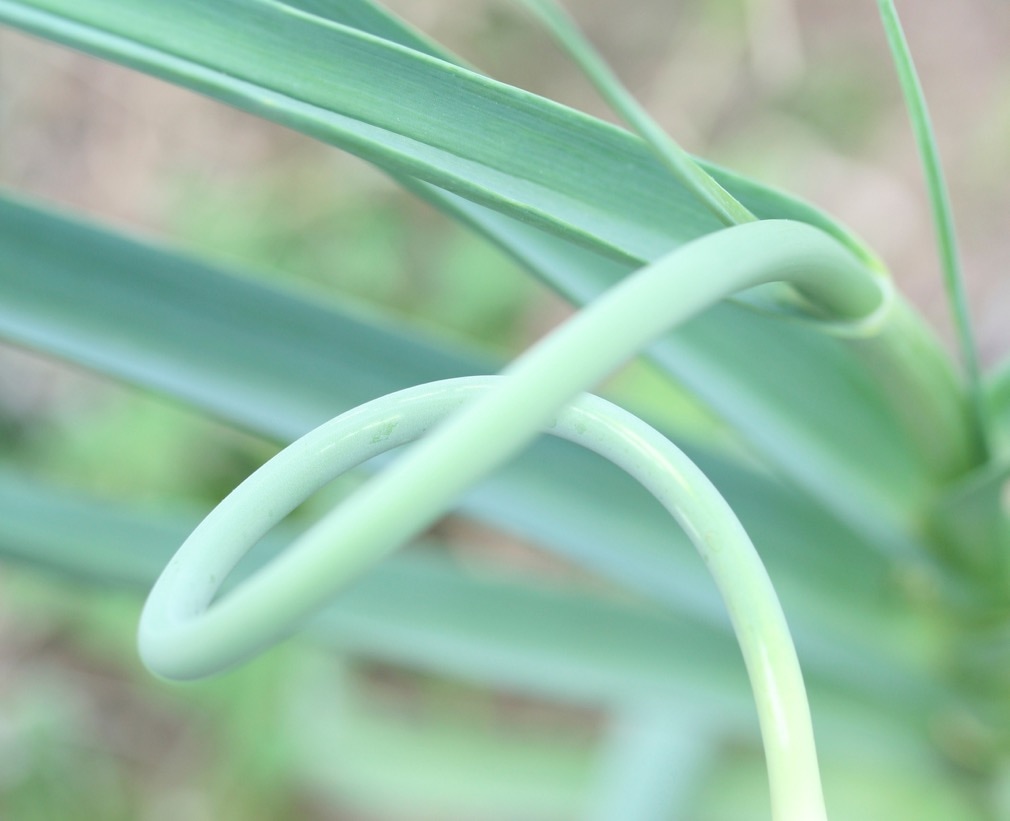 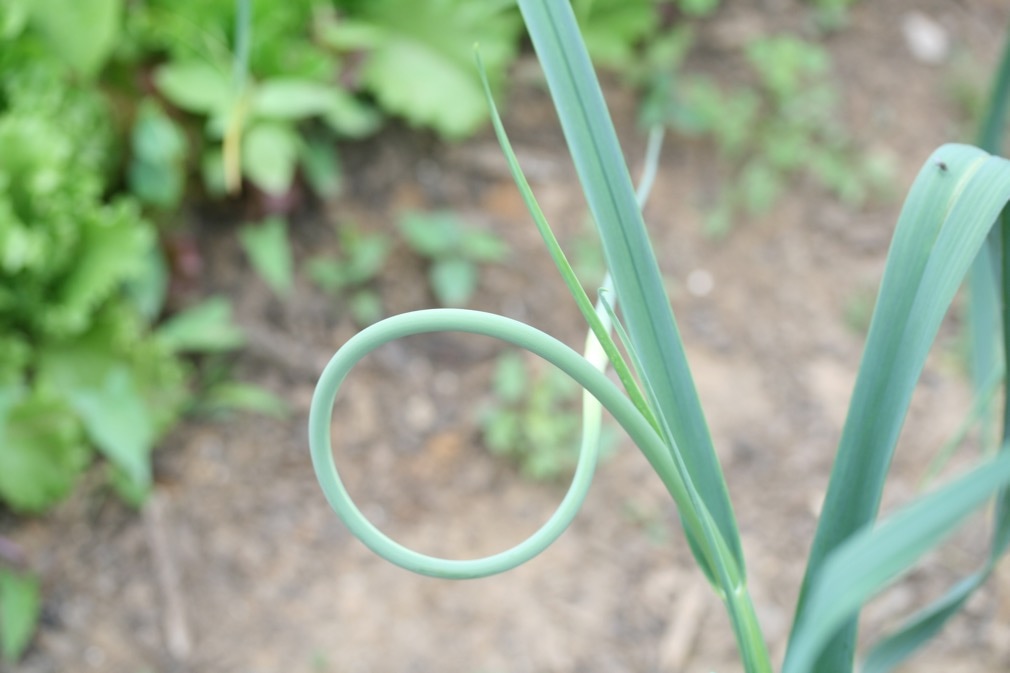 GARLIC SCAPE CONFIT: Cut about 5 stalks in half lengthwise, or dice them. Peel two or three heads of garlic. Place the wispy scapes and peeled garlic cloves into a very shallow baking dish, about one inch deep. Add a few sprigs of fresh thyme or other herbs. Pour enough extra virgin olive oil to cover the cloves and scapes. Cover the dish with foil and place in an oven set at 200 degrees. Bake for about 30 minutes or so until the garlic cloves have softened. Check them after 15 minutes to make sure they aren’t browning too fast. You want light amber, not dark brown. Remove from the oven. At this point you have something glorious: Garlic infused olive oil and soft roasted garlic cloves. Serve the garlic cloves and scapes straight out of the baking dish alongside grilled or toasted bread. Or discard the scapes and thyme and store the garlic cloves and oil in an airtight jar. The cloves can be tossed in salads or stirred into a rice dish; use the oil for vinaigrette or for drizzling onto fried eggs. You will find ways. 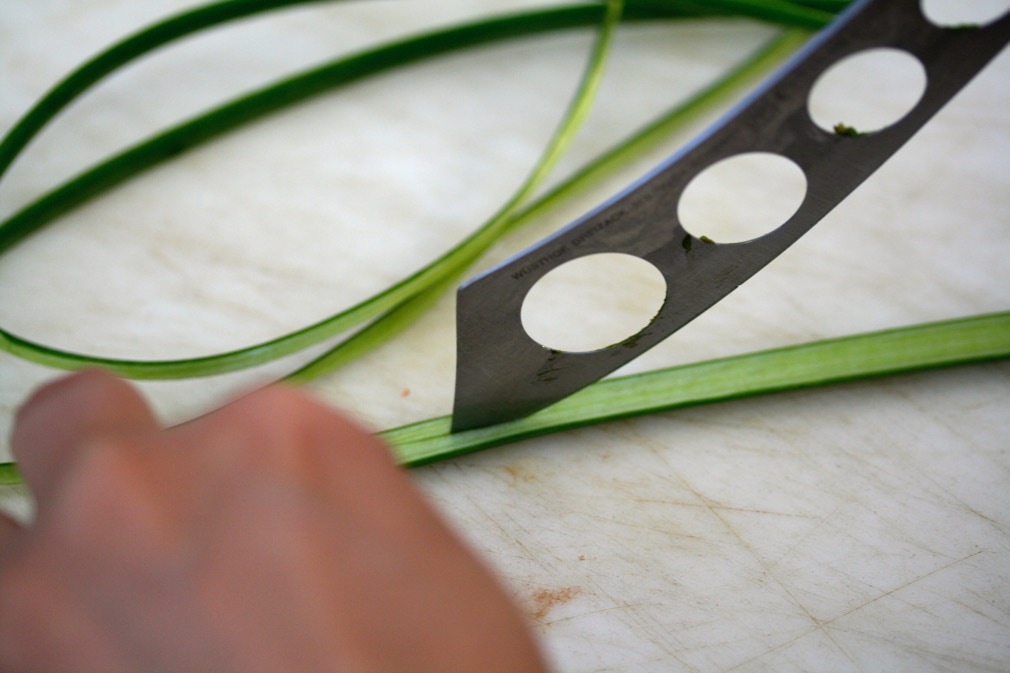 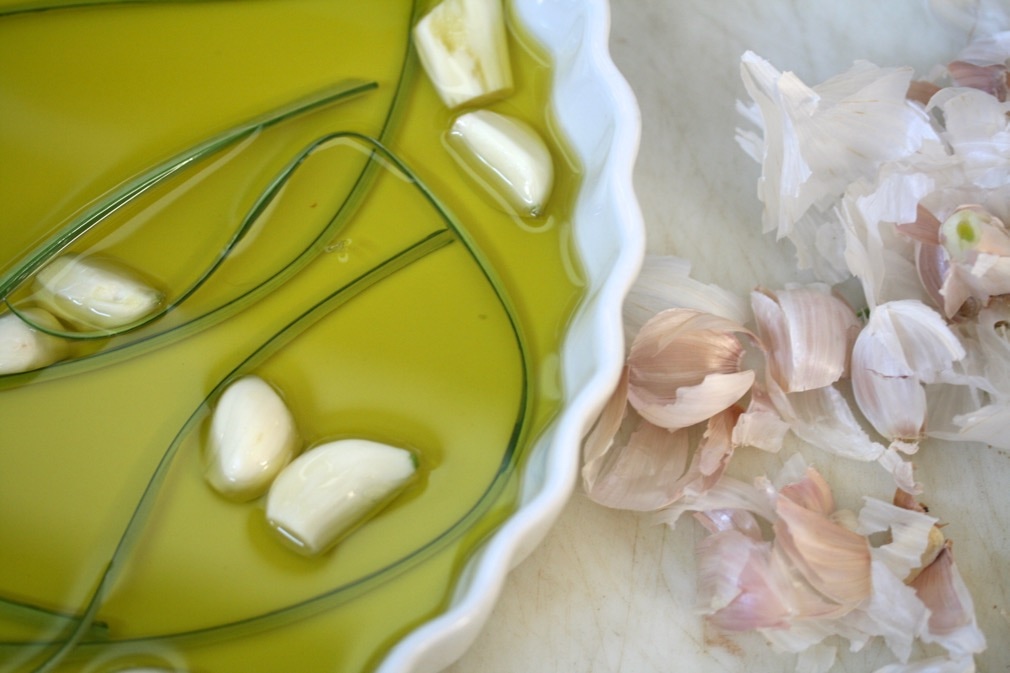 ARTICHOKE y AJO: Take the garlic scape confit to another level by adding roasted artichoke hearts for a vegan variation on a traditional Mexican Camarones y Ajo. After you pull the confit from the oven, crank up the heat to 400 degrees. If you are using canned or frozen artichoke hearts, make sure they are well drained and dry. Water is not a friend to the deep caramel results you are seeking when roasting. On a baking sheet with olive oil, roast the hearts for 15 minutes or so until caramelized. While the artichokes are roasting, zest one lime and set aside to use as a garnish. Cut the lime in half and when the hearts come out of the oven, squeeze the lime over them and sprinkle with sea salt. Add them to the garlic confit and garnish the dish with lime zest and fresh ground pepper. If you like heat, throw in some crushed red pepper flakes. Serve with grilled bread, gluten free crackers or wooden skewers for spearing. CAMARONES y AJO: The traditional Mexican Camarones y Ajo that inspired the vegan version of this dish can be prepared the same way as the artichokes for a seafood version of this dish. Use a pound of small or medium peeled and deveined shrimp and roast in the same way as the artichoke hearts above. When the shrimp go from deep pink to pale, they’re ready. 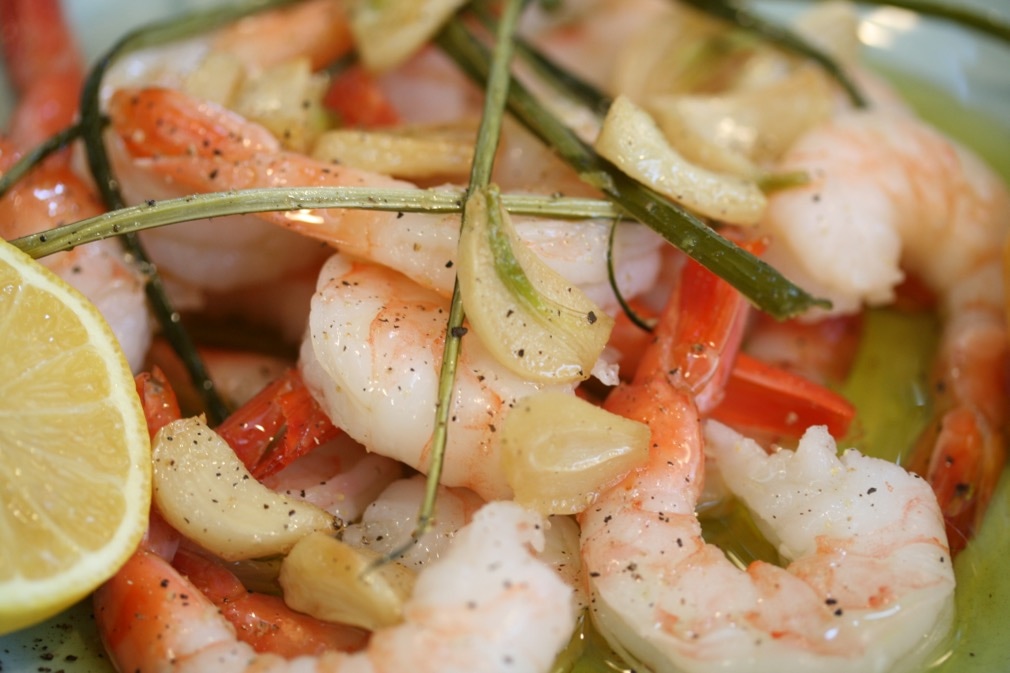  Usually when we talk about “doing a shot” it’s with tequila or some other strong spirit that gives us a quick buzz (and takes away our good judgment.) It starts with fun intentions and ends with a bad headache. Fresh juiced ginger can give you a buzz without the headache or the regrets. It’s an all over body buzz, generated by ginger’s intense heat. On the other side of the sharp swallow, warmth spreads throughout the body quickly, a burst of energy follows. The mind is cleared. Juice bars everywhere serve little shots of ginger + lemon + honey, a triple threat against inflammation. The day we first introduced our own version to our bar menu, I asked a few servers if they wanted to do a ginger shot with me. Their response was immediate and enthusiastic: “Yes!” I laughed, and then told them there’s no alcohol in a ginger shot. They did the shot anyway, with puckered faces and dramatic groans. Ginger is spicy. But I watched as they sang the praises of the after-effect to customers. Sales grew. Drinking ginger juice becomes a daily addiction. This is the kind of buzz we should crave. It’s a powerful anti-inflammatory food and is also said to be good for digestion. (research here.) A cousin to turmeric, ginger is a bona fide member of the super food family. Most juice bars sell ginger juice by the ounce, and when I am lazy, I will get mine this way. But juicing ginger in big batches and freezing it in ice cube trays is a cheaper way to make sure you always have a supply. I make a batch every few weeks; no daily juicer clean up required. 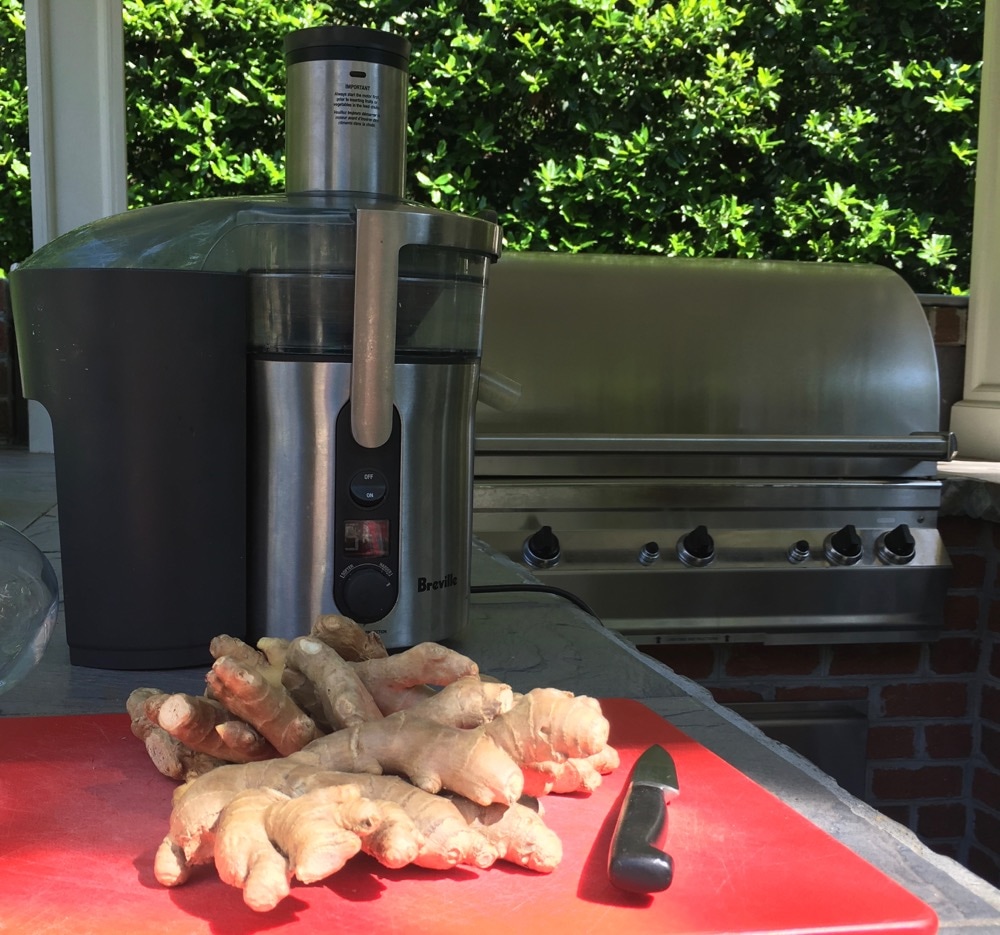 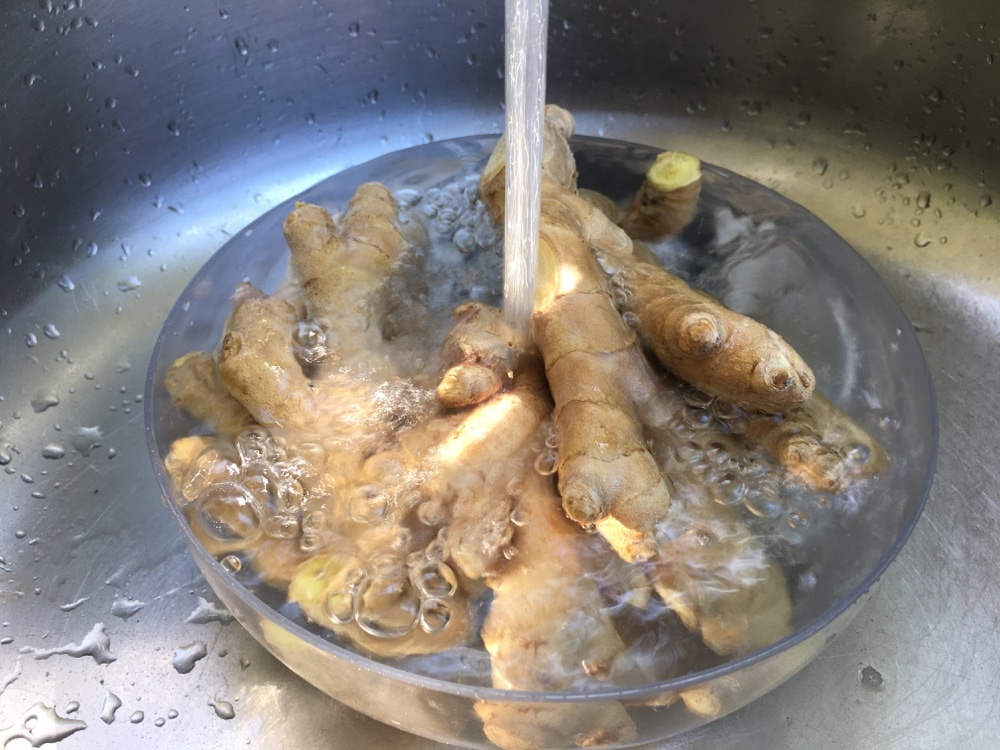 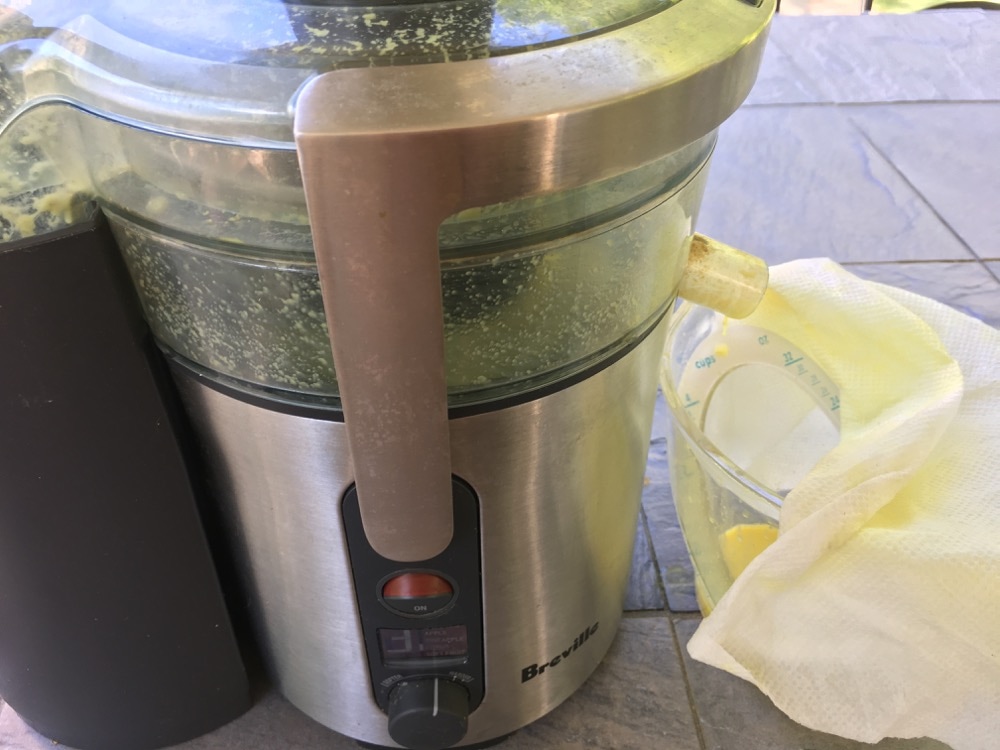 Here is a place where I really insist on buying organic, as I do for other root vegetables. Growing in the soil means extra exposure to the chemicals of non-organic farming. Buying organic means I leave the skins on when I juice ginger. A good wash in the sink and then straight into the juicer. Peeling ginger is an exercise in dexterity, navigating little nooks and crannies. If you can’t find organic and want to peel the skin, here’s a little tip: break the roots down into smaller nubs for easier navigation. 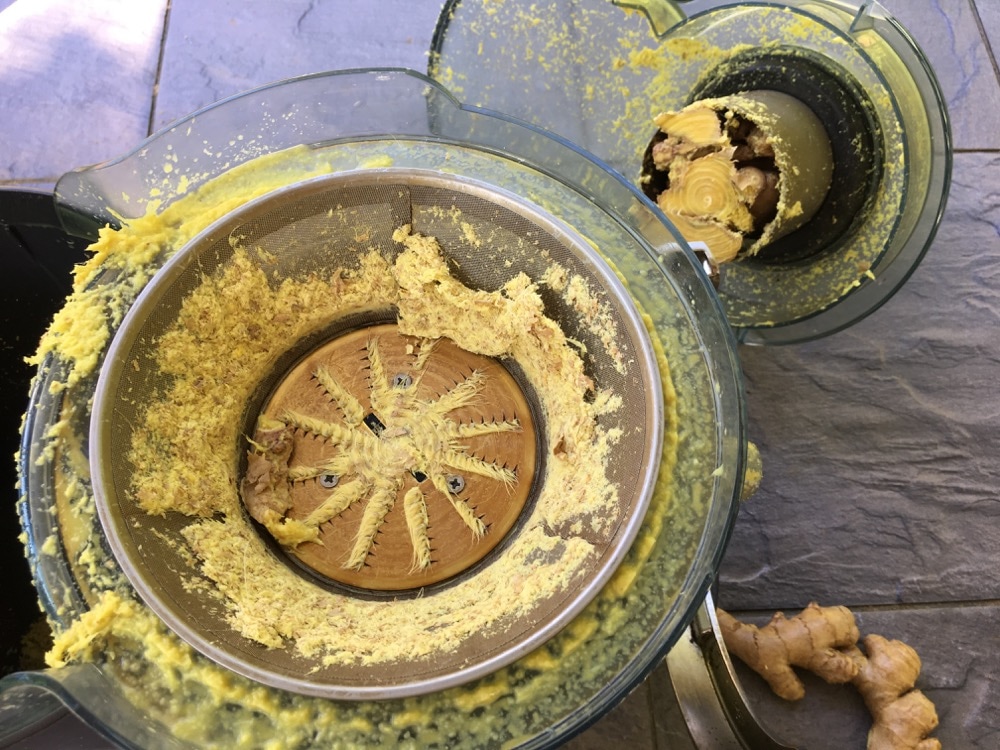 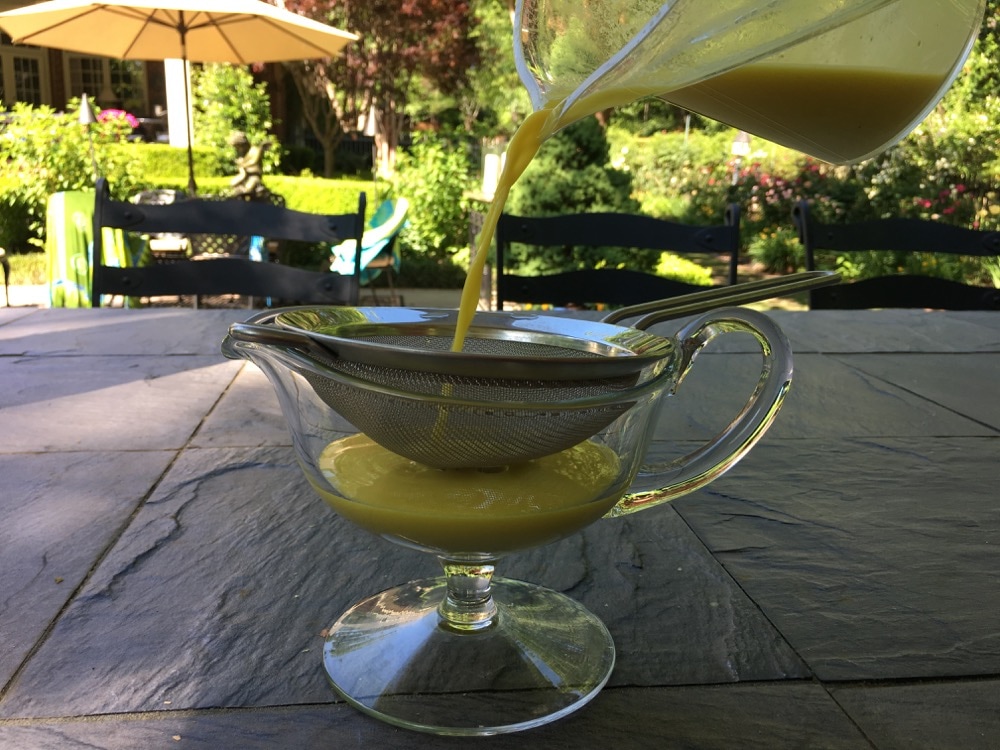 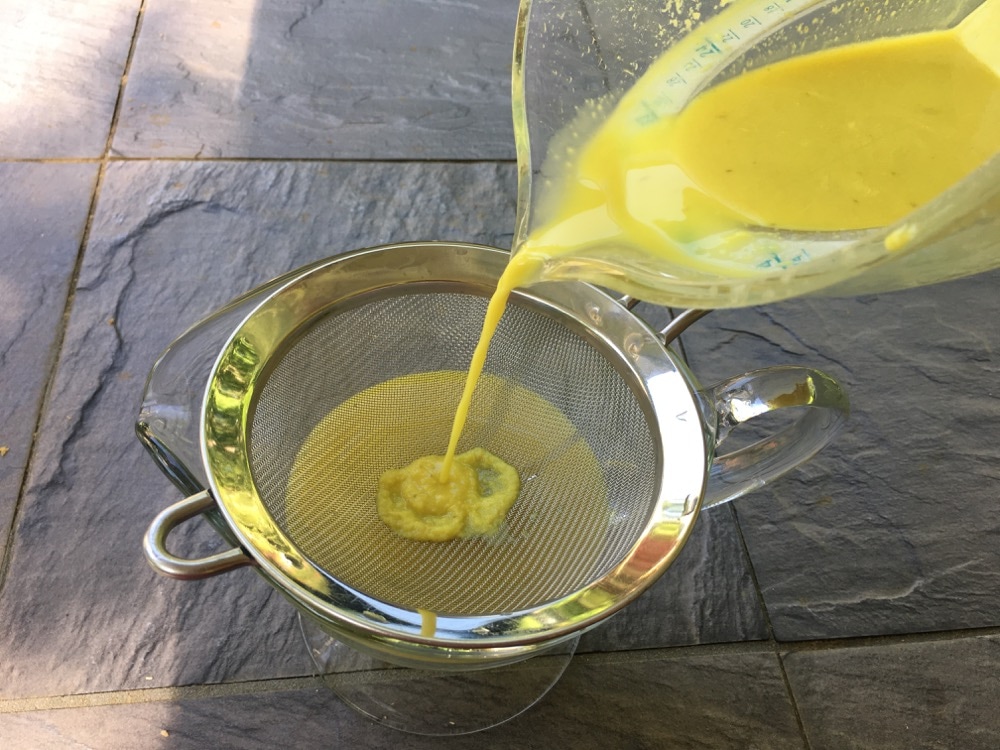 Juicing with the skins on also means about a 30 percent greater yield of the juice, I have found. Here a few other tips for successful ginger juicing:
These recipes are, as always, just a guideline. Experiment with the quantities of ginger juice, lemon and honey to arrive at your perfect edge. Adapting to the lovable burn of ginger can happen at your own pace. Feel free to use less than suggested here. 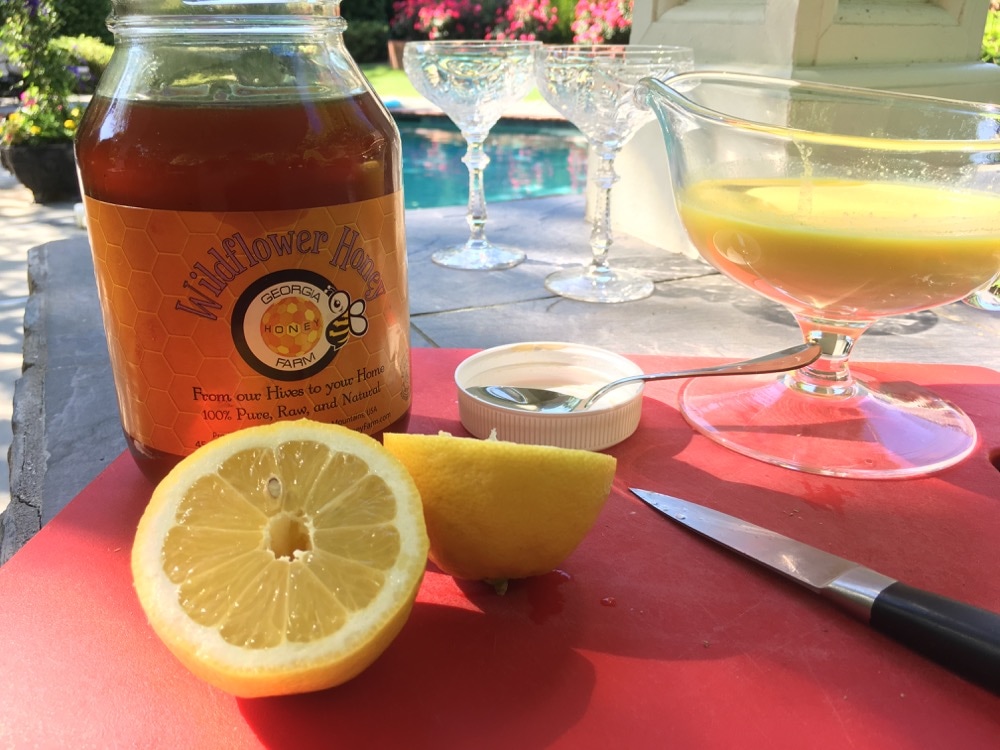 __________________________________________ THE RECIPES Ten ounces of fresh ginger will yield about 4 ounces of juice. For an all over body buzz: Ginger shot or base for the recipes below. Four servings In a glass, stir together: 4 ounces ginger juice Juice of 1 lemon 3 teaspoons honey or to taste Each serving will be a little over 1 ounce. Drink quickly or use this as a base for the drinks below. For a refreshing alternative to soda: Ginger Ale Mix 1 ounce of the Ginger Shot/Base recipe in an 8 to 12 ounce glass. Fill with ice. Top with sparkling mineral water. Stir. For a winter day or to scare away a cold: Hot Ginger Mix 1 ounce of the Ginger Shot/Base recipe in an 8 ounce coffee mug. Top with hot water and stir. P.S. Much thanks to my friend's mom who graciously hosted me in her Atlanta home last week and let me have fun in her poolside kitchen. Her name, ironically: Jinger. With a J. Click the link below to print the recipe:

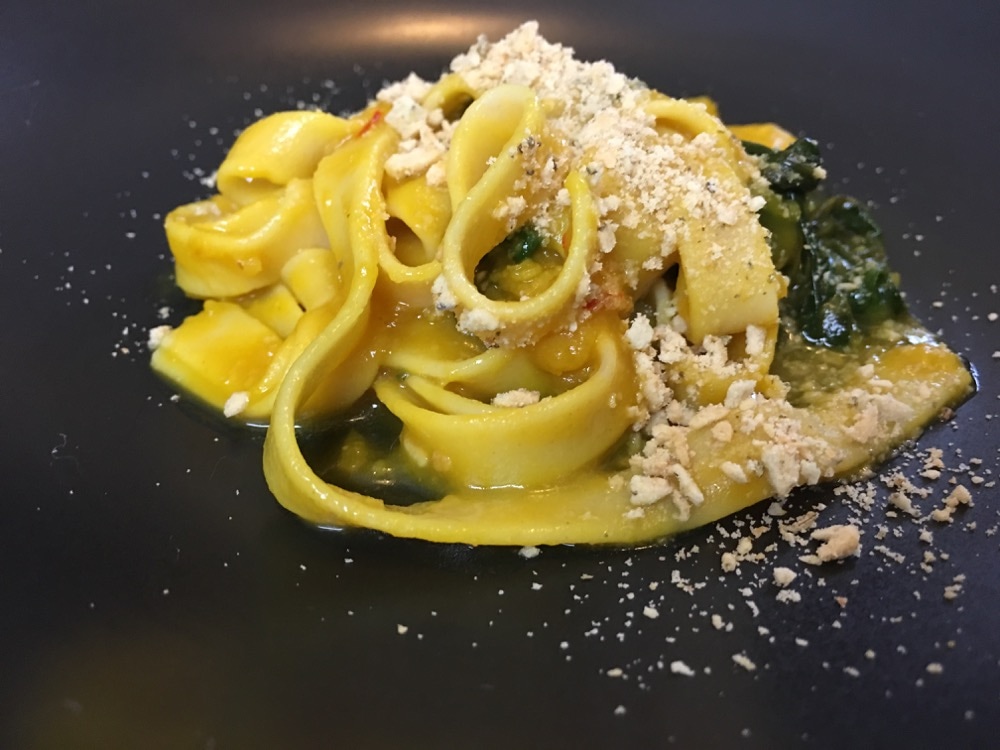 I would love to forage for ramps one day. I would do it more for the photo opportunity than for the fun of digging around the wet floor of the woods. I imagine the sun coming through the trees and hitting the little patches of graceful ramp leaves and how beautiful that would be. I wonder how many times I might have walked over a crop playing in the woods as a child. My grandfather, a farmer, never talked about ramps or brought any home from the woods around the farm like he did persimmons and papaws. That leads me to believe ramps didn’t grow in that part of rural Kentucky. I had never heard of the precious wild spring onions until I was already grown. 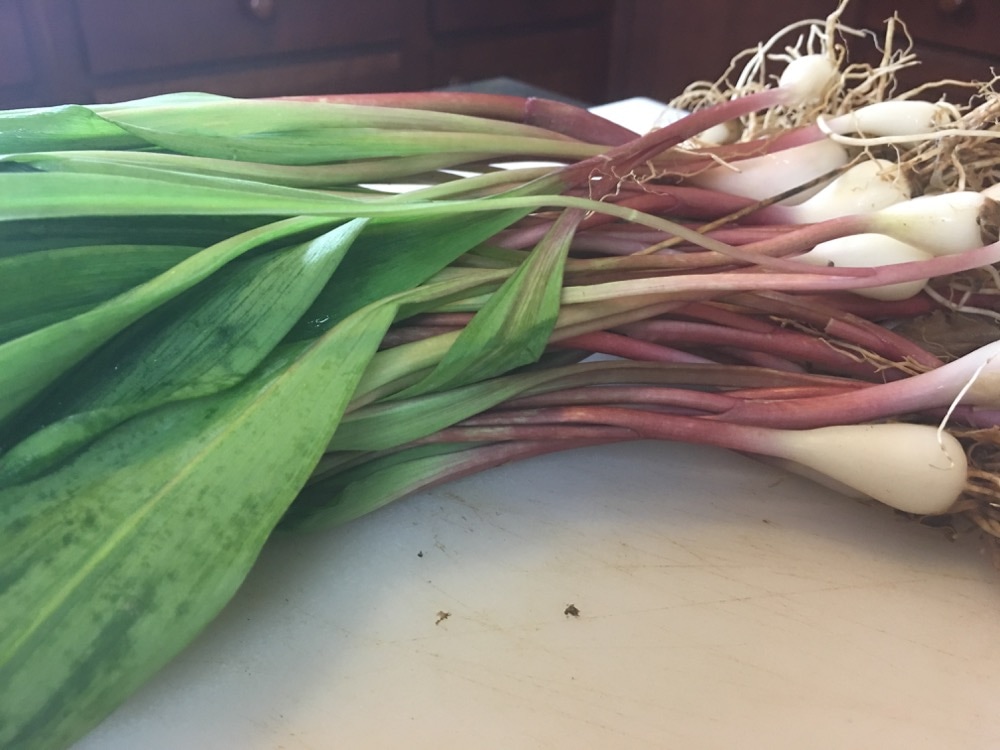 And truthfully, I didn’t pay much attention when I did hear about them - at first. It’s one of those things in life that might stay on the periphery of your consciousness, then one day come into full focus. That’s when my devotion set in. Ramps have a cult following. Here’s why: they grow wild (intrigue), they have a short season (rare) and they are in short supply (coveted). It’s as much these reasons as their flavor profile that has made them so hot in recent years. Though they are wild onions, I often forget that and call them wild garlic. The flavor suggests a hybrid of the two. It’s strong. The leaves are what I really love about ramps. Otherwise, I would stick to my favorite green onion, the leek. Ramp leaves are beautiful. They’re long and triangular and elegant. You could use a small bunch to fan yourself, if temperatures were high in late April, early May. The bulbs are like a regular green onion, small, pungent. But the leaves are hearty in volume, delicate in texture, and can be prepared in countless ways. Their generous length means you can julienne them lengthwise and toss them with string pasta, like the recipe here. It’s been so rainy here lately that I have skipped the farmers market, knowing that I was dangling on the edge of ramp season. This week, I scored a pound from a friend who had hoarded more than his share in his refrigerator. I took it as a sign that I should go ahead and share this recipe, despite being late in the season. I hope fate is as kind to you this weekend. 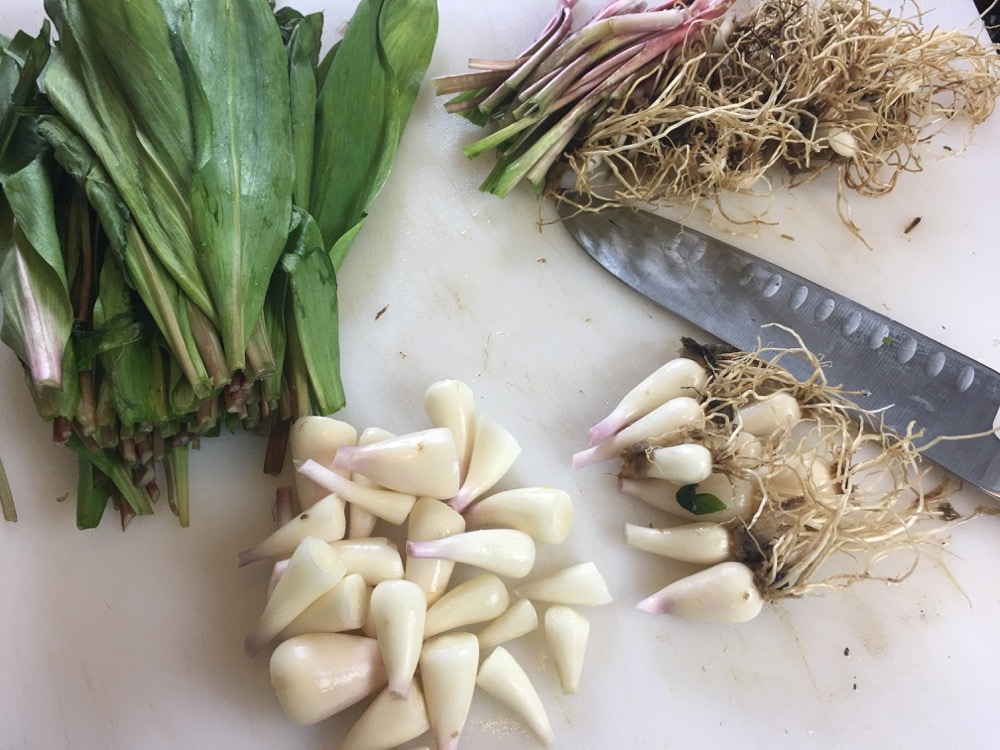  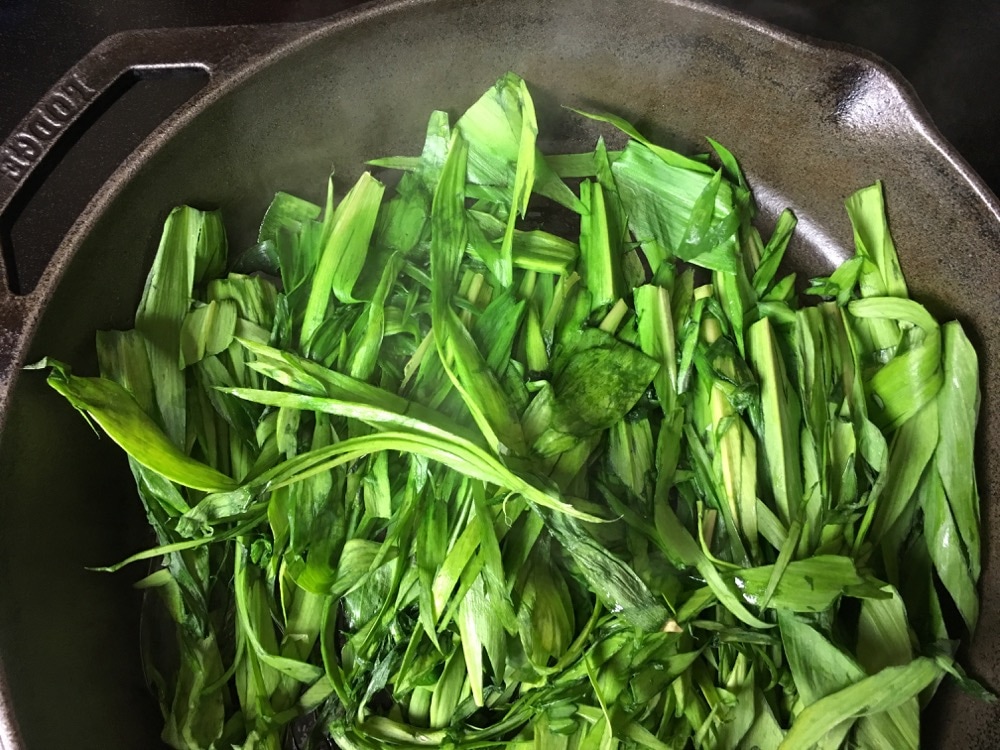 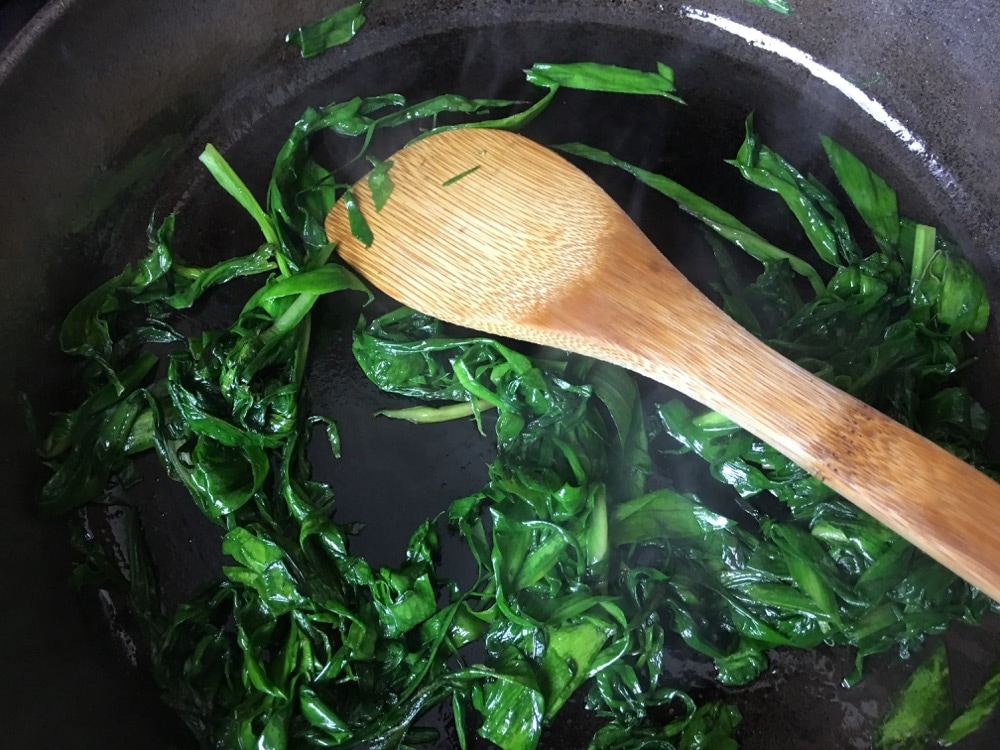 ___________________________ THE RECIPE Serves 4 Ingredients: 1 pound Jovial Gluten Free Tagliatelle or other string pasta of your choice Butternut squash, about 1 pound Ramps, 1 pound leaves and bulbs Simple Mills Grain free Rosemary and sea salt crackers, 1 cup Or substitute 1 cup any GF breadcrumbs + 1 tablespoon minced rosemary + 1 teaspoon sea salt + 1 teaspoon olive oil 3 Tablespoons olive oil 2 cups vegetable or chicken stock 2 cloves garlic, finely minced. Juice and zest of one lemon ¼ gram or generous pinch saffron, softened in half inch of warm water 1 ½ teaspoon sea salt 1 teaspoon white pepper 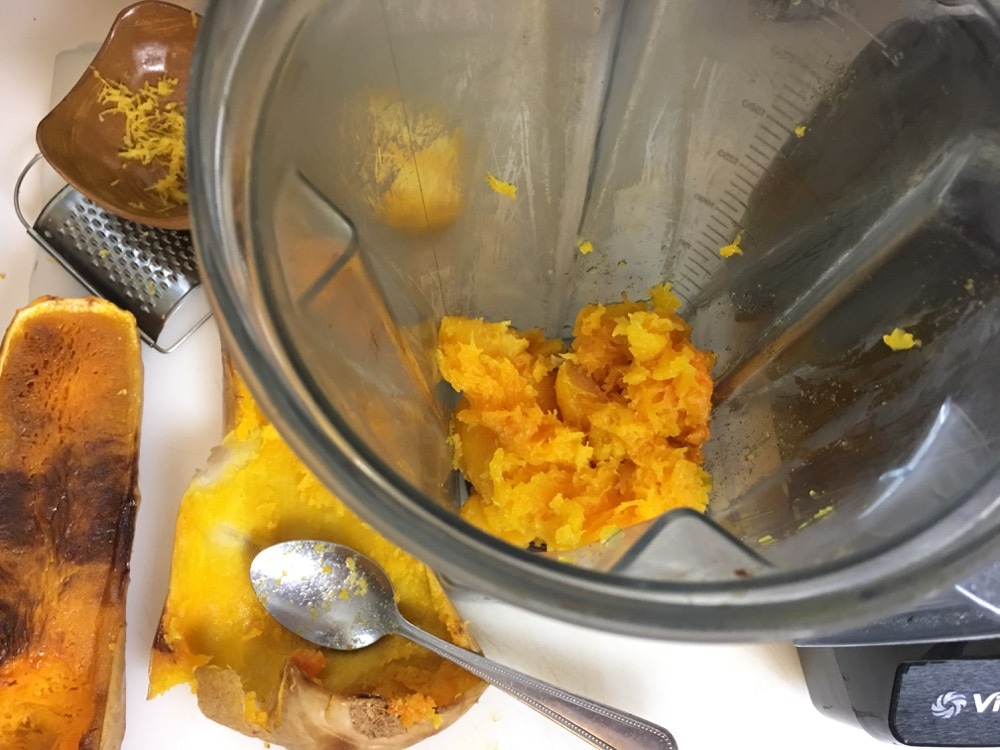 Butternut Squash Preheat oven to 425 and slice the squash lengthwise in half. Spray a baking sheet with oil and lay the squash cut side down. Roast for 35 to 45 minutes or until soft. This can be done a day or two in advance. Remove from the oven and scoop out and discard the seeds. Scoop the flesh into a blender and add half cup of the vegetable stock. Process until smooth. Prep the Ramps Cut and discard the thin stems, separating the white bulbs from the green leaves. Wash and dry both well. Finely mince the bulbs (this can be done super fast in a small food processor.) Set aside. Julienne the leaves into long strips. Set aside. 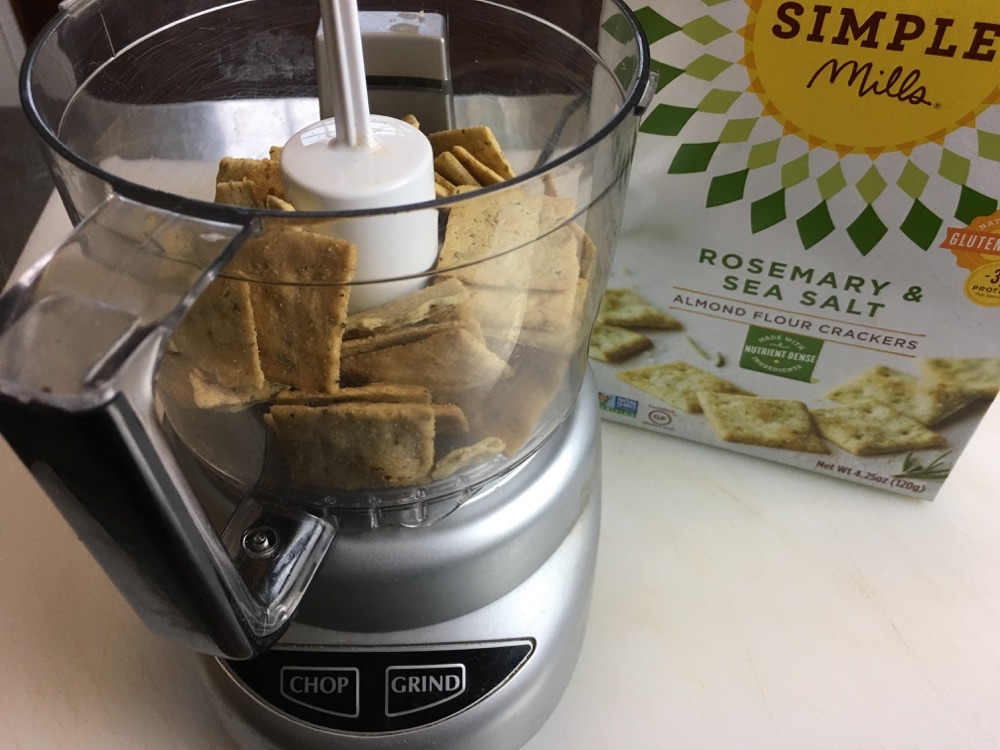 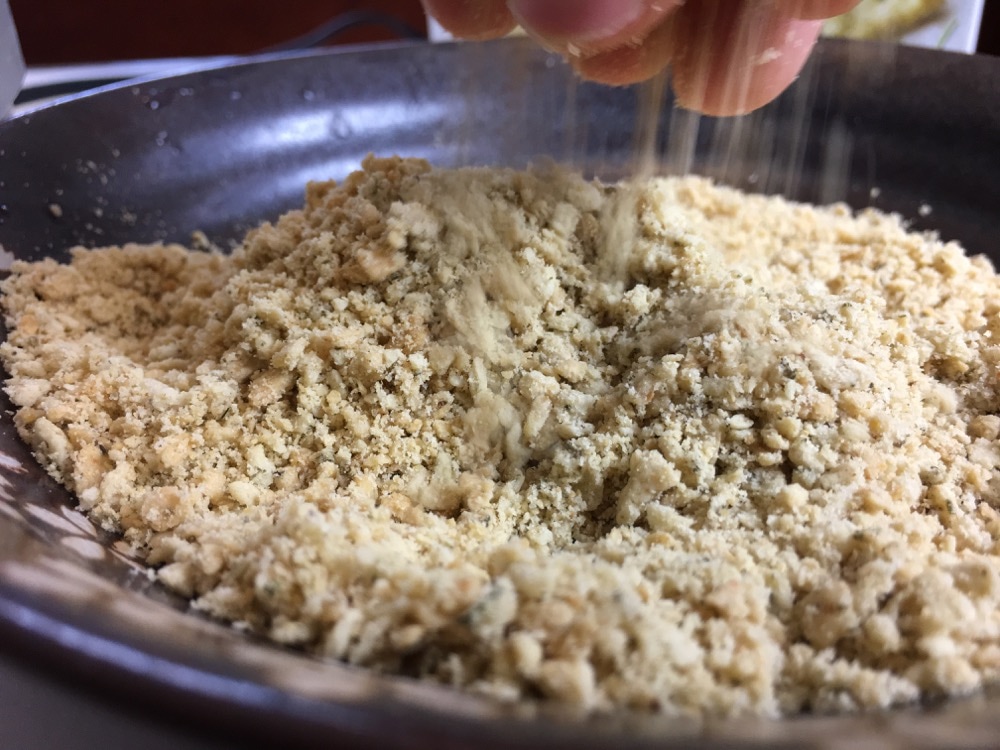 Prep the Breadcrumbs If you’re using the Simple Mills Rosemary crackers, process them into fine crumbs. If you’re using gluten free breadcrumbs, toss them with the rosemary, lemon zest and olive oil and toast for a minute in a sauté pan on medium heat. Set aside. 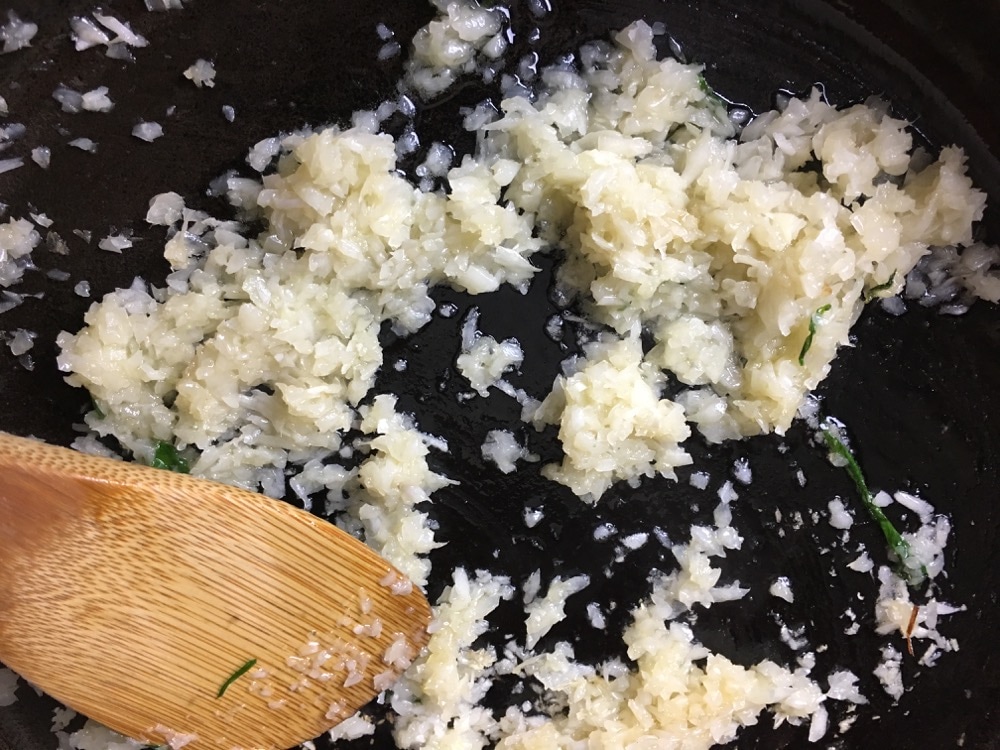 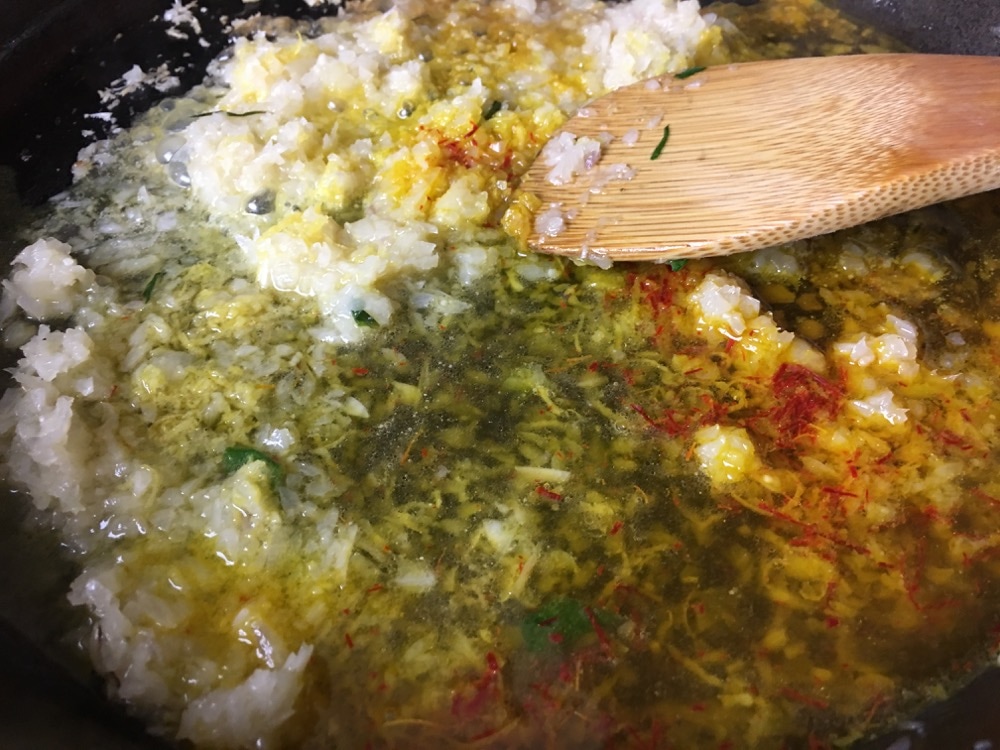 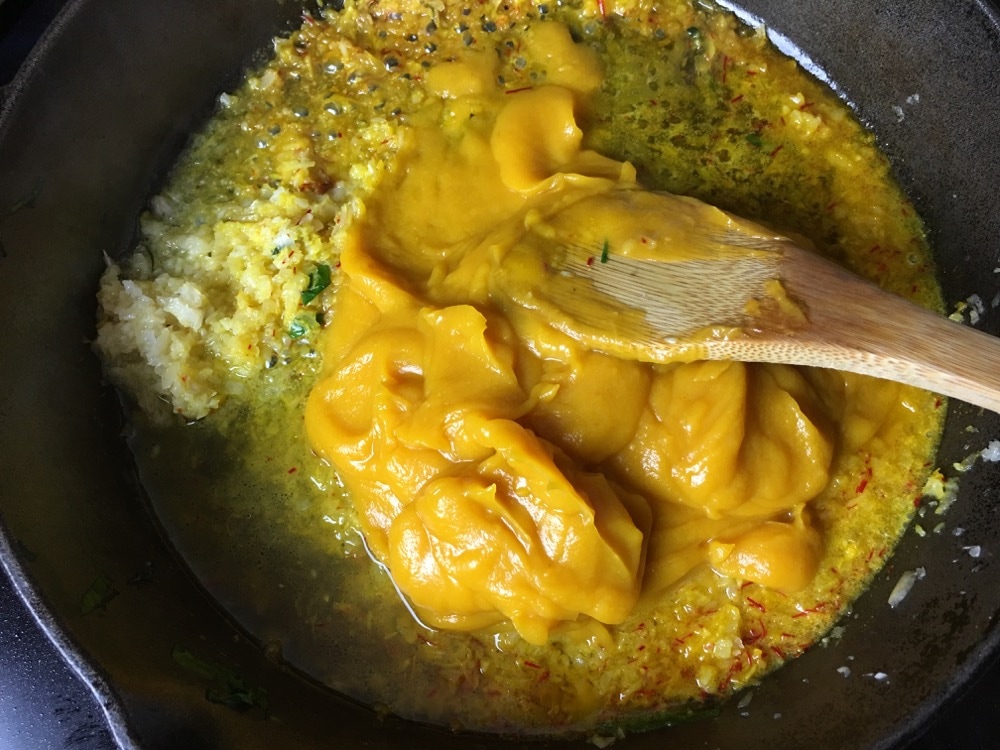 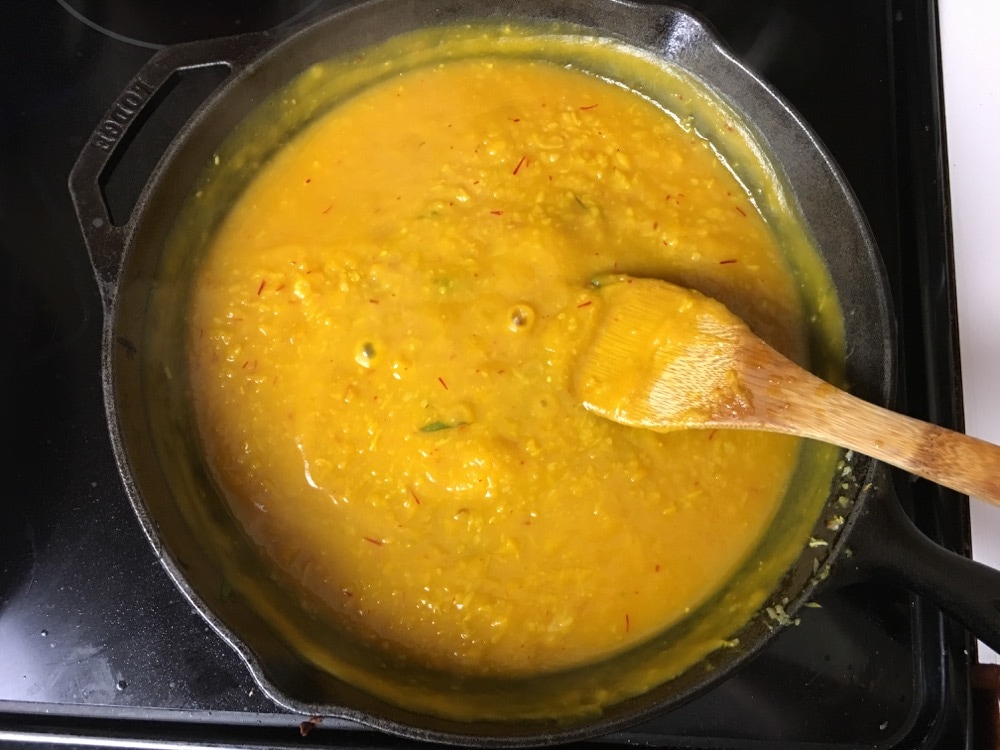 Make the Sauce Put a pot of water on to boil for the pasta. Meanwhile, heat a skillet to medium high and put in 1 tablespoon olive oil. Saute the ramp greens until they have wilted, about 3 minutes. Remove to a plate. Add the other 2 tablespoons of olive oil and sauté 2 tablespoons of the minced ramp bulbs (reserve the others for another use) and 2 garlic cloves until soft, about 5 minutes. Deglaze the pan with the lemon juice/zest and the saffron/soaking liquid. Add the pureed squash and 1 cup of vegetable stock. Reserve the remaining half-cup of broth to thin out the sauce to your liking. Add the salt and pepper. Taste and adjust the seasonings, if needed. Stir in the sautéed ramp greens. Add the pasta to the boiling water and cook 10 minutes or per the package instructions. Remove the pasta with a slotted spoon to the sauce. Coat well with the sauce. Garnish with the rosemary breadcrumbs. 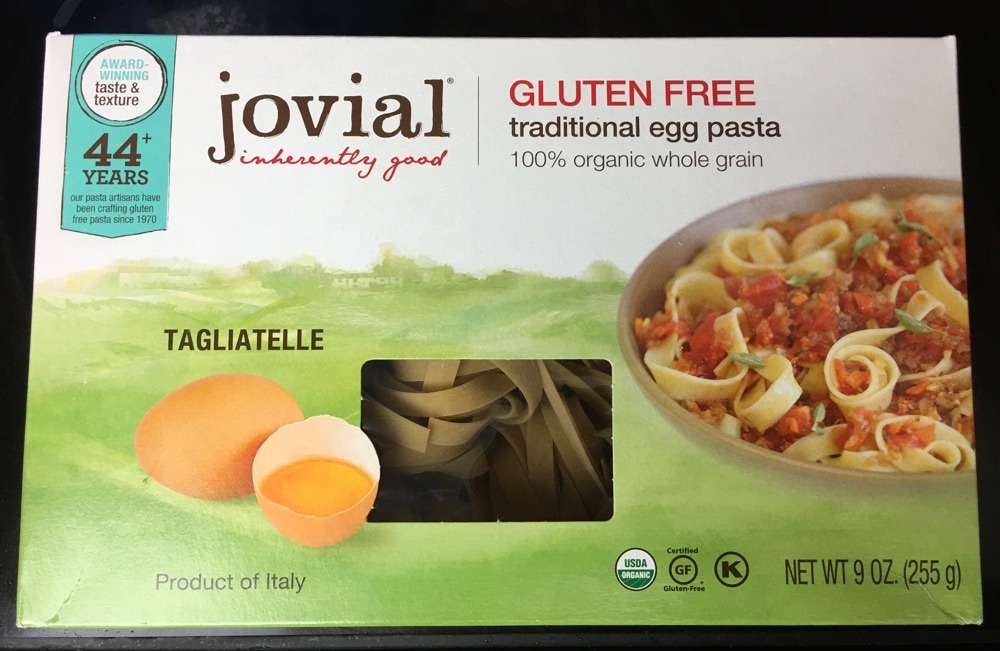 Note about the pasta: I used Jovial’s gluten free brown rice tagliatelle (made with eggs), because I wanted a pasta that would accommodate the long strands of ramp leaves. You can use any string pasta, of course. Jovial’s tagliatelle is as good as the handmade pappardelle I used to buy for this dish. Note about the sauce: The butternut squash gives this sauce structure and body. But it will thicken quickly, especially if reheated. You can add in extra vegetable stock to thin it out, if you like. Or even a little water. Note about the breadcrumbs: These are here purely for a textural punch and can be left out if you want. I’ve recently started keeping Simple Mills almond flour crackers (the rosemary is my current favorite) in the house at all times and discovered one night they make great breadcrumbs, with an easy whirl in the food processor. You can use any brand of gluten free breadcrumb and toast them with some chopped rosemary, lemon zest, sea salt and olive oil. 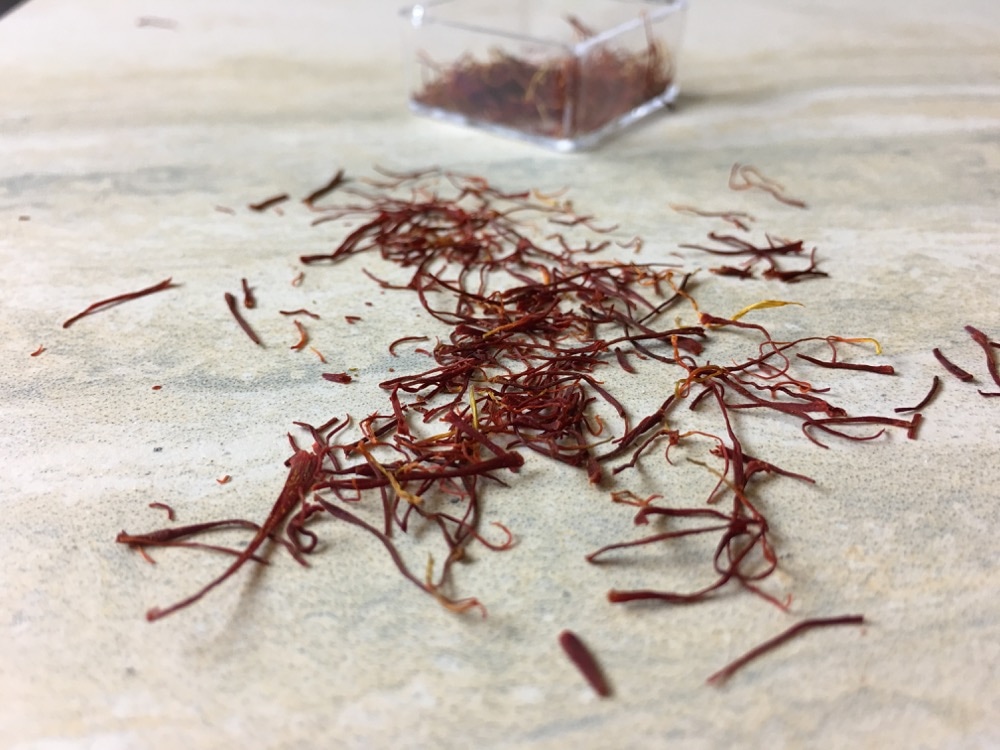 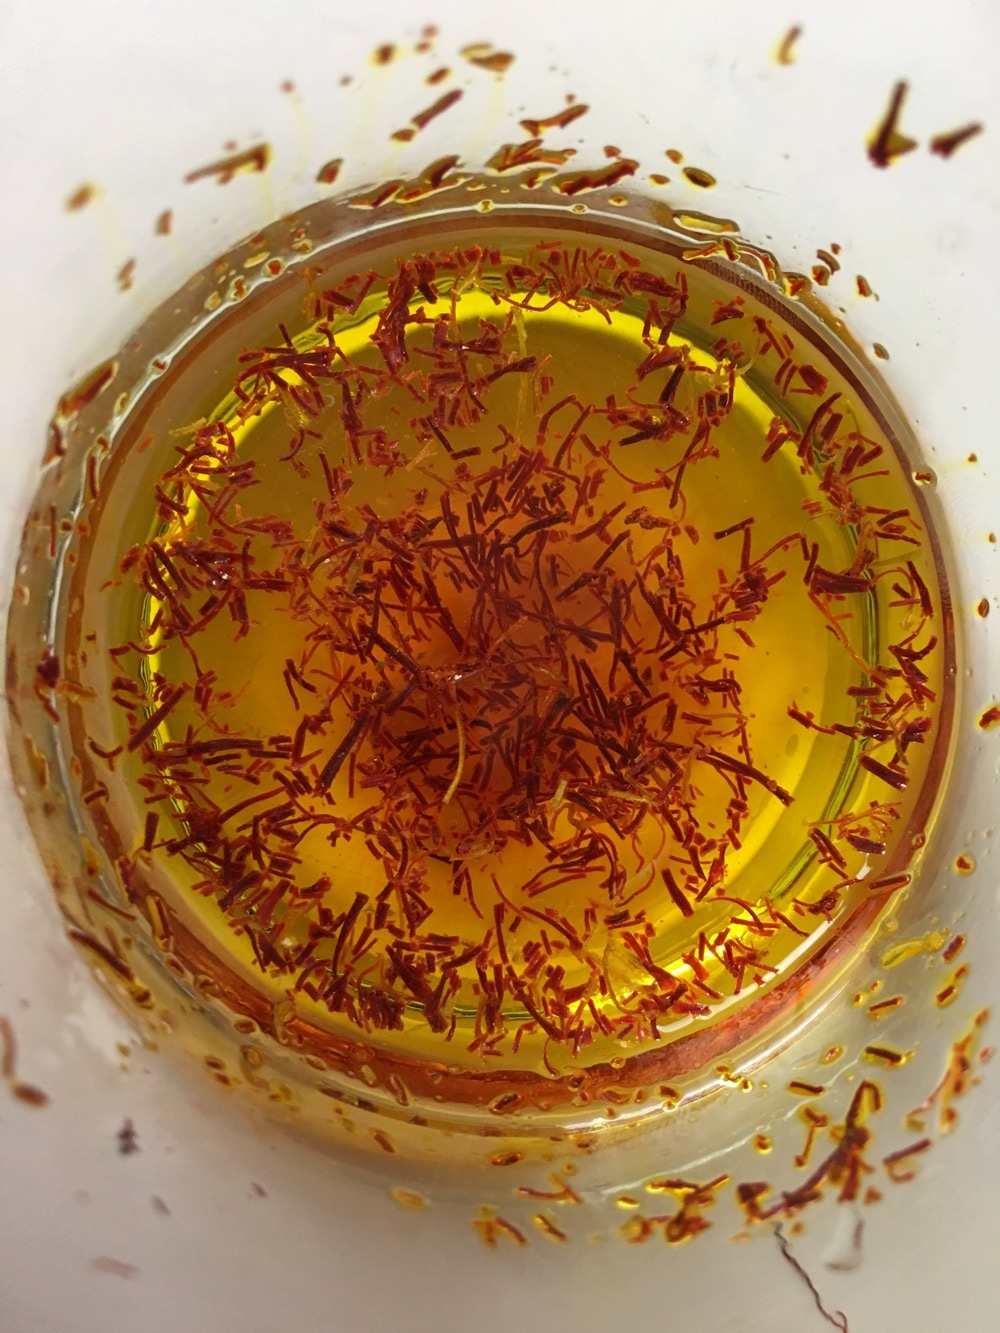 Note about Saffron: Saffron is the arguably the most exotic and beautiful spice in the world. Words defy explanation of its flavor because there is no comparison. Its price point reflects its perceived value. It is beloved. When cooking with saffron, you want to crush it between your fingertips and then soften it a bit in some liquid before adding it to a dish. A tiny bit of warm water or stock for three or four minutes is sufficient. Add the soaking liquid along with it. And never leave a single speck of it unused. Click the link below to print the recipe:
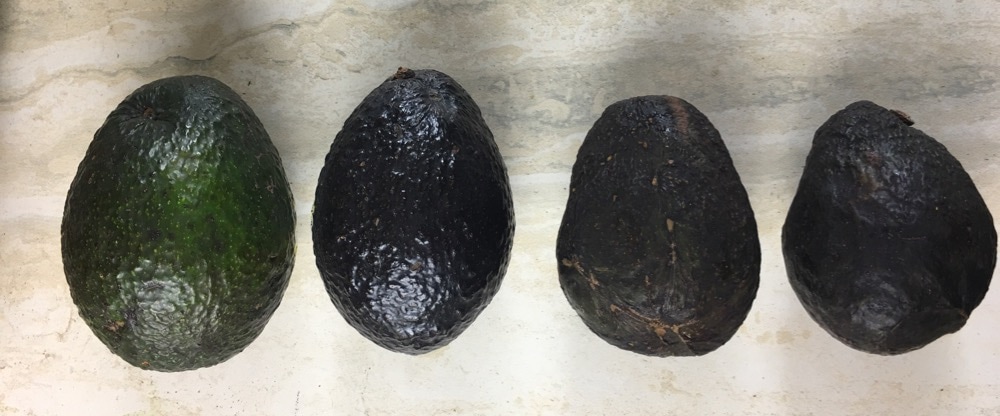 Capturing an avocado at its absolute peak moment of ripeness is a not an enterprise for one who lacks determination. It’s a practice really, one you take on for life, if eating avocados is something you intend to do. You’ll need courage, fortitude. It starts, of course, with learning to pick the right one from the market; not too hard, not too soft. It still makes me a little anxious. You can never expect to run to the grocery for a last minute avocado. The love and care of an avocado requires a strategy as well as time management skills. You must plan ahead. And then there is the wait. You must be patient. Moreover, you must exhibit the willingness to observe, to study actually, the subtle changes as they are happening. You are building a skill here and this requires focus. Avocados ripen slowly but don’t take that for granted. There is a magic window of time for perfect ripeness; and when it closes, nothing but disappointment can come to you. The avocado is elusive like that. I’ve squeezed and kneaded and pressed the skin of thousands of avocadoes so my game is pretty strong at this point. But don’t think I’m overconfident. There is never a time that I cut into an avocado, even after applying everything I know about the process, that I don’t breathe a sigh of relief at the sight of smooth, blemish free, bright neon green flesh. I celebrate my luck. 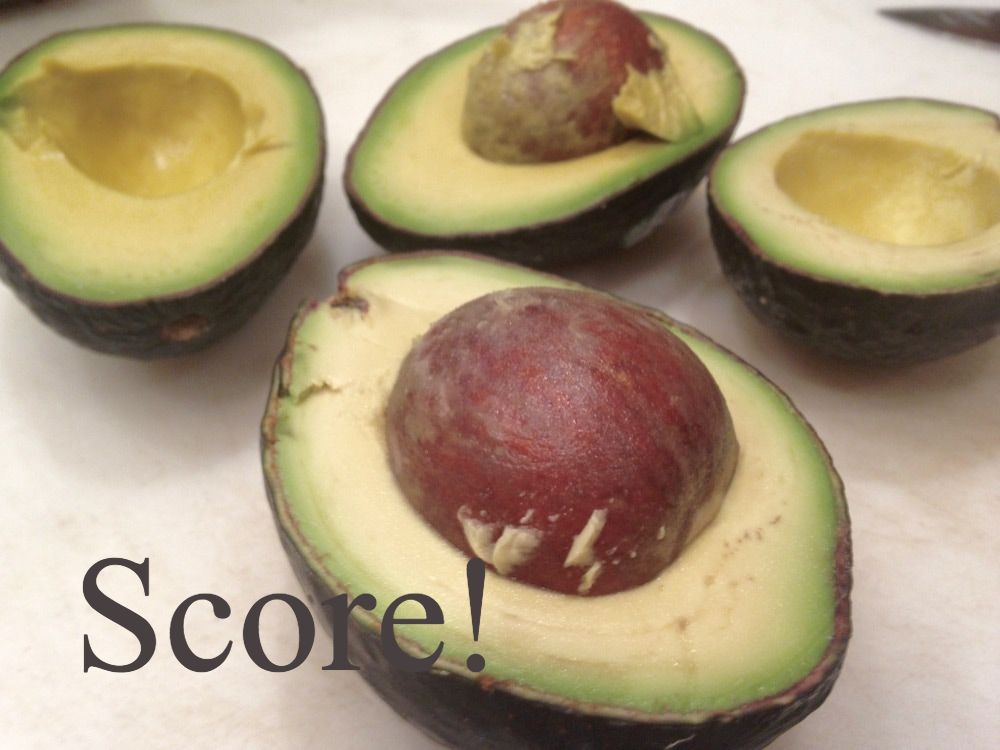 _______________________________________ Here are some tips to consider for your personal practice of avocado care: 1. While color is important, the tautness of the skin is more so. Hold an avocado in your hand and press on the skin. If it’s rock hard and neon green, it will take time to ripen and should sit on the kitchen counter until it does. If it’s rock hard and black, it may never ripen. Skip it. If the skin yields slightly the touch and is neon green, it should be kept on the counter a couple of days before being refrigerated. You could take your chances on this one though and open it now. If the skin yields to the touch and is black, this avocado has perfect potential. If not opening it the same day, it needs to go straight in the refrigerator where it will likely keep a few more days. If the skin caves in to the touch, this is an avocado whose time has likely come and gone. If the skin buckles, that means that air has gotten in between the flesh and skin. Oxidation turns the flesh brown, and destroys the flavor. See how the skin collapses in this video? That's a sign of a brown, mushy inside.  2. Once the skin is yielding to the touch, an avocado should be kept refrigerated to extend its potential. Continue to watch it though, because once air gets under the flesh, time’s up.
3. If you are only using half of an avocado at a time, be sure to leave the pit snugly inside the unused half. Cover it with the empty half shell and wrap it tightly with plastic wrap. Store in the refrigerator. 4. Anytime you want to extend the bright color of a dish made with avocado (guacamole comes to mind), lay plastic wrap as tight as possible on the surface. |

Authorprana is the common thread running through everything i love....the sun on my face...the sunlight through my camera.... breathing the ocean air... the sound of my breath...laughing with family + friends. A cookbook no cook should be withoutArchives
November 2018
Categories
All
|
|||||||||||||
 RSS Feed
