healthy recipes, cooking technique + other practices for a life of vibrant energy.
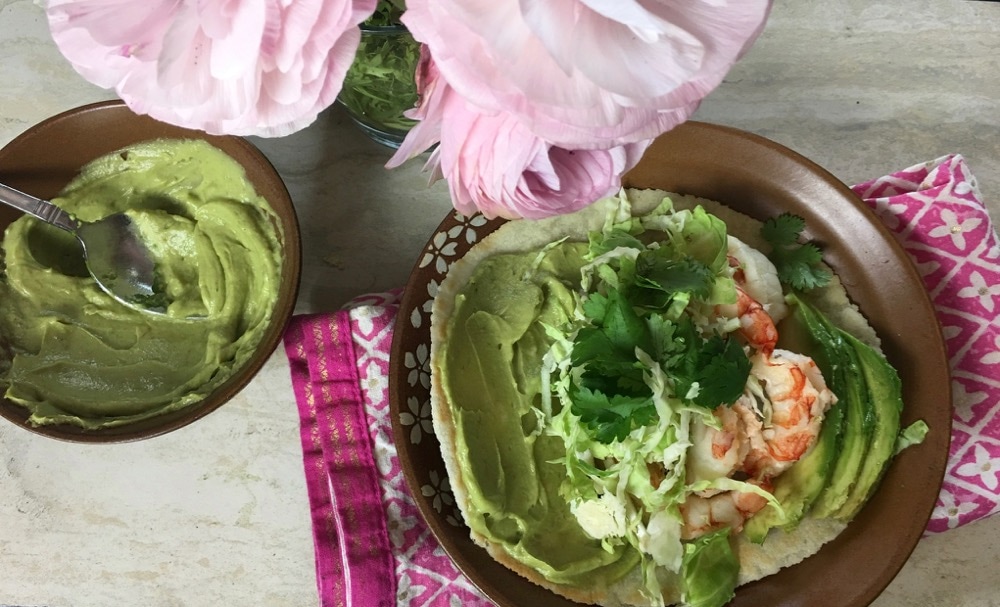
 I remember the first time I heard about fish tacos. I was in college. Where I grew up in rural Kentucky, there was only one kind of taco: hard shell with ground beef and seasoning from a little packet. I couldn’t comprehend the idea of fish + taco. But things change. We grow and evolve. And as we do, so does our idea of a perfect taco. These days, I’ve seriously honed in on what’s necessary for me personally in a taco. Soft shell….mayo….fresh avocado…..crunchy cabbage + cilantro garnish. The filling is negotiable, as long as it’s healthy. Fish or vegetables, please. Going out for tacos these days usually means a compromise of my mostly grain free diet. A corn tortilla here and there is a sacrifice I am able to make for the cause. Life is short. Tacos are important. But at home, there is no need for compromise of any kind. A beautiful little family food business in Austin Texas has taken care of that. Siete Family Foods Almond Flour Tortillas are as close to regular flour tortillas as is possible. They perform beautifully warmed up until they’re just pliable or beyond, if you like, to crispy in a cast iron skillet (or any kind really.) They are also grain free + gluten free + dairy free + soy free. These tortillas have truly been a savior for me; so you will no doubt see them here again. I use them for breakfast with scrambled eggs and lunch for a sandwich wrap. So many possibilities! I wish there were more compassionate food companies like Siete around. Check out their family story and other products here. 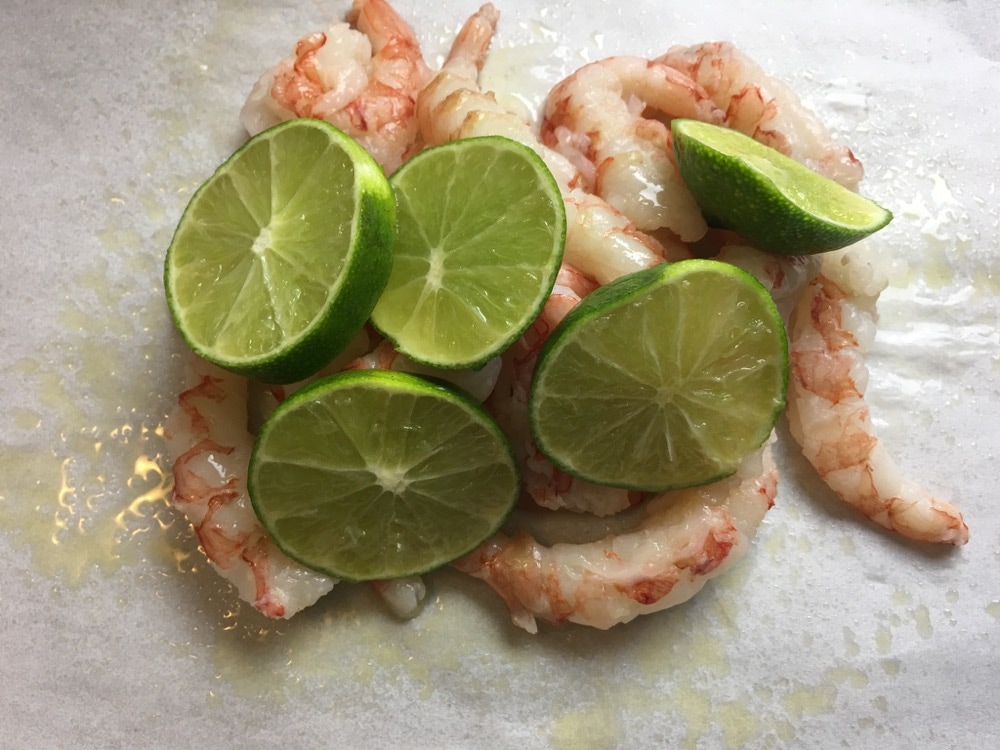 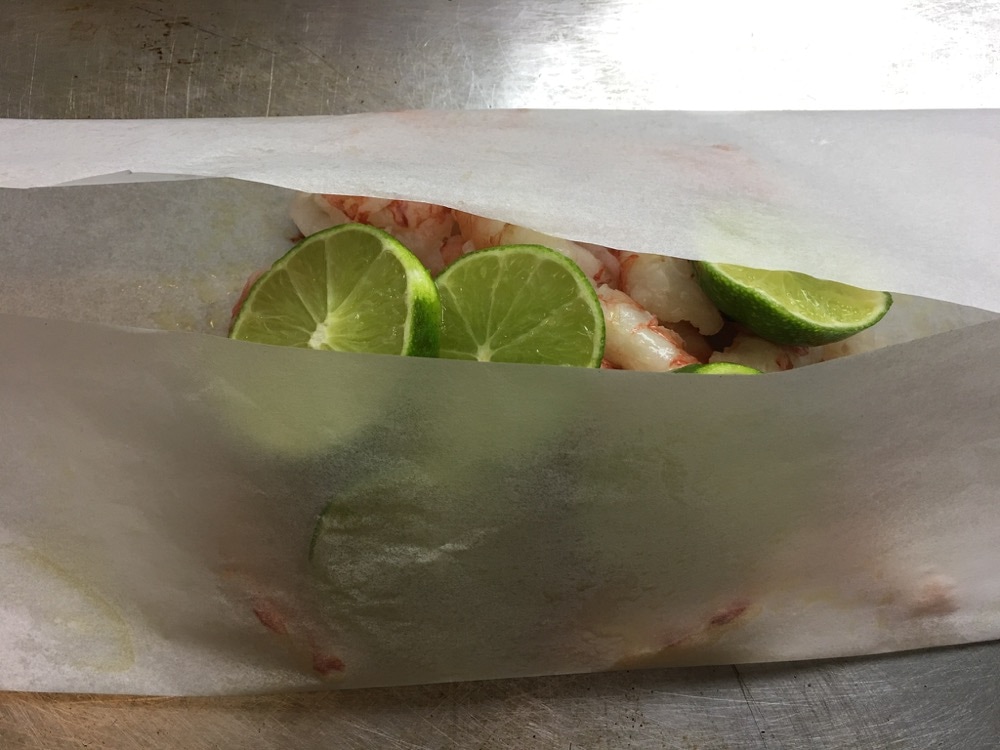 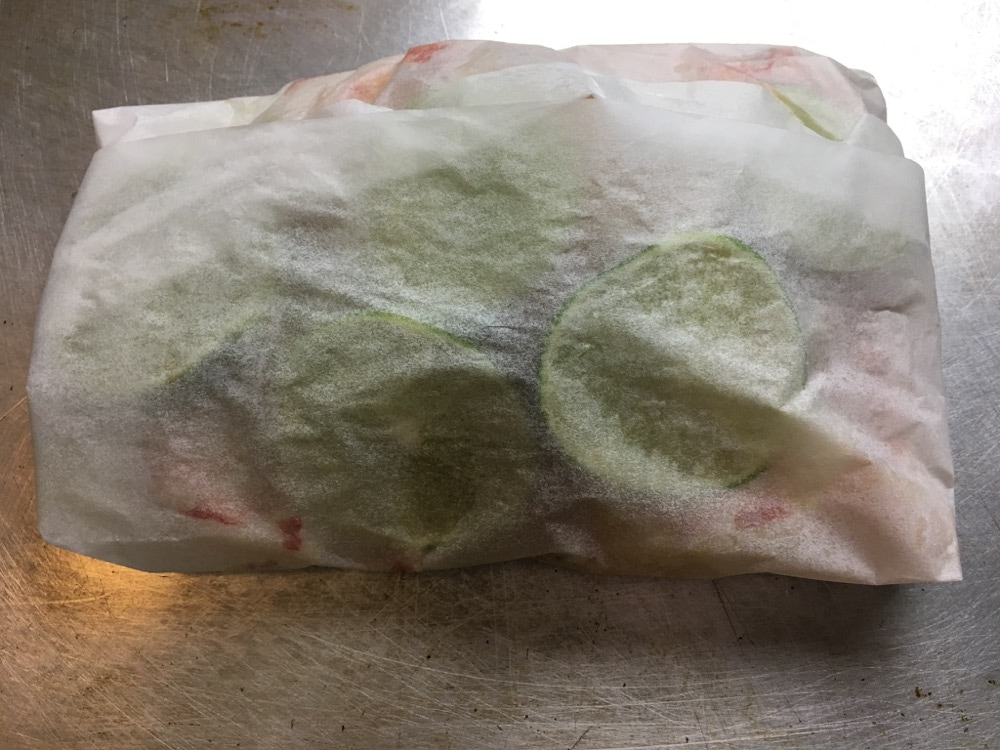 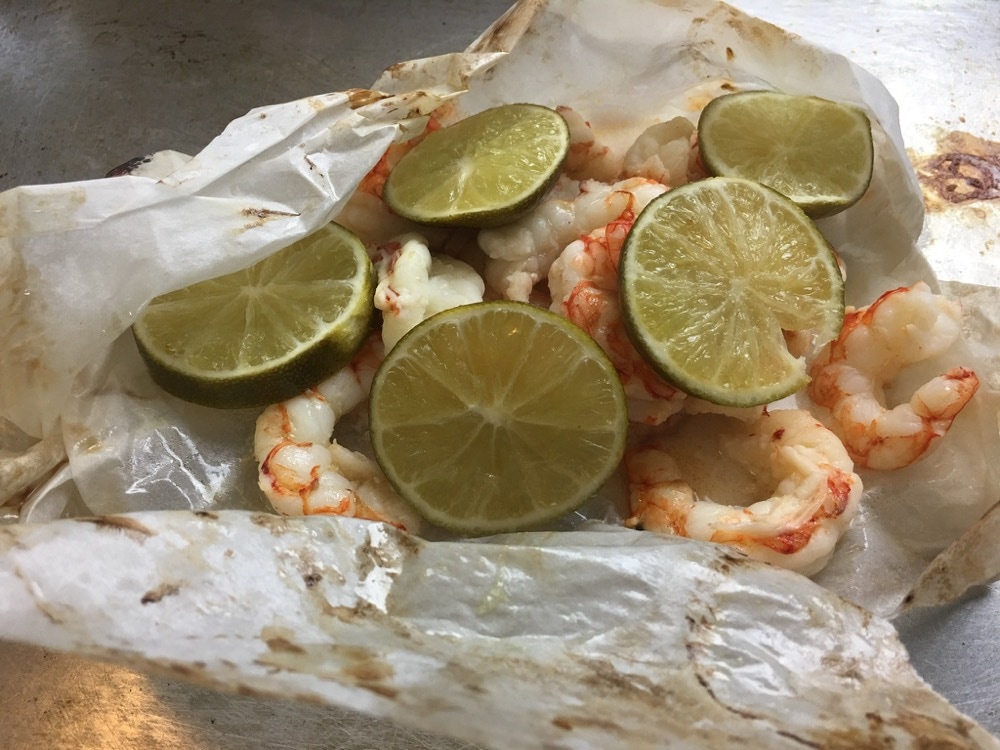 Cooking in Parchment If you don't eat shrimp, you can make this same dish with any kind of fish, chicken or cubed vegetables. Whatever filling you choose for your tacos, you can follow the same directions for cooking in parchment paper. Cooking in parchment is brilliant and has become my default method for cooking protein. It's a forgiving technique, saving you from any tendency to overcook. The food steams in its juices and whatever citrus is enclosed. (Some kind of citrus should always be included.) And clean up is easy. 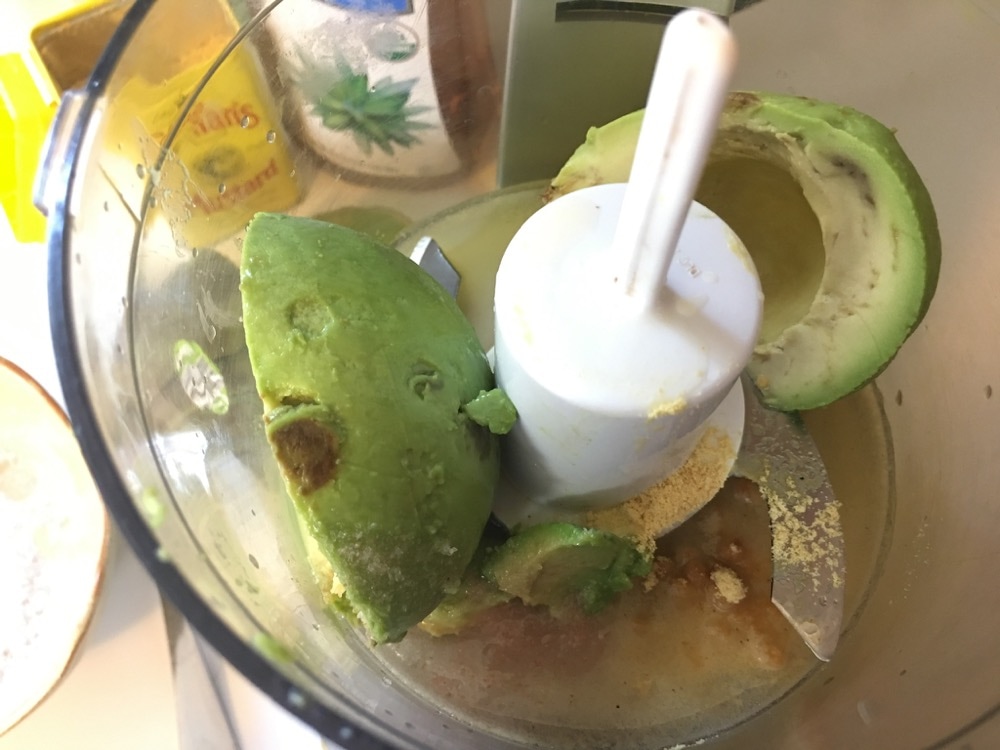 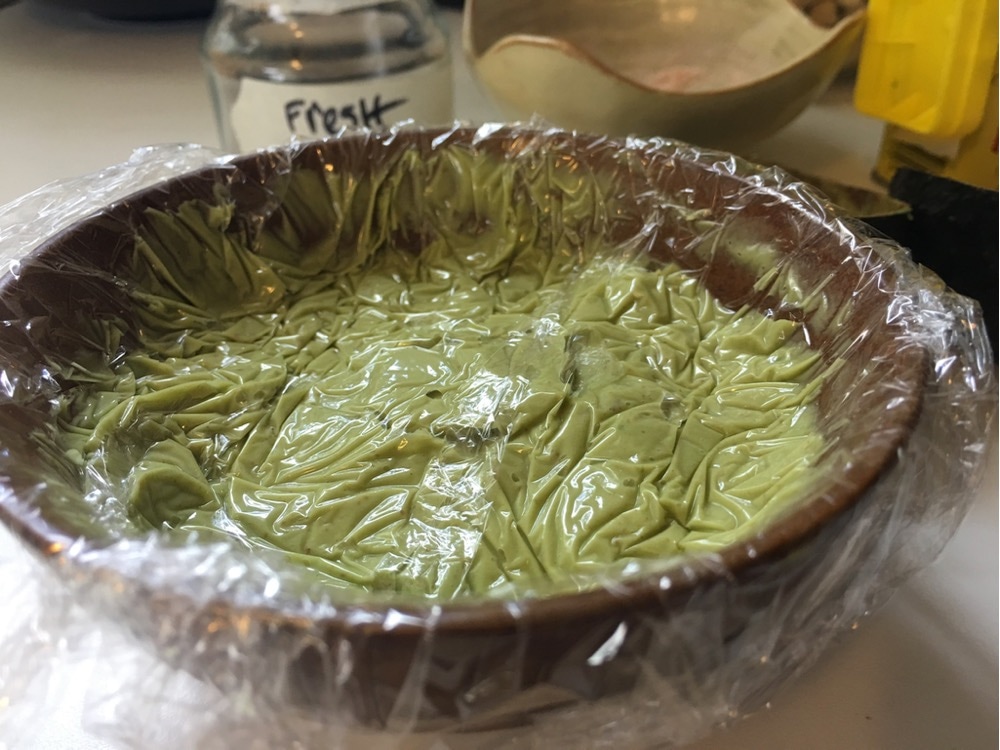 Avocado Cumin Aioli The art of pampering an avocado to peak ripeness is deserving of a dedicated blog post. (Click here.) And here, this is where you will want one that is ripe with bright neon green flesh, with no internal brown spots. Without the cumin and lime zest, this recipe is really a foundational mayonnaise substitute that can be transformed into all kinds of flavored sauces. If you love heat, consider adding a few drops of Sriracha or cayenne powder. Or pulse some cilantro leaves in for a cilantro aioli sauce. The possibilities are endless. Be sure to cover the avocado aioli at the surface with plastic wrap. This will preserve the color of avocado a bit longer than without; although admittedly this is not a very wide window of time either way. You will want to eat it within 24 hours and it will deepen in color, but should still taste fresh. 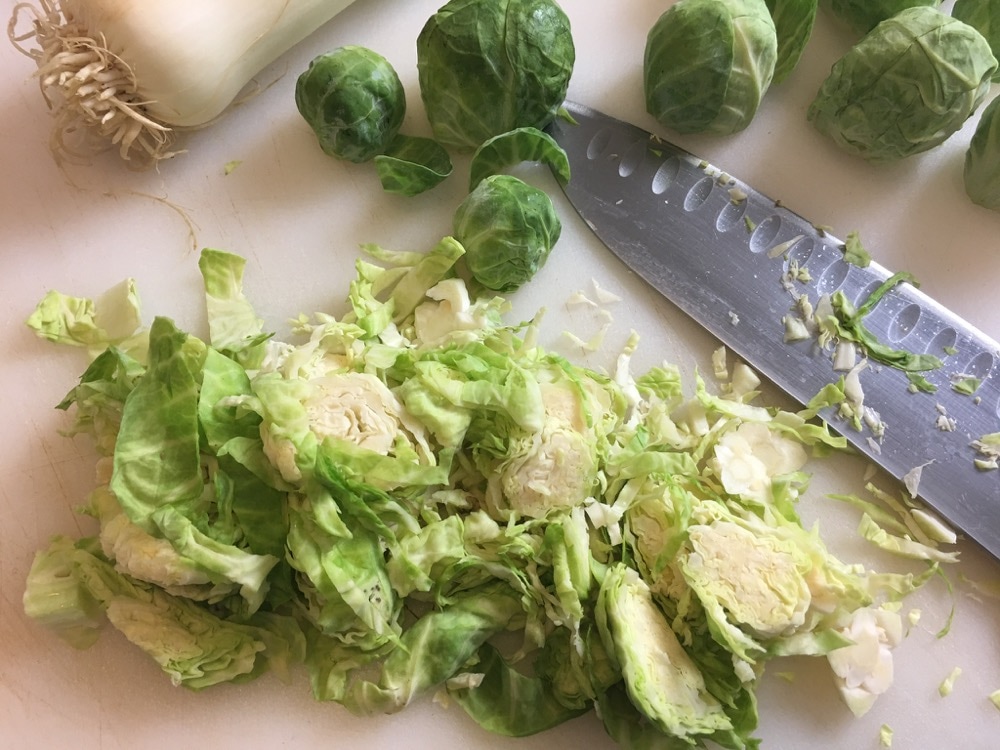 Brussels sprouts + leeks Cabbage is my favorite garnish for tacos. Brussels sprouts are tiny cabbages. You can substitute thinly shredded cabbage instead. It's not hard to find pre-prepped cabbage mix for coleslaw these days. I buy them often. Leeks are always paired with cabbage in my kitchen. I love their similar texture and color. Any leftovers Brussels + leeks can be stir-fried for a quick side dish. ____________________________________________________ The Recipe Shrimp Tacos + Avocado Cumin Aioli + Brussels sprout slaw + Almond Flour Tortillas Serves 2 to 4 people Taco Ingredients 1 pound medium size wild caught shrimp, uncooked and thawed 4 Siete Almond Flour Tortillas or tortilla of your choice Olive oil pan spray 2 Limes ½ teaspoon Sea Salt 1 teaspoon Black Pepper ½ pound Brussels Sprouts or half head of cabbage or pre-sliced coleslaw mix ½ large leek Handful cilantro leaves Parchment paper Avocado Cumin Aioli (recipe below) Shrimp Baked in Parchment 1. Preheat the oven to 425. 2. Line a cookie sheet with a piece of parchment paper. Spray with olive oil. 3. Lay the thawed shrimp in the middle of the parchment paper. 4. Slice one lime thinly and layer on top of the shrimp. 5. Season with sea salt and pepper. 6. Fold the long side of the parchment towards the middle and then tuck the ends under so the shrimp and limes are snug inside the parchment. 7. Bake for 18 to 20 minutes. 8. Meanwhile, make the Avocado Cumin Mayo. Avocado Cumin Aioli 1 ripe avocado 1 teaspoon apple cider vinegar ½ teaspoon raw organic agave or honey Juice of 1 small or ½ large lemon ¼ teaspoon salt ½ teaspoon mustard powder Zest of one lime (reserve the limes) ¼ teaspoon cumin Process all ingredients together in a food processor into a smooth paste. Taste and adjust seasonings to your liking. Brussels + Leeks Slaw Cut the stems off the Brussels sprouts and thinly slice horizontally. Thinly slice the leeks to match the size of the Brussels sprouts (or cabbage). Toss them together. 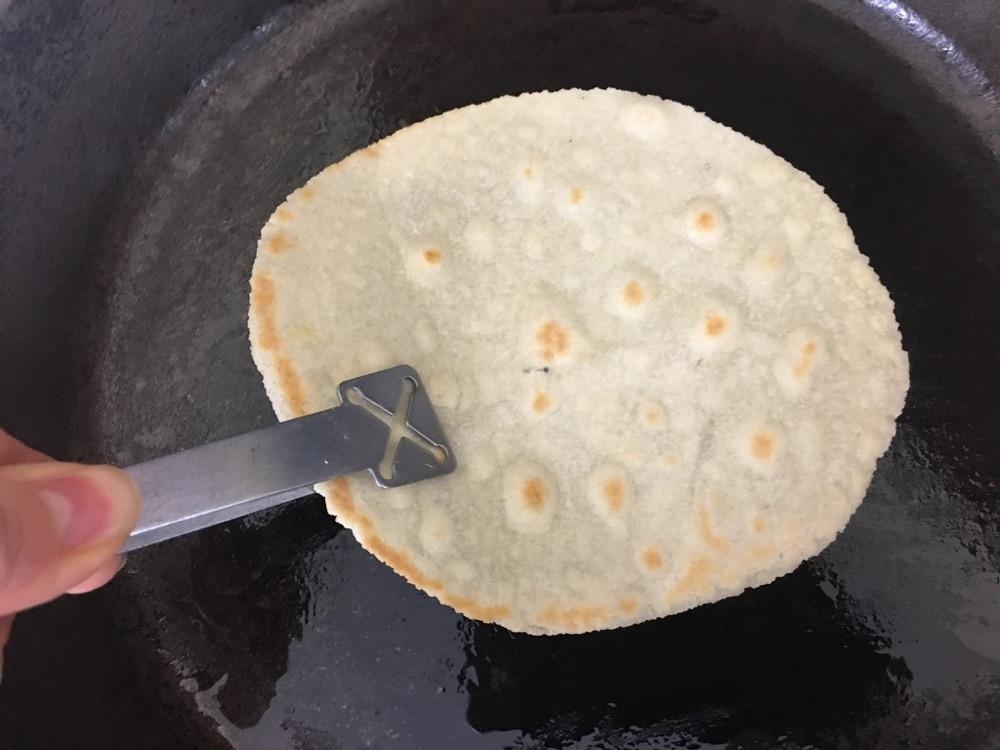 Assembly Heat up a heavy duty saute pan and spray lightly with olive oil. One at a time, toast the tortillas as soft or crispy as you like. Assemble the tacos with the shrimp, Avocado Cumin Aioli, Brussels sprouts + leeks slaw and avocado slices. Garnish with cilantro leaves and fresh lime juice. Click below for a printable version of the recipe:
 In a busy restaurant kitchen, garlic is not something you will often see a cook lovingly peel and mince. There is no time for that.
Gallons of pre-peeled cloves are instead dumped into a commercial processor daily to be broken down into a fine paste, destined to be used up by the next day. It’s a high demand ingredient, a foundational part of close to every dish on the menu. I never learned to like that task. I never liked it because it made me face something important about cooking, and thus life. There is a distance between the intimacy of moderation and the weight of excess. What we can see and taste and hold in exuberant quantities stands to lose its charm. The senses become dulled and the sensual connection, lost. And so, the romantic pungency of a single clove of garlic becomes noxious in high volume. _____________________________ On another garlic note, sometimes we need to peel more than a couple of cloves and ASAP, so here is a little technique for making that easy: blanching.
Blanching is also an excellent way to soften the edge of garlic, and may be helpful for those who find raw garlic hard to digest. In this case, simmer a little longer, 5 to 6 minutes. 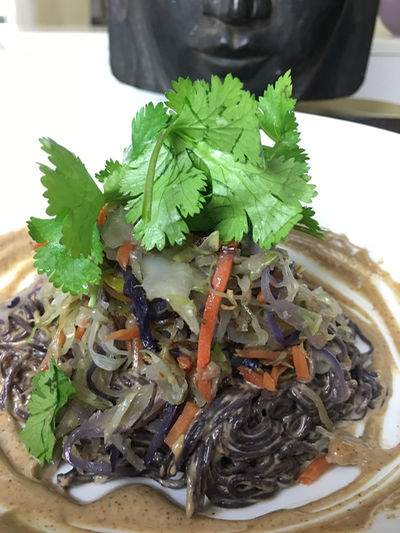 There is no way the crazy obsessive cook in me is going to sit still during a two month “elimination” diet and be content eating plain food. I will instead finagle and manipulate ingredients until I get somewhere close to the flavor and textures of the foods I have committed to avoid. I watched in envy at a restaurant the other day as a friend ate a bowl of rice noodles with peanut satay sauce. I love the way noodles absorb the creaminess of the traditional Indonesian sauce of peanut butter, ginger, lime and soy sauce. The dish is an exotic cousin to one of my other old favorites: fettucini alfredo. 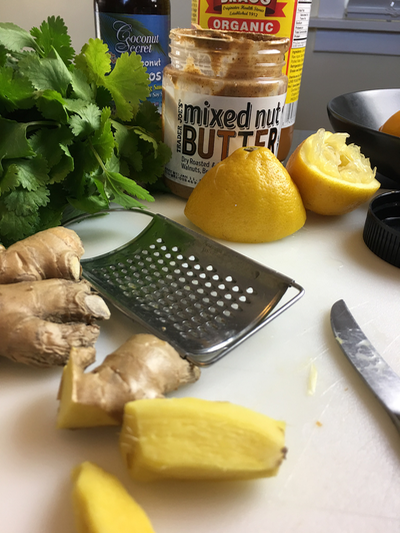 Fortunately, it’s not that hard to mimic a creamy satay sauce with allergen free ingredients using any of the other nut or seed butters on the market. I used a peanut free mixed nut butter from Trader Joe’s that I have grown to love. (Only $5.99 for a 12 ounce jar). You could substitute tahini, almond butter and so on. I used coconut aminos instead of soy sauce. I feel pretty good about the anti inflammatory cast of this sauce: fresh ginger, garlic and lime or lemon juice, olive oil, apple cider vinegar. And cilantro as a garnish. These days, I treat cilantro like a leafy green instead of an herb finely minced to death. Just pile on a handful of the whole leaves. 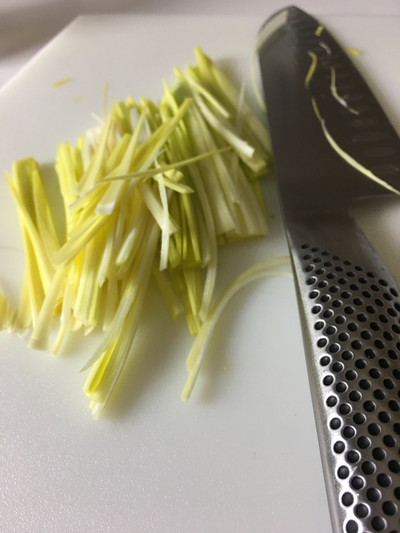 When I am completely avoiding grains, I will enjoy this sauce with some stir-fried cabbage and leeks. The long julienned strands, caramelized until sweet, twirl on the fork like string pasta, and when necessary, bring satisfaction. But today, thanks to the generosity of Dr. Mark Hyman’s elimination diet, which allows the occasional GF whole grain, I tossed the cabbage and sauce in with this new product: Lotus Foods Forbidden Rice Ramen noodles. Ancient black rice is the new brown rice: supposedly higher in phytonutrients. These noodles cook in 4 minutes and are delicate but not so much that they can’t stand up to the heavy sauce and cabbage. In fact, the pasta absorbed the sauce in exactly the way I had hoped and the dish turned out to prove my point: there is no need to sacrifice flavor and texture for good health. THE RECIPE
Start with the cabbage and leeks 1 head of green cabbage, finely julienned in long strips (Or save time with a package of pre-cut cole slaw mix) 1 leek, finely julienned lengthwise 1 Tablespoon extra virgin coconut oil In a saute pan on medium high heat, melt the coconut oil and add the leeks. Leave them to begin to soften for about 5 minutes before adding the cabbage. Stir the two together and cover. Maintain the heat at medium so the cabbage doesn’t scorch, stirring occasionally. Continue to cook until the cabbage has caramelized, about 12 minutes. Meanwhile, put a pot of water on to boil for the pasta and start the sauce. The Sauce Process in a blender until smooth: 1 cup nut or seed butter of your choice Juice 2 limes or 1 lemon 3 inches fresh ginger 1 clove garlic 1/4 cup coconut aminos 1/2 cup olive oil 2 Tablespoons apple cider vinegar 1/2 cup water 1/4 teaspoon salt Taste and add more water if the sauce is too thick to pour. The amount of water will vary depending on the type of nut or seed butter you are using. Also add more coconut aminos or salt to your liking. When the cabbage and sauce are ready, drop one of the Forbidden Rice Ramen blocks into the water (one for each person) and set the timer for 4 minutes. Remove from the water and strain well. Toss the noodles with a couple of tablespoons of the satay sauce and top with generous amounts of stir fried cabbage and cilantro. Finely sliced cucumbers and raw cashews are other favorite garnishes. Here is a description of the Forbidden Rice noodles 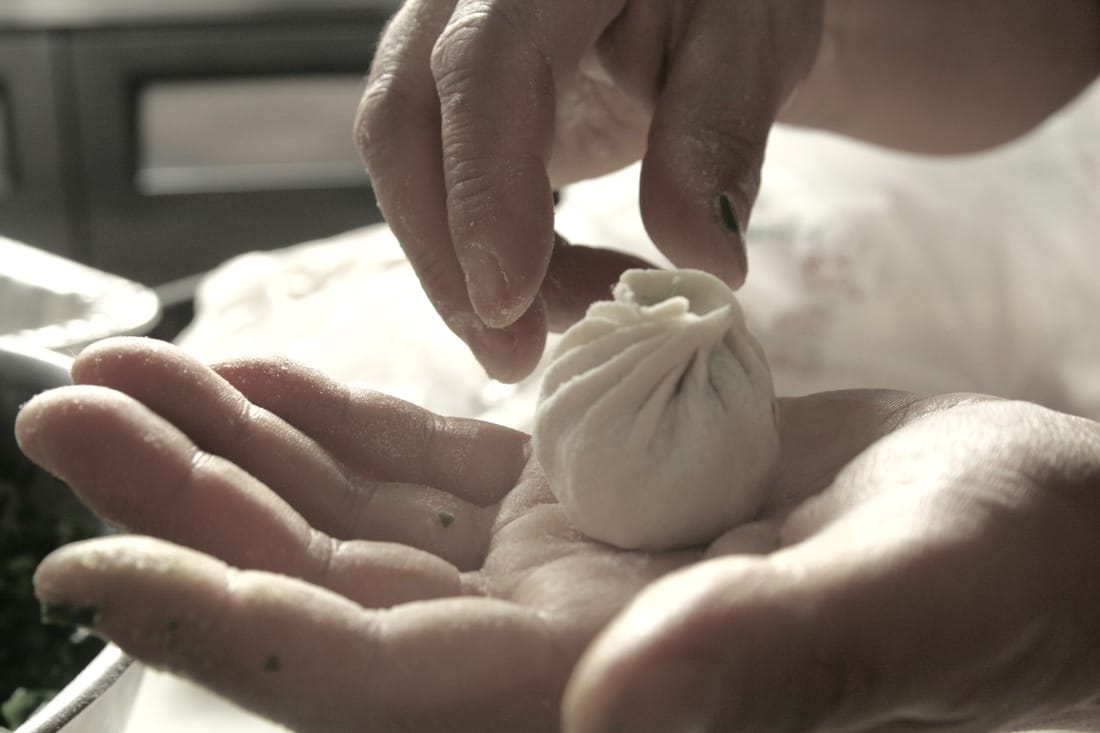 The kitchen has always been a place of meditation for me. The chopping, the stirring, all of it are moments of pure engagement, where the rest of the world melts away. Even in the bustle of a restaurant kitchen, mid service, I find that still point where it feels that all of our movements have blended into seamless oneness. A ballet of sorts. When a language barrier exists between two people, another sort of peace can arise. When there are no - or few - common words between you, there is no attempt to talk. With no means of chit chat, silence loses its awkwardness. I love silence. So I had the pleasure of cooking with a Tibetan Buddhist monk in our test kitchen the other day. It was an honor because I have never had the opportunity to be in such close company with a monk, and honestly, they’ve always held an intrigue. Sonam speaks little English, and he was there to teach me how to make his country’s traditional dumplings, called Momo. 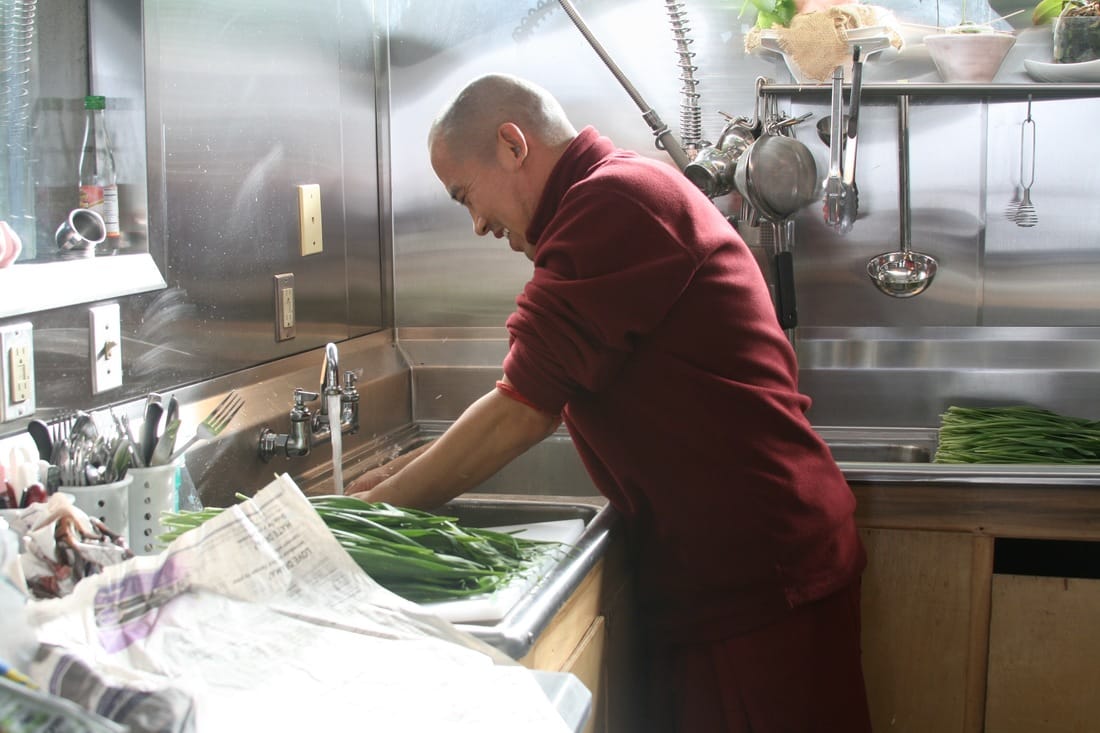 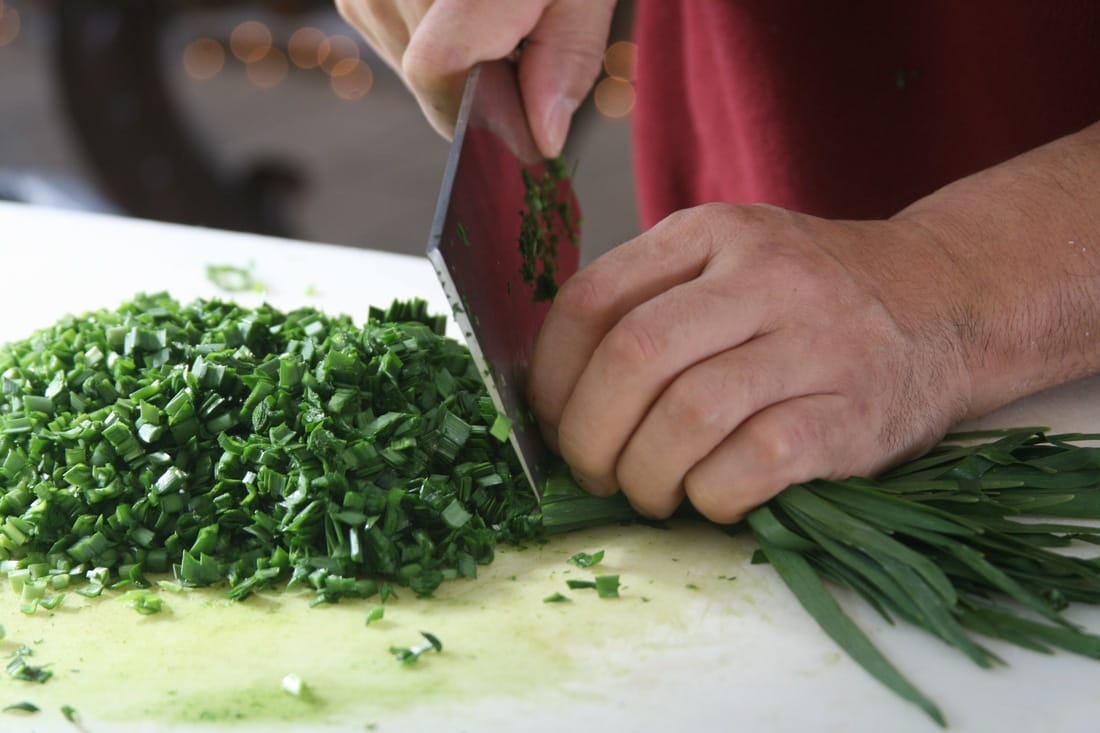 As he set himself to work, he was, as I would have imagined, calm and steady in his approach. There were 500 dumplings to be stuffed and pinched that day, and me hovering over with camera and notebook. But he went about the project with the confidence of someone who had been doing this since 7 or 8 years of age. I would guess he is in his 30s now. The sun was perfect in the test kitchen that day, hitting the stainless steel in exactly the way that thrills me, and makes documenting a recipe feel like a collaboration with god. It was perfect, because as Sonam chopped a field of chives, and then rolled the dough into little balls and flattened them with a broomstick handle cut into a dough pin, the sun danced with him. And I watched, in silence. 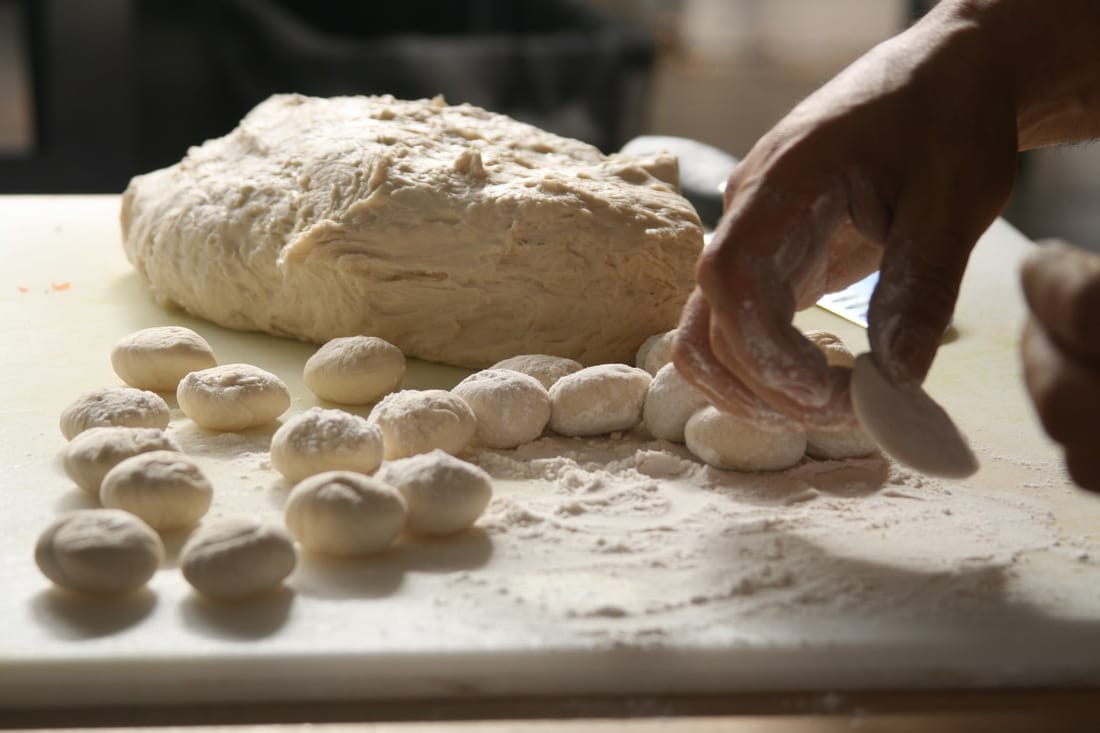 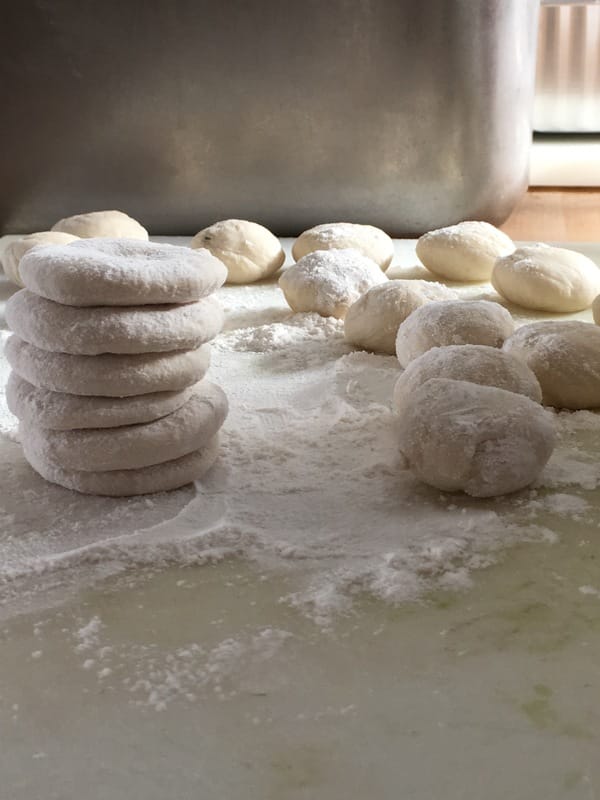 I am not suggesting that Sonam did not talk much because he is a Buddhist monk. That is only a fantasy that I, as a practitioner of meditation and admirer of Buddhism, might like to project onto him. On the contrary, I believe if we shared a common language, he might have filled my head with all kinds of stories while he worked. His constant smile and occasional attempts to explain something indicated he might have liked to talk. A lot. And some language would have come in handy when he finally finished the dough - nothing more than water and flour - and started trying to teach me how to stuff and shape the little dumplings the way he did. The way his mother taught him back in Tibet. And the way he has done in every monastery he’s lived in since leaving her kitchen. The chives were the hardest. Slippery with oil, it was hard to wrestle them into the pocket while at the same time pinching the dough in just the right way. When we moved on to crab with grated potato and carrot, it was easier. But it was never easy and I only managed to get it right twice all day. I’ve learned to roll grape leaves and make empanadas and some other little foods shaped by hand, but the Momo was hard. Despite the fact that Sonam would take the time, over and over, to slow down and let me watch his method closely. His patience was boundless. But I learned that mine was not. I learned that there can be a point where I will give up. Meanwhile, he swiftly continued to stuff and pinch the rest of them himself into perfect little scalloped purses. We were lucky for my mistakes though. We steamed and ate those at the end, saving his beautiful ones for our customers at Ramsi’s Cafe on the World. 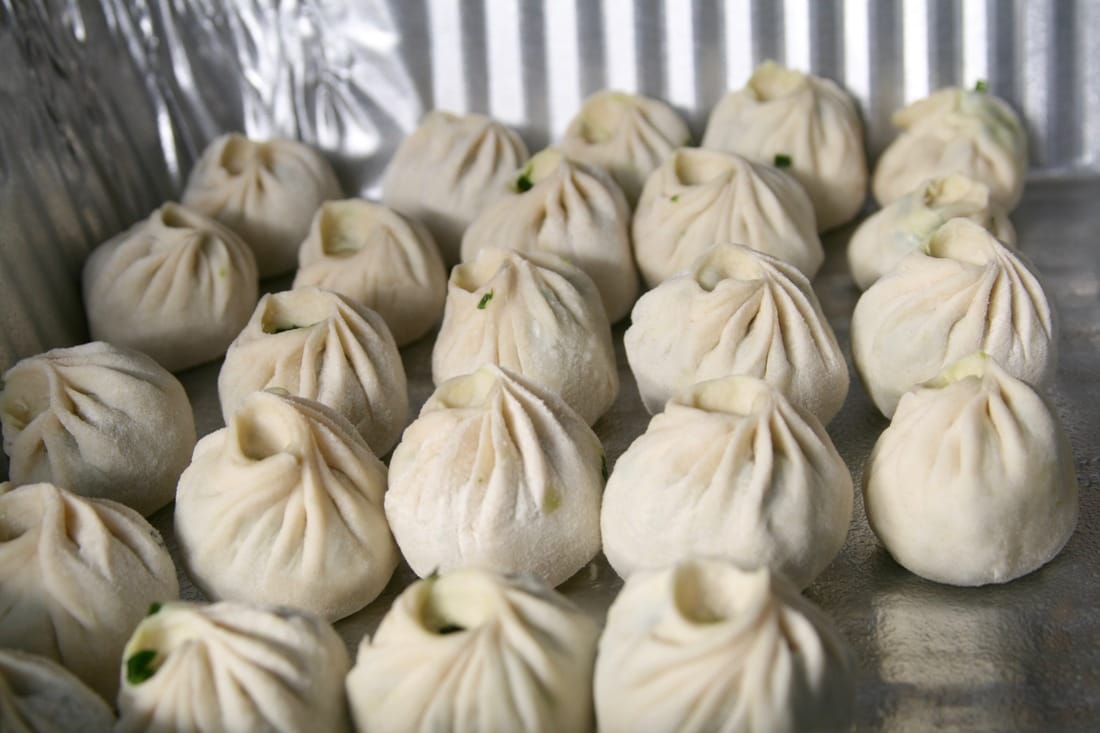 
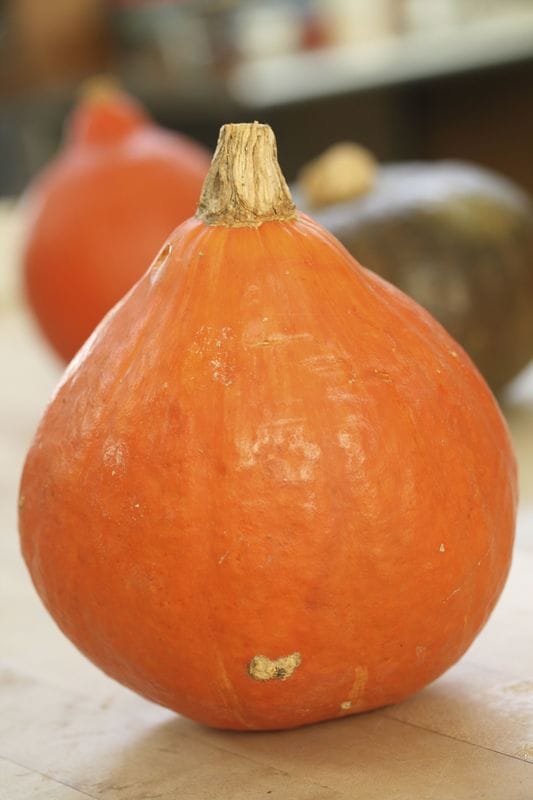 My eyes have always passed over those huge displays of assorted pumpkins and squashes in the fall, piled on top of bales of hay at the farmers' market. They bore me. I have never found them beautiful. But one day, a Red Kuri stood out from the heap. In a world of prickly, bumpy, funky shaped squashes, the Red Kuri is a graceful lady, with elegant curves and smooth skin. Her color is the warmest shade of orange, that specific hue that always captures me no matter the medium. In her most perfect form, she is the shape of a teardrop. And her beauty is deep. When roasted, the flesh of the Red Kuri maintains its rich depth of color. It’s mellow and sweet. Butter. The brief availability of this variety just adds to her mystique. Now when I come across the Red Kuri, I buy as many as I can without embarrassing myself. And the roasting starts. 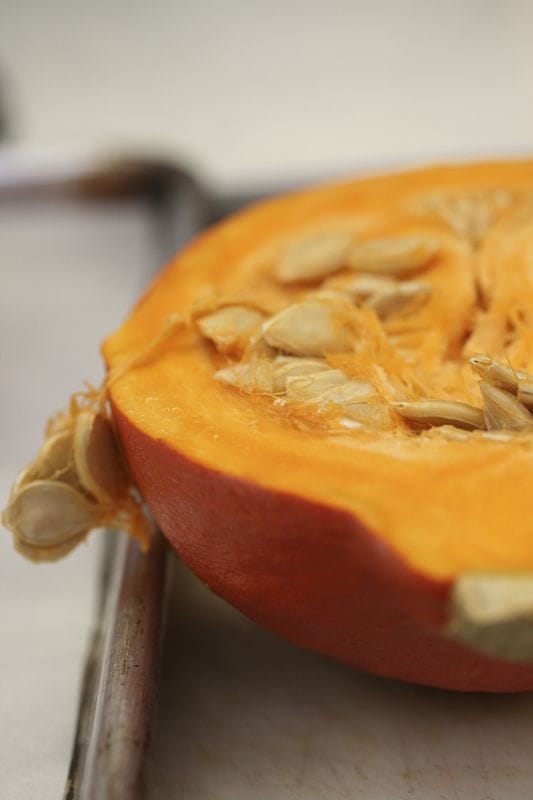 It’s a simple act, roasting a squash. Just cut in half and place on an oiled baking sheet. Don’t even bother to wrestle out the seeds beforehand. Once cooked, they will easily yield to the spoon for discarding. If you’re a gardner, by all means, take the seeds out before roasting and save them for planting, or clean and roast them for a snack. Certainly there are other techniques for cooking a squash. You can spend time cutting away the tough skin and then dicing and boiling or steaming or grilling. I have done it. But what you get from the ease of roasting, you can take another step further: puree into a soup, mash into a casserole, dice into a salad. Or you can eat the squash straight out of the shell. My new favorite: spoon out the flesh with an ice cream scoop and serve on top of lentils, with grated raw parmesan. It’s a simple supper that feels like a treat. 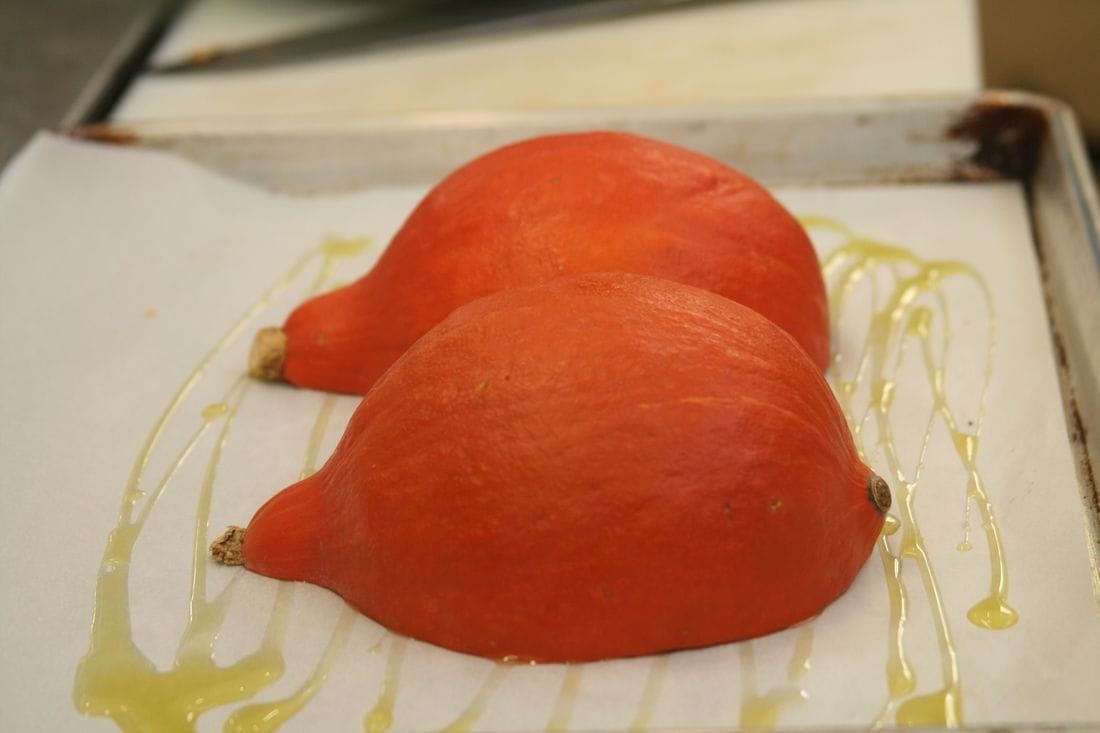 The roasted squash in this recipe is the highlight of a gluten free, hearty winter green casserole. This is perfect winter comfort food. Every ingredient is health enhancing, from the super nutritious kale (swiss chard would be great too), the beta carotene and fiber of the squash, the unique fat composition of the coconut oil and the vitamin E and other phytonutrients in the walnuts. Full of the warm spices that our bodies naturally crave in winter. The blend here is just a suggestion; do you have your own favorite? When you can’t get your hands on the Red Kuri, look instead for her almost as lovely cousin, the Kabocha. Otherwise, any small pumpkin or butternut or acorn squash will work. Even the sweet potato would stand in just fine here. The gluten free flours in the recipe are almond and amaranth. Amaranth has a high amount of protein compared to other grain-like foods. You could definitely substitute teff or chic pea flour for the amaranth and change up the proportions of each if you like. And chopped almonds or pecans would substitute perfectly for the walnuts. INGREDIENTS 1 or 2 Red Kuri, Kabocha or Butternut squash or 2 acorn or sweet potatoes, cut in half vertically, a total of 2 to 3 pounds 1 bunch of kale, any variety 1 red onion 1 tablespoon extra virgin olive oil, for roasting the squash 2 tablespoons extra virgin coconut oil 2 tablespoons maple syrup Half teaspoon sea salt Half teaspoon coriander Half teaspoon cumin Quarter teaspoon cinnamon Quarter teaspoon turmeric Quarter teaspoon white pepper 2 tablespoons maple syrup For the topping: Half cup almond flour Quarter cup amaranth flour (or teff flour or chic pea flour) Half cup raw walnuts, chopped fine Quarter cup plus 2 tablespoons extra virgin coconut oil, melted in a sauce pan on low heat Half teaspoon sea salt You can double this recipe if you like a thicker crust. Brush the cut sides of the squash with the olive oil and place them cut side down on a baking sheet. Put them in the oven. Set a timer for 15 minutes. Check the squash with a butter knife. If it yields easily to the knife, it’s ready. If not, continue to check every 5 minutes until the squash is easy to cut. Remove from the oven. 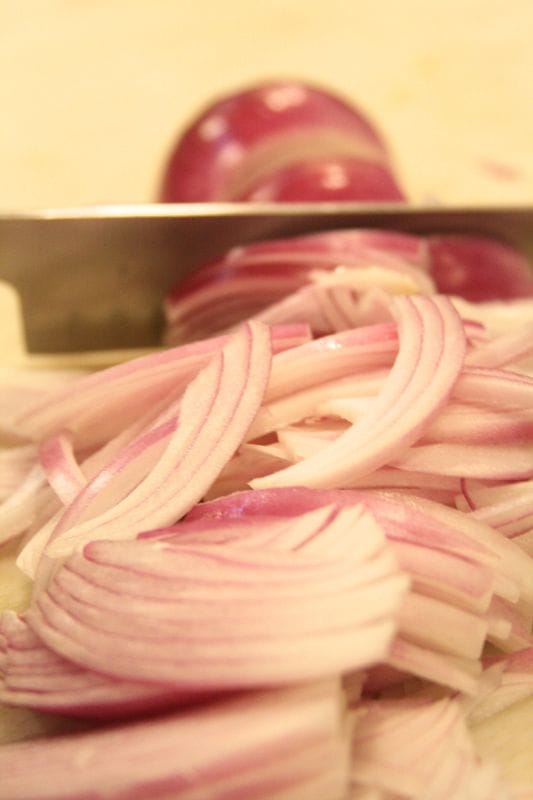 While the squash is cooking, cut the red onion in half and slice it thinly. Melt 2 tablespoons of extra virgin coconut oil in a sauté pan or cast iron skillet on medium heat. Add the onions. Caramelizing an onion is an act of patience and requires careful supervision. Keep an eye on the skillet. And stir frequently. Watch the heat. Turn it down if things are getting too hot and the onions are burning before softening. You can add a couple of tablespoons of water if that happens. NOTE: If you have a cast iron skillet, you can caramelize the onions, steam the kale, assemble the casserole, top it and bake the whole thing in one pan! While the onions are caramelizing and the squash is roasting, wash and cut the kale. Nobody likes to eat the stems of kale. So cut them away. And then cut the kale leaves into small squares. 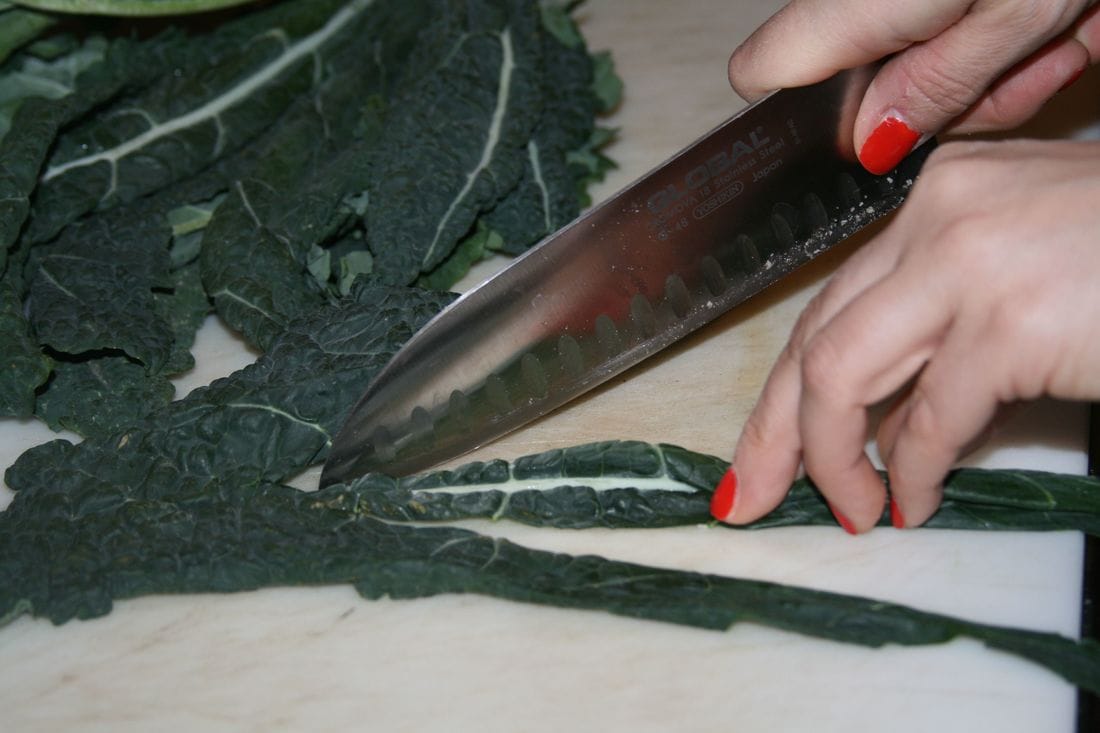 When the onions are caramelized, add the kale on top and stir together. Add 2 tablespoons of water, turn the heat up to high and cover. Steam the kale for 3 minutes or so and turn off the heat. Melt the coconut oil in a sauce pan on low heat and stir quarter cup of coconut oil into the remaining dry ingredients. Reserve the other two tablespoons of melted oil for assembling the casserole. Set aside. Preheat the oven to 350 degrees. 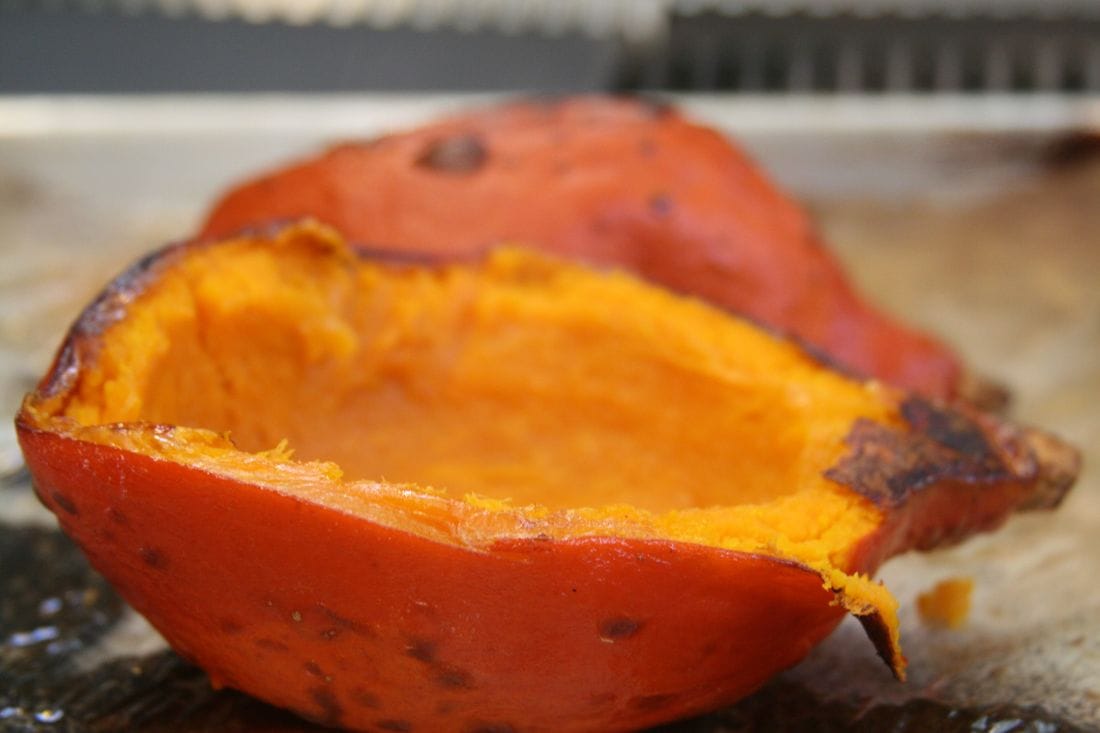 If you are using a cast iron skillet, assemble everything in it. If not, scrape the onions and kale into a shallow casserole dish. Add the spices, salt and maple syrup. Scoop out the seeds from the squash and with the back of a spoon, dice the flesh from inside the shell and add to the casserole. Gently stir the ingredients together. Spread the topping onto the casserole, completely hiding the vegetables. Drizzle the remaining melted coconut oil evenly on top of the casserole. Into the oven it goes. Bake for 15 minutes or until the topping has browned thoroughly. Gluten free flours are delicate and will burn easily. So keep an eye on it. NOTE: This is one of those dishes that you can prepare ahead of time and pull out of the refrigerator. If you do that, definitely start it in the oven covered with foil. When the vegetables are heated through, remove the foil to brown the crust.  |

Authorprana is the common thread running through everything i love....the sun on my face...the sunlight through my camera.... breathing the ocean air... the sound of my breath...laughing with family + friends. A cookbook no cook should be withoutArchives
November 2018
Categories
All
|
||||
 RSS Feed
