healthy recipes, cooking technique + other practices for a life of vibrant energy.
 When we put labels on our diet, we may create unnecessary limitations for ourselves. After many years of defining myself by what kind of diet I was following, I found a sort of liberation in the stripping away of those labels. I can tell you the precise moment I decided to stop labeling my diet. I was standing in my kitchen near the refrigerator, making a chocolate cake - a recipe of my favorite TV chef. It was December and I had been binge watching her shows, getting some rest on the couch. She is one of those celebrity chefs who uses every ingredient with wild abandon, without apology. Butter…heavy cream…bacon: all of the foods that had become "evil" in my mind. But here I was, whisking together white flour and sugar with the butter and cream and feeling something I hadn’t felt in awhile: free. LETTING GO OF THE LABELS That moment was pivotal for me. It was in that moment of abandon that I saw how caged I had become in my own dogma around food choices. I realized that I never felt free because I was always judging every ingredient as good or bad, and respectively, myself and my choices around them. Immersed joyfully in the moment of making a cake, it became clear that all of these self imposed labels were no longer serving me. Having been vegetarian for 12 years, then a carnivore, then South Beach, then a vegan, then vegetarian again, then Paleo for awhile, I was exhausted from trying to fit into a mold. None of them fit anymore. The truth is that the label itself rarely kept me within the confines of the diet anyway. I strayed often no matter what particular regime I was following at the moment. In retrospect, this was just another sign that the restrictions weren’t working for me. The story doesn’t end, unfortunately, with me discovering that I, too, could cook and eat like the uninhibited TV chef without consequences. I gained 8 pounds in the month after that initial liberation. Luckily there was another profound experience around the corner….. THE ROLE OF FUNCTIONAL MEDICINE When you visit a functional medicine doctor, you are signing up to have them look at almost every aspect of your life in their quest to understand your health. They will never give you a pill and send you away. What sets functional medicine apart from conventional is the belief that all aspects of our lives, as well as all systems of our bodies, are inter connected. Each one influences the other. So a functional medicine doctor may test your blood, order diagnostic testing like X rays or prescribe a necessary pharmaceutical. But they will also look at your sleep habits, any emotional traumas you may be dealing with, how much exercise you get, food sensitivities and much more. It is a truly holistic approach to health. In January I finally got an appointment with one of the country’s renowned functional medicine clinics, after being on a wait list for over a year. Both my daughter and I had been struggling for a few years with a set of strange symptoms that none of our local doctors could diagnose. Between us, we had seen over 20 doctors up to that point. So aside from taking 14 vials of blood, assigning me a health coach and prescribing various supplements, the functional medicine doctor insisted I do an Elimination Diet as a part of her discovery process. WHAT IS AN ELIMINATION DIET? A typical Elimination Diet works like this: you take out the “questionable” foods for a period of time, two weeks or so, and then one by one, you reintroduce each food group. The process takes up to two months because you need space between each reintroduction. Within the reintroduction phase, you pay careful attention to any symptoms that may come up. Those could be digestive problems, skin breakouts, itchiness all over, brain fog, headaches and so on. So while we waited for all of the lab tests to come back, I dutifully began the two month diet that restricted the following foods: eggs, dairy, gluten, soy, alcohol, sugar, caffeine, shellfish and corn. The plan allowed gluten free grains like brown rice; other elimination diets may restrict grains completely. IT’S NOT EASY…. The first couple of weeks were hell. I was irritable, hungry all the time, not happy. I called my health coach and complained. But around the third week, things started to shift. Weight started to drop off. I felt more alert. I felt less inflamed in my body. And I completely immersed myself in discovering foods that would make me as happy as the ones I wasn’t eating. Food is my craft; I am not going to eat plain food. THE ROLE OF INFLAMMATION Smack in the middle of my elimination diet experience, blood results came back and my daughter and I were both diagnosed with Chronic Lyme Disease with a few little co-infections alongside. Tick born illnesses are bacterial in nature and there is some thought that they dwarf into an autoimmune type syndrome when left untreated. Following the diagnosis, I began to understand the connection between certain foods and the symptoms I was experiencing. That connection is inflammation. In a perfectly healthy body, food sensitivity will also cause an inflammatory response. It is often subtle or it can be pronounced enough that the person can easily identify the connection. So someone with a sensitivity or intolerance to say, milk, may experience some gastro intestinal issues if they eat it. This may lead to a period of discomfort; but it may be something that is manageable over a lifetime. But for someone dealing with other health issues, food sensitivities can intensely flame the fire of inflammation the body is already fighting. I realized that certain foods were exacerbating my symptoms. The Elimination Diet helped me discover that. 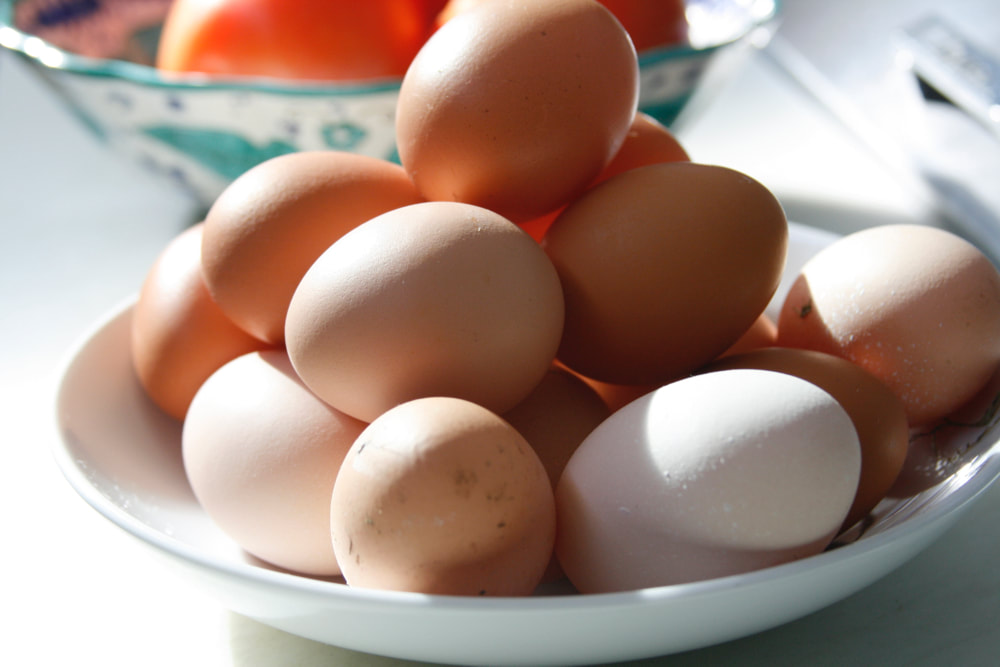 DISCOVERING THE “ME” DIET But I also found something else after that two month commitment: the eating routine that works best for me cannot be easily defined or captured in one or two words. In other words, there is no perfect label for my diet. When you do an Elimination Diet, your biggest obsession becomes: what food will I introduce back into my diet first? This is always the food you miss the most, the one you depend on most in your daily life. (Another valuable piece of information you get from this experience.) My first food back: eggs. I couldn’t wait. Against the advice of my health coach, I knew that eggs were not causing me harm; but on the other hand, that eggs were a serious source of nutrition for me. And as I cook, I love them as a versatile ingredient. As the weeks went on and I tested one food after the other, I was learning invaluable things about myself. My body is ok with corn. Great! I can go out for tacos once in a while with friends. My body is ok with shellfish. Great! Shrimp tacos. I found that my body would have strong cravings for red meat every few months or so; and if I obliged it for a day or two, I would feel more energetic and the cravings would stop and I'd not need it again for awhile. I found that my body is not ok with dairy, however. I finally understood what made my joints hurt randomly. My body is not ok with soy. Shocking! I had no idea that it was soy making me feel itchy all over and seriously inflamed. So one food group by one, I crafted my own best diet, for my body, at this time. It doesn't fit into a neat little label. It may not look like someone else's perfect diet. It doesn't require me to pass judgement on myself for choices I may make in the moment. If I choose to have something with soy once in a awhile, no grief. I know my symptoms may flare. And I know that tomorrow is a new day and that soy is not bad and neither am I for enjoying it. TEMPLATE FOR LIFELONG EXPLORATION Going through a journey like the Elimination Diet teaches more than just what foods are best for your body, it gives you a template for continual discovery. Once you have learned how to clear out your diet for a period of time, reintroduce a food, pay attention to your body’s reaction and adjust your eating accordingly, this is a process you can use throughout your life. In fact, the first phase of the Elimination Diet may just be the beginning for you, if you continue to deal with symptoms. You may get through the Elimination Diet and discover one or two sensitivities or none at all, and yet all of your problems may not resolve. There may still be underlying sensitivities. For example, it was several months after my own journey, that I discovered I have a strange reaction to black pepper. It is the deeper connection to my body through the Elimination Diet work that allows me to make these discoveries. Would you like support through your own Elimination Diet experience? Next week I will be introducing a six week coaching program to guide you through the Exploration Diet, my pet name for the therapeutic Elimination Diet. It is truly a journey of discovering food sensitivities, decreasing inflammation and crafting your own personal best way of eating. For more information ahead of time, email me at [email protected]
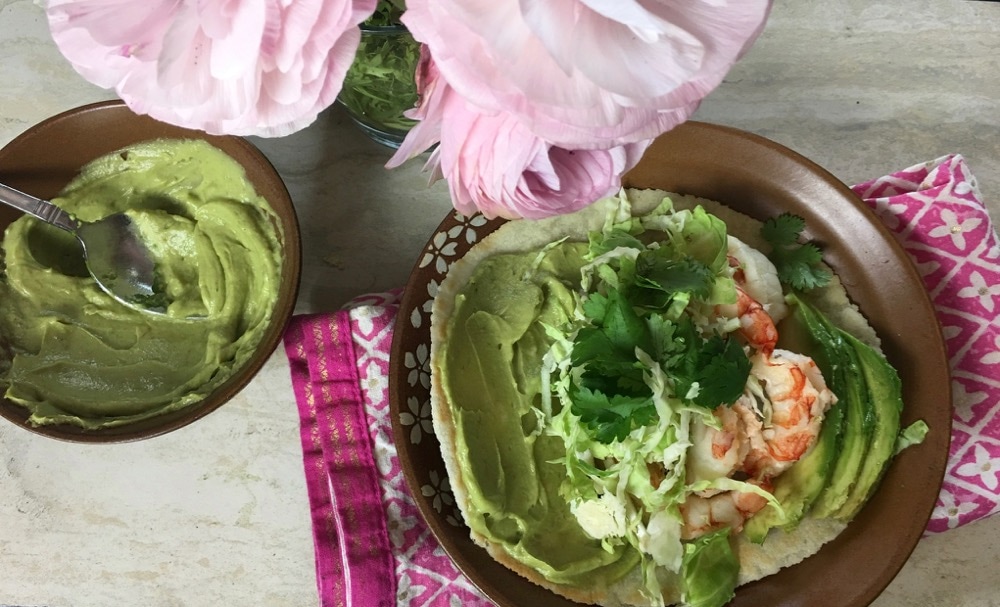
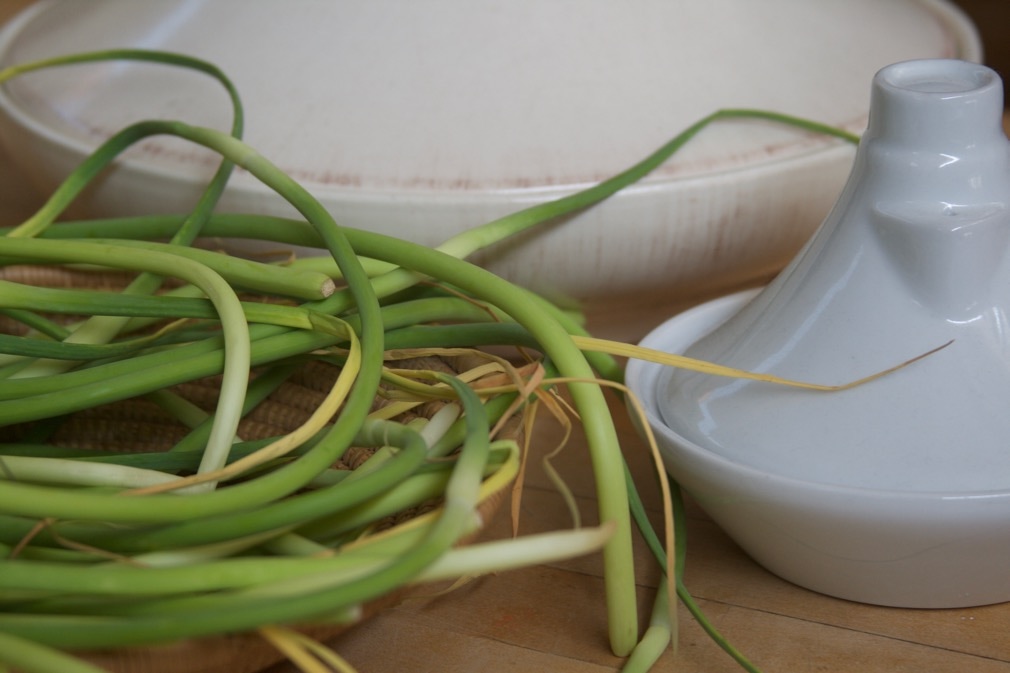 They shoot up from garlic plants like a crazy stalk and then fall gracefully into quirky curls, this way and that, heavy from their own weight. And when their curvaceous seed pods burst into flowers, you know the garlic bulbs below the soil are nearly, if not completely, ready for harvest. Garlic scapes taste like garlic. A crunchier, greener version of garlic. They can be sautéed or stir-fried or braised in place of or with regular cloves, heightening the garlic flavor. Garlic scapes are in season in June. It’s a fleeting season, so a sense of urgency is important. Snatch them up from your local farmers’ market. Though they’re not available for long, they will keep for awhile. Seek to preserve their sinuous nature when you cook with them. Challenge yourself to slice them lengthwise, creating long thin wisps that twist and turn in the dish. It’s a fun exercise. Alternatively, dice them fine, like a green onion. 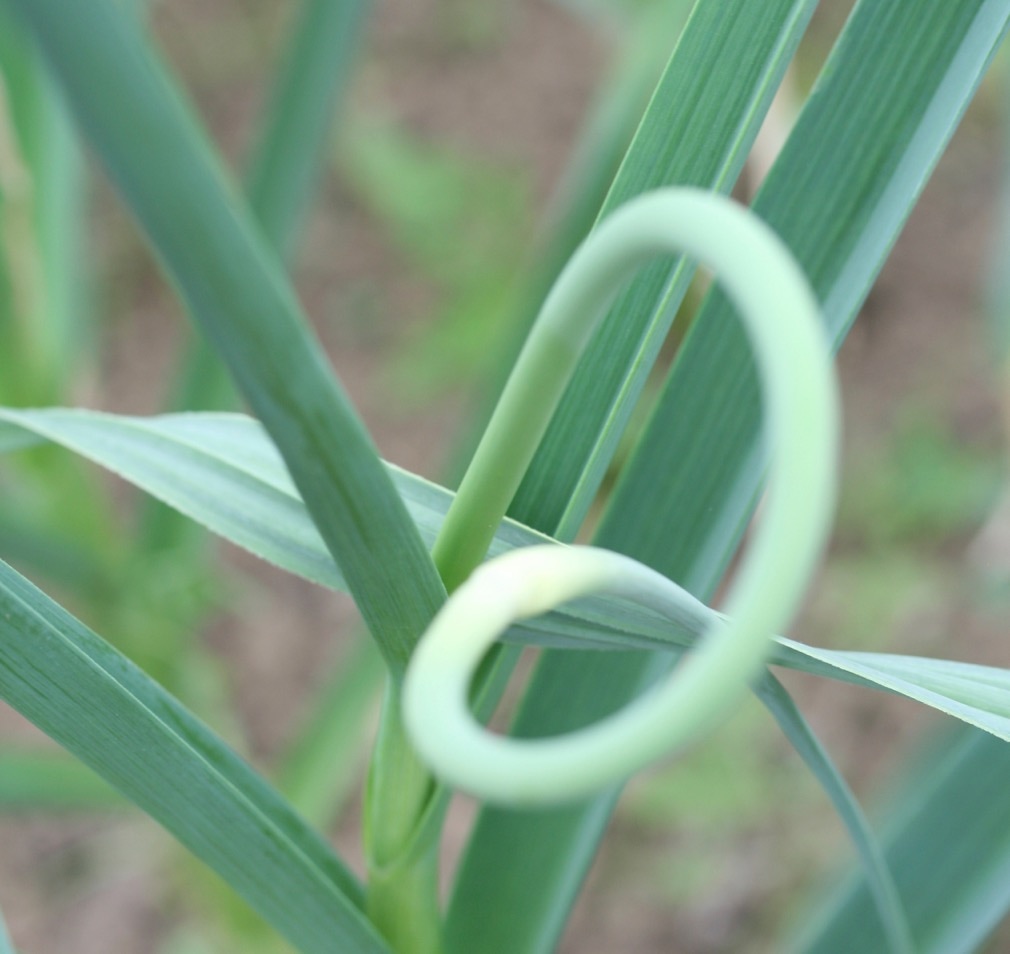 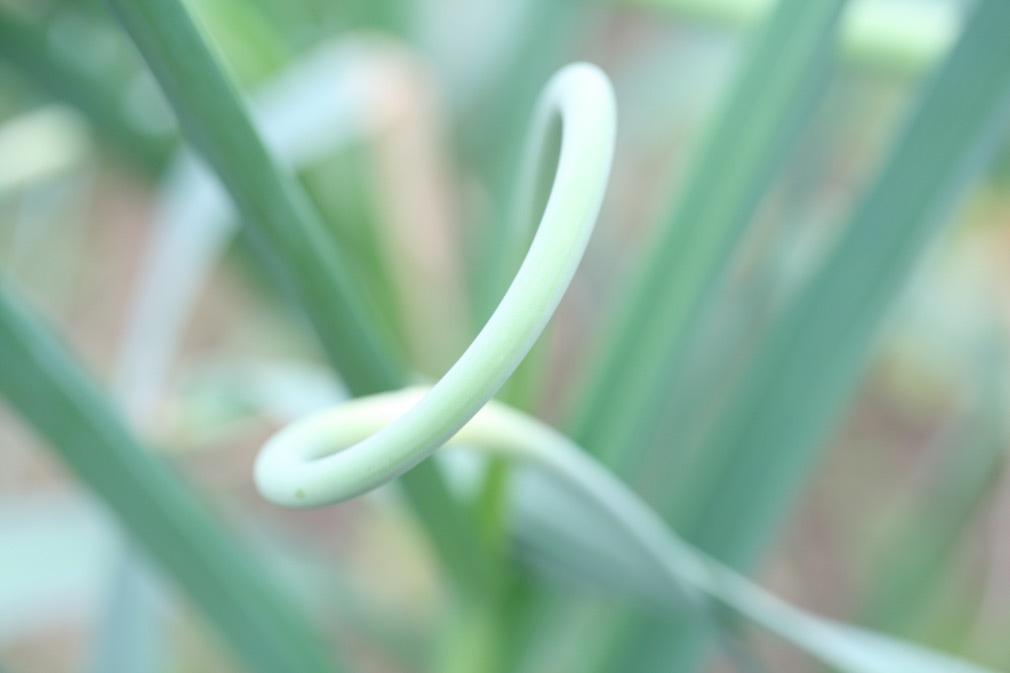 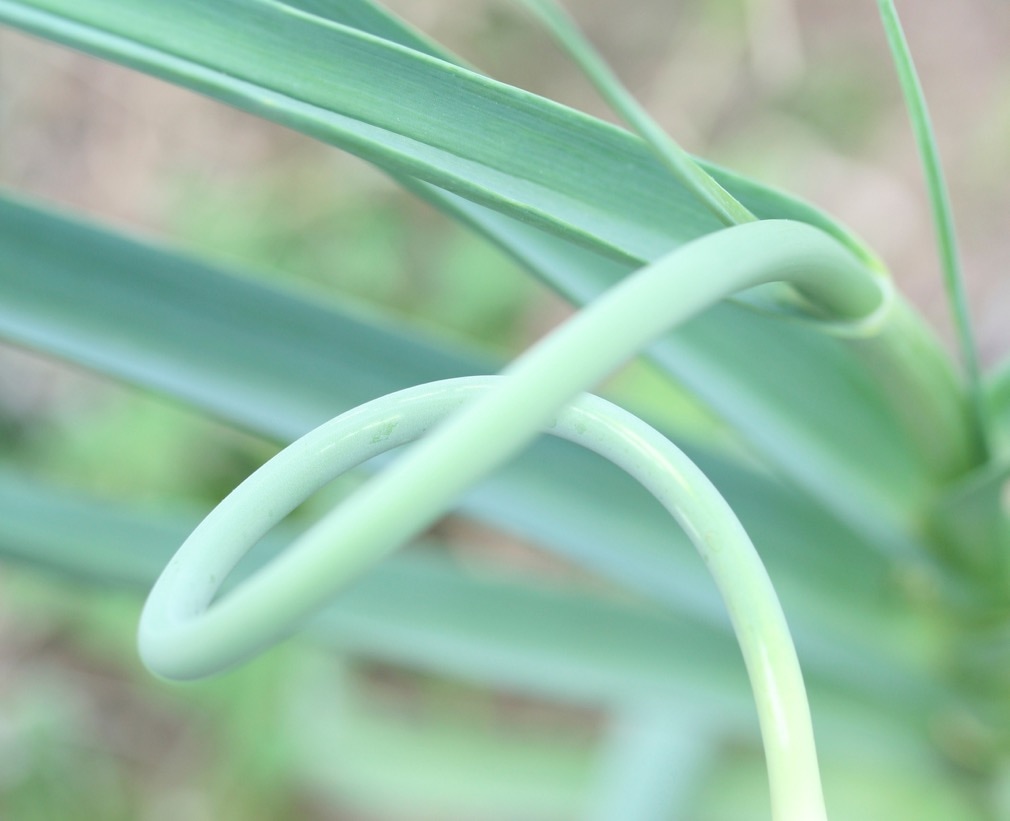 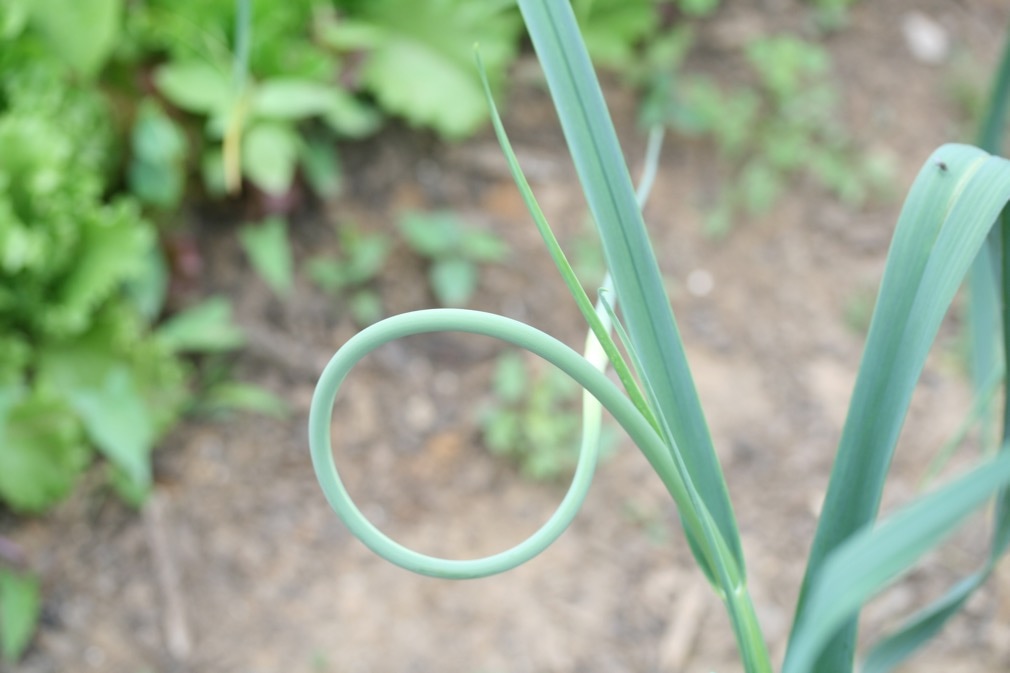 GARLIC SCAPE CONFIT: Cut about 5 stalks in half lengthwise, or dice them. Peel two or three heads of garlic. Place the wispy scapes and peeled garlic cloves into a very shallow baking dish, about one inch deep. Add a few sprigs of fresh thyme or other herbs. Pour enough extra virgin olive oil to cover the cloves and scapes. Cover the dish with foil and place in an oven set at 200 degrees. Bake for about 30 minutes or so until the garlic cloves have softened. Check them after 15 minutes to make sure they aren’t browning too fast. You want light amber, not dark brown. Remove from the oven. At this point you have something glorious: Garlic infused olive oil and soft roasted garlic cloves. Serve the garlic cloves and scapes straight out of the baking dish alongside grilled or toasted bread. Or discard the scapes and thyme and store the garlic cloves and oil in an airtight jar. The cloves can be tossed in salads or stirred into a rice dish; use the oil for vinaigrette or for drizzling onto fried eggs. You will find ways. 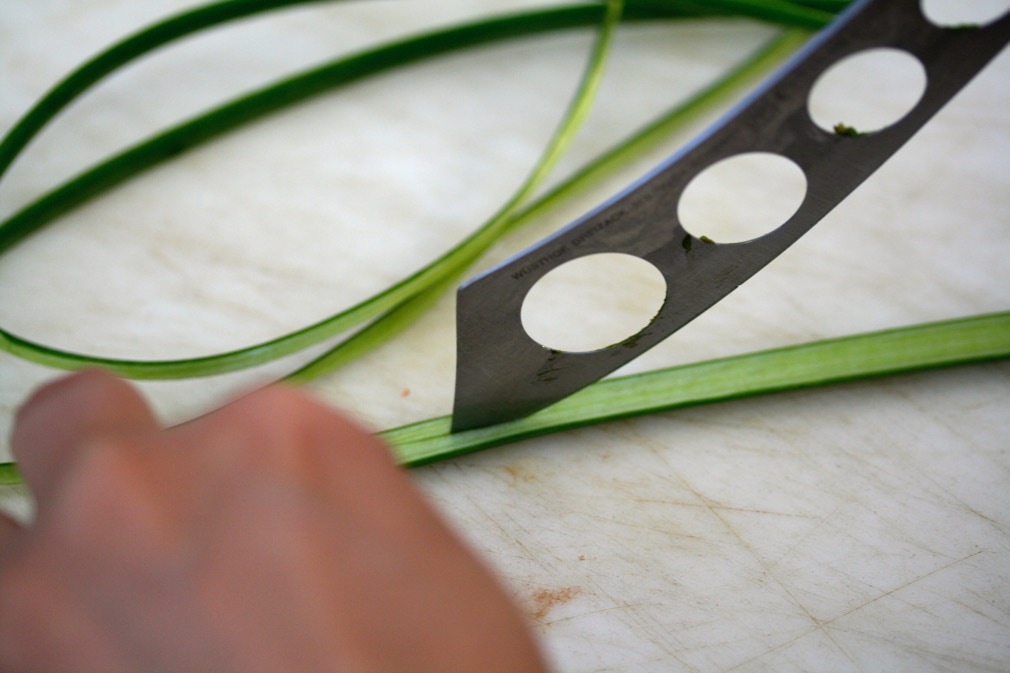 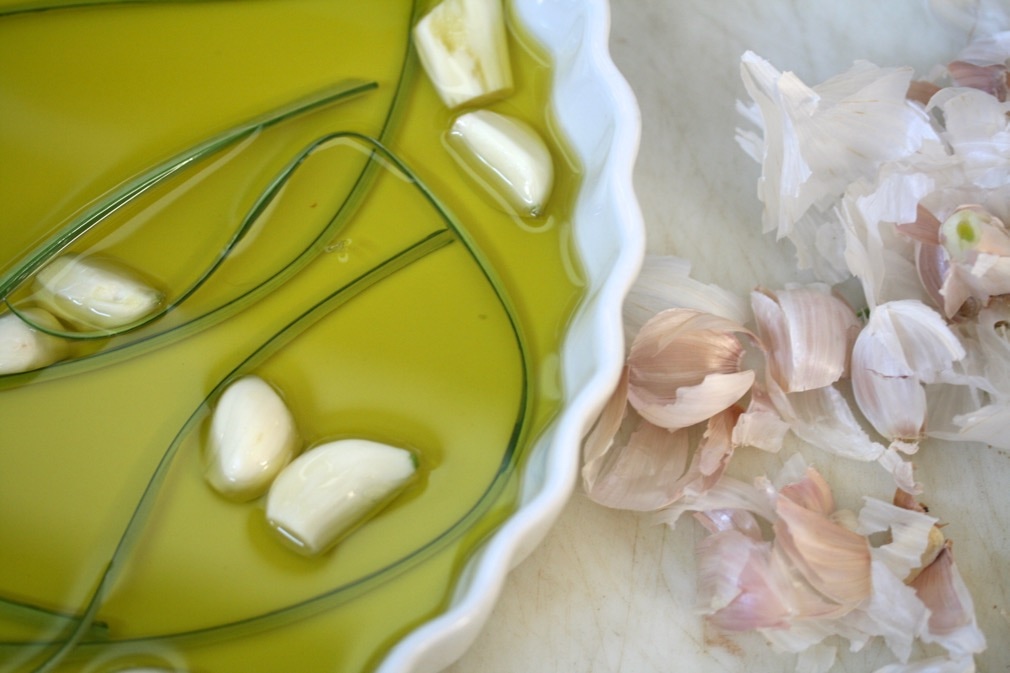 ARTICHOKE y AJO: Take the garlic scape confit to another level by adding roasted artichoke hearts for a vegan variation on a traditional Mexican Camarones y Ajo. After you pull the confit from the oven, crank up the heat to 400 degrees. If you are using canned or frozen artichoke hearts, make sure they are well drained and dry. Water is not a friend to the deep caramel results you are seeking when roasting. On a baking sheet with olive oil, roast the hearts for 15 minutes or so until caramelized. While the artichokes are roasting, zest one lime and set aside to use as a garnish. Cut the lime in half and when the hearts come out of the oven, squeeze the lime over them and sprinkle with sea salt. Add them to the garlic confit and garnish the dish with lime zest and fresh ground pepper. If you like heat, throw in some crushed red pepper flakes. Serve with grilled bread, gluten free crackers or wooden skewers for spearing. CAMARONES y AJO: The traditional Mexican Camarones y Ajo that inspired the vegan version of this dish can be prepared the same way as the artichokes for a seafood version of this dish. Use a pound of small or medium peeled and deveined shrimp and roast in the same way as the artichoke hearts above. When the shrimp go from deep pink to pale, they’re ready. 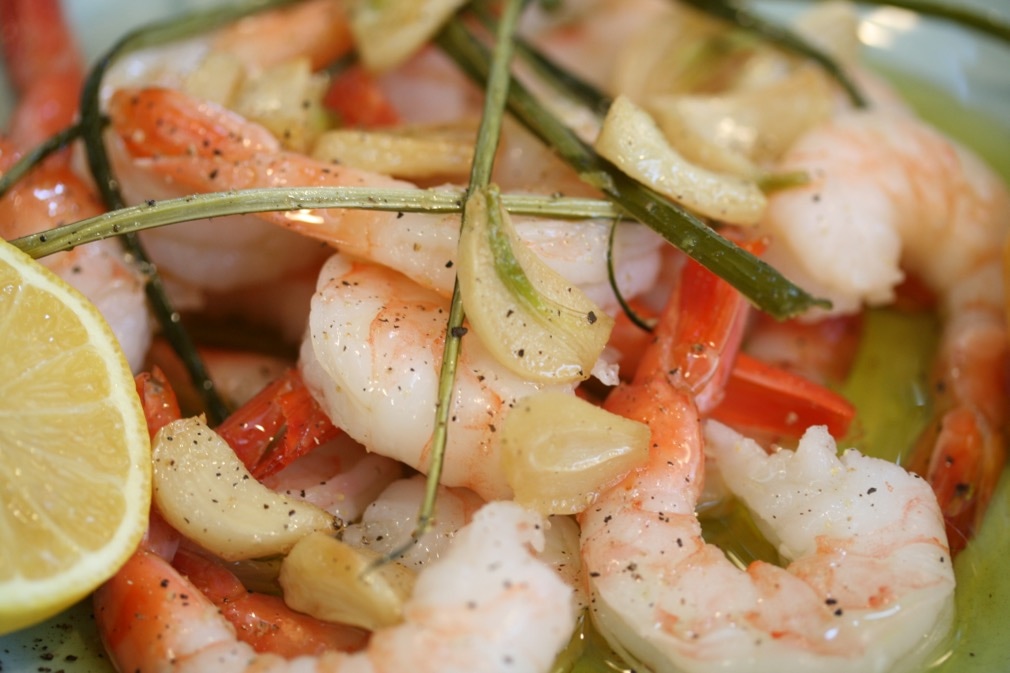  I remember the first time I heard about fish tacos. I was in college. Where I grew up in rural Kentucky, there was only one kind of taco: hard shell with ground beef and seasoning from a little packet. I couldn’t comprehend the idea of fish + taco. But things change. We grow and evolve. And as we do, so does our idea of a perfect taco. These days, I’ve seriously honed in on what’s necessary for me personally in a taco. Soft shell….mayo….fresh avocado…..crunchy cabbage + cilantro garnish. The filling is negotiable, as long as it’s healthy. Fish or vegetables, please. Going out for tacos these days usually means a compromise of my mostly grain free diet. A corn tortilla here and there is a sacrifice I am able to make for the cause. Life is short. Tacos are important. But at home, there is no need for compromise of any kind. A beautiful little family food business in Austin Texas has taken care of that. Siete Family Foods Almond Flour Tortillas are as close to regular flour tortillas as is possible. They perform beautifully warmed up until they’re just pliable or beyond, if you like, to crispy in a cast iron skillet (or any kind really.) They are also grain free + gluten free + dairy free + soy free. These tortillas have truly been a savior for me; so you will no doubt see them here again. I use them for breakfast with scrambled eggs and lunch for a sandwich wrap. So many possibilities! I wish there were more compassionate food companies like Siete around. Check out their family story and other products here. 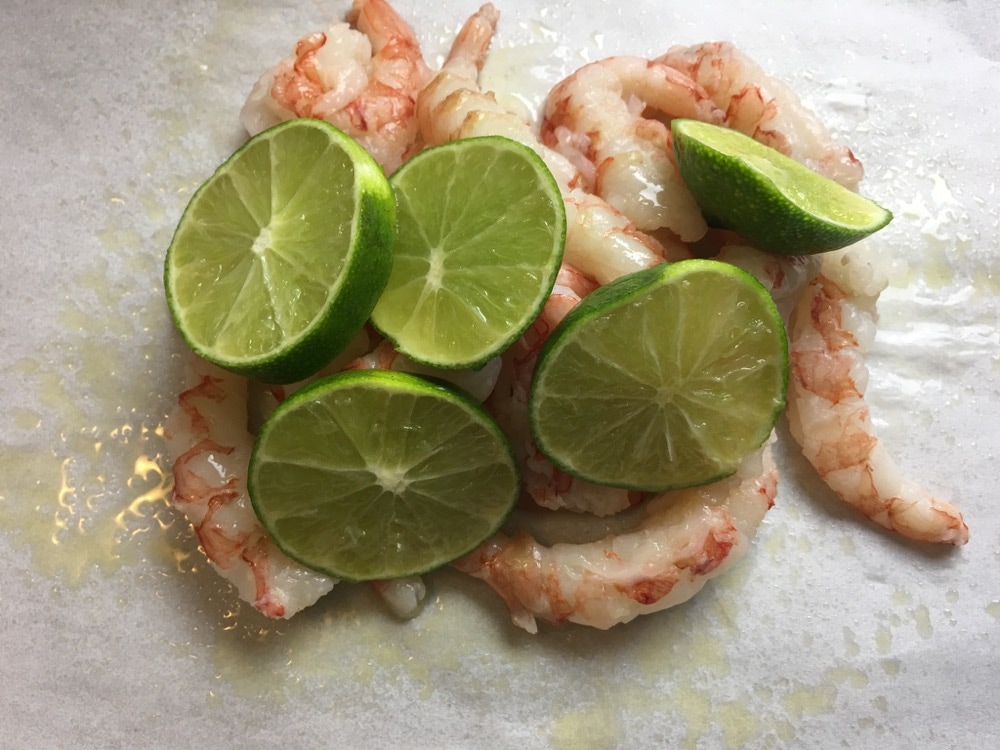 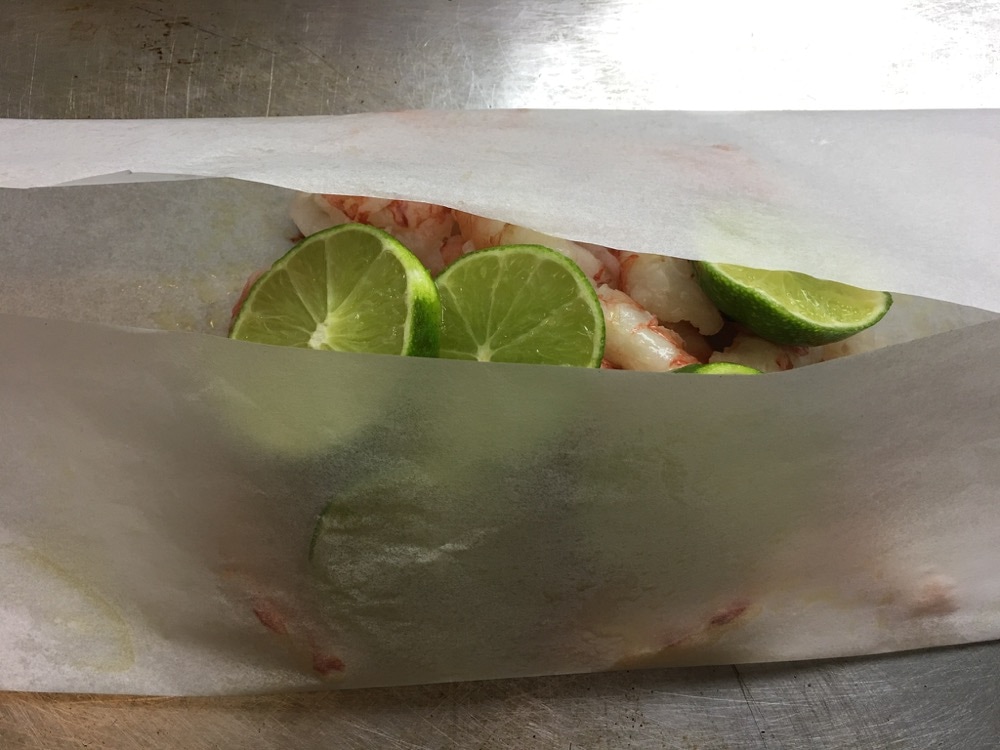 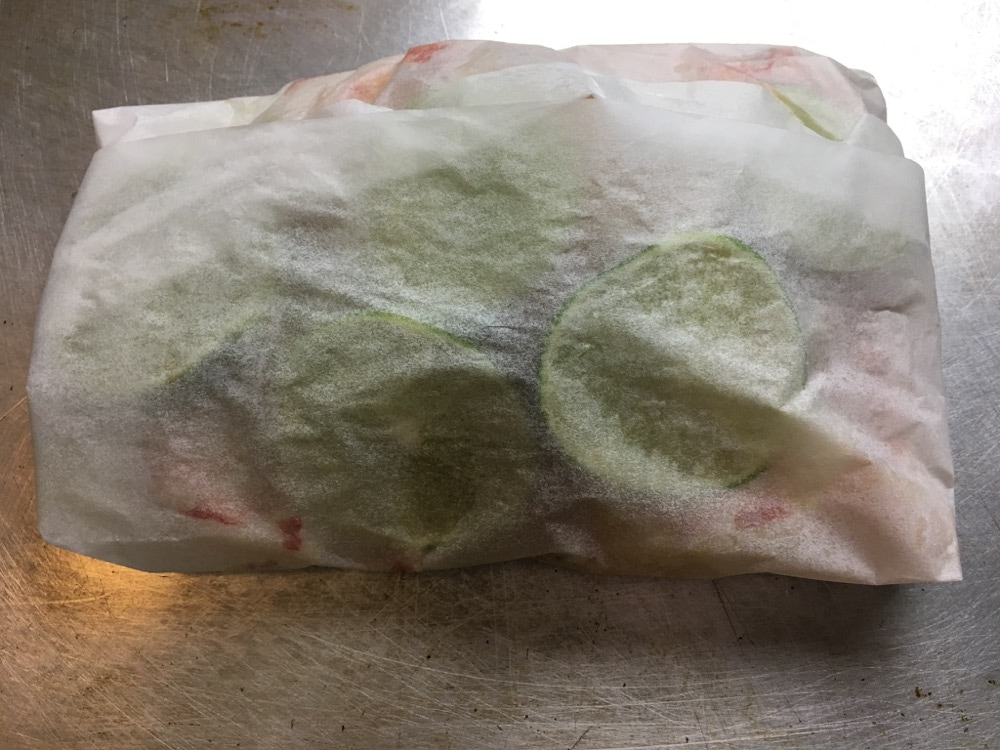 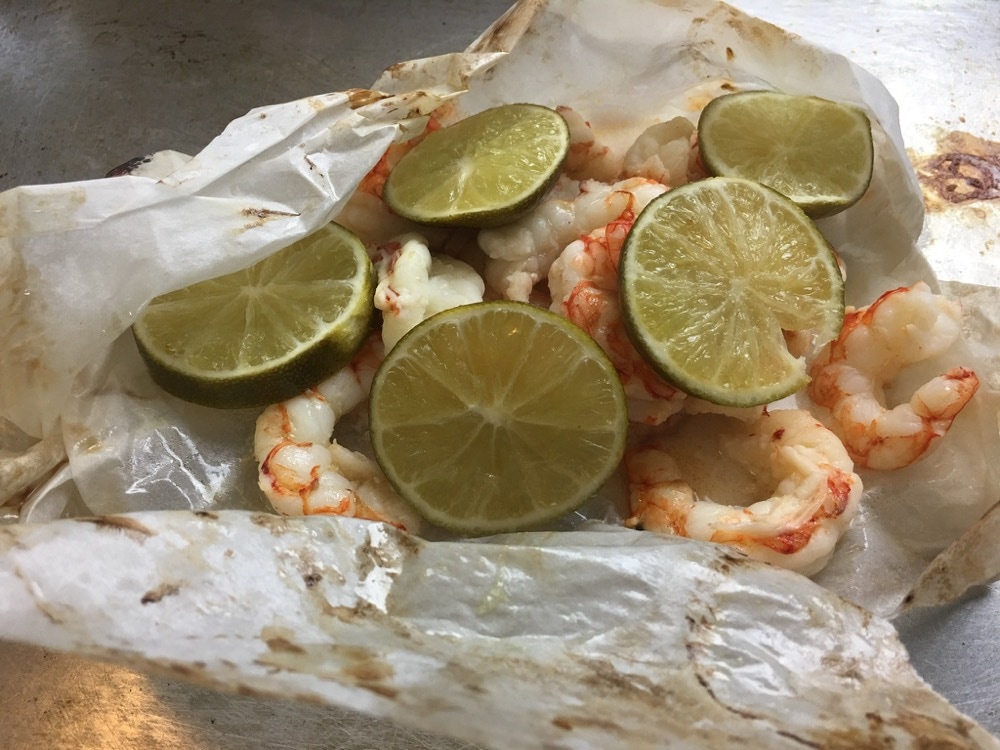 Cooking in Parchment If you don't eat shrimp, you can make this same dish with any kind of fish, chicken or cubed vegetables. Whatever filling you choose for your tacos, you can follow the same directions for cooking in parchment paper. Cooking in parchment is brilliant and has become my default method for cooking protein. It's a forgiving technique, saving you from any tendency to overcook. The food steams in its juices and whatever citrus is enclosed. (Some kind of citrus should always be included.) And clean up is easy. 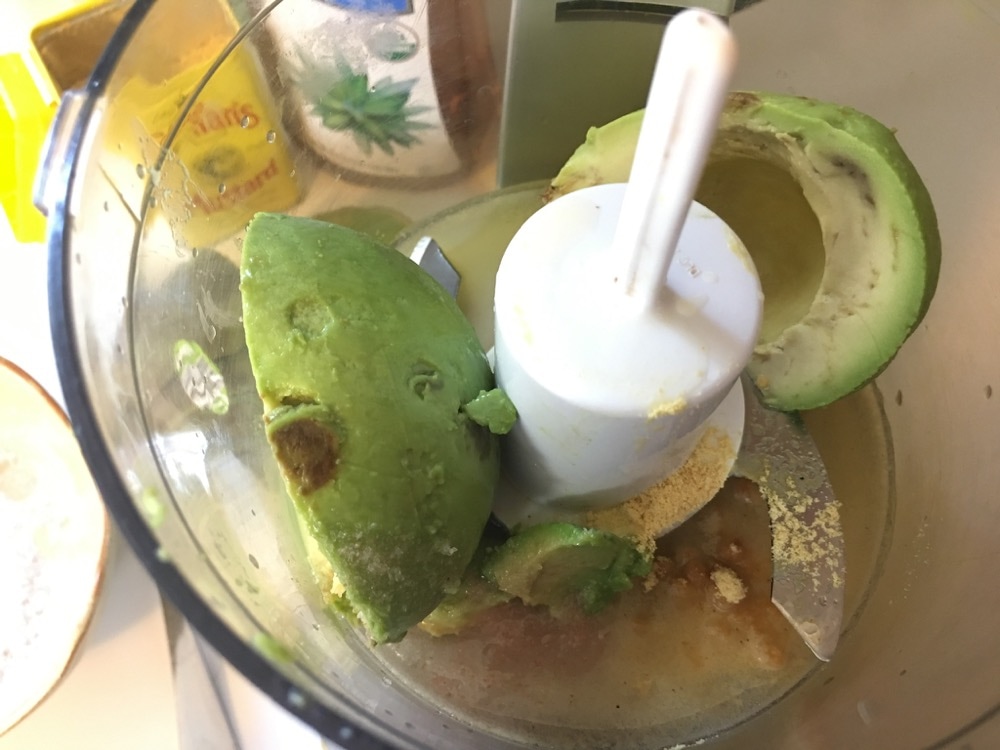 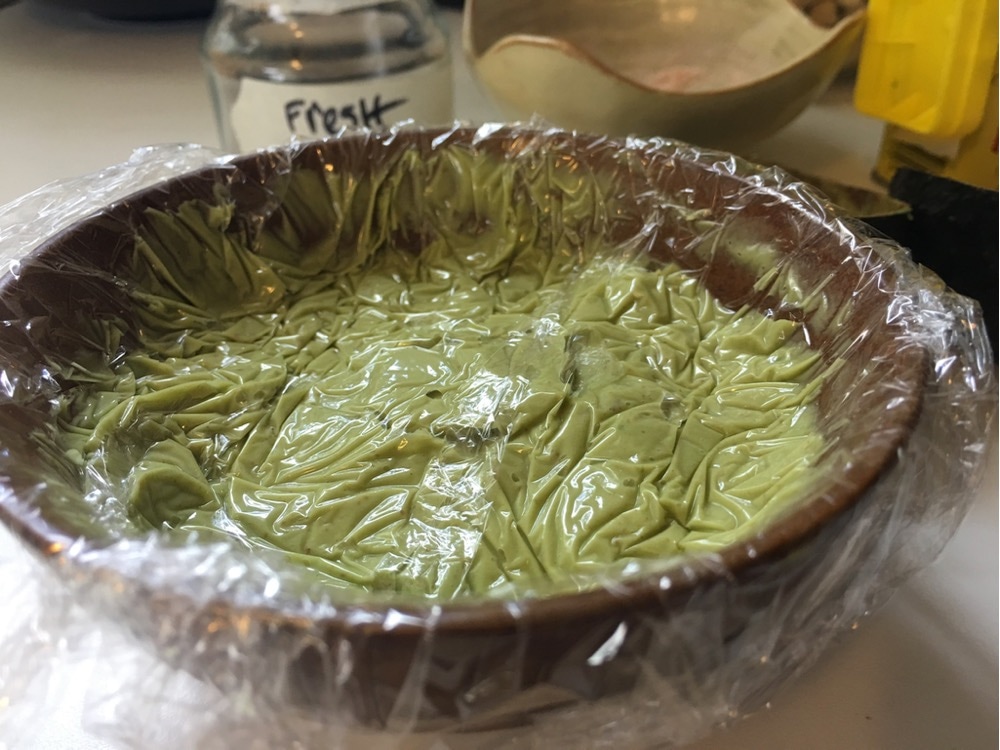 Avocado Cumin Aioli The art of pampering an avocado to peak ripeness is deserving of a dedicated blog post. (Click here.) And here, this is where you will want one that is ripe with bright neon green flesh, with no internal brown spots. Without the cumin and lime zest, this recipe is really a foundational mayonnaise substitute that can be transformed into all kinds of flavored sauces. If you love heat, consider adding a few drops of Sriracha or cayenne powder. Or pulse some cilantro leaves in for a cilantro aioli sauce. The possibilities are endless. Be sure to cover the avocado aioli at the surface with plastic wrap. This will preserve the color of avocado a bit longer than without; although admittedly this is not a very wide window of time either way. You will want to eat it within 24 hours and it will deepen in color, but should still taste fresh. 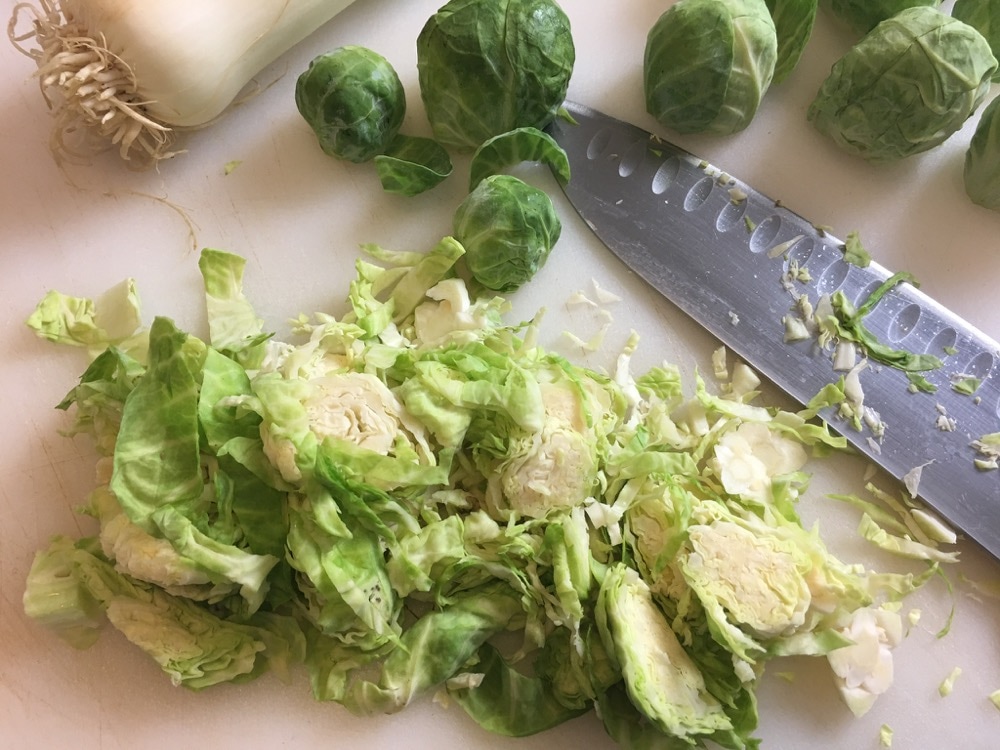 Brussels sprouts + leeks Cabbage is my favorite garnish for tacos. Brussels sprouts are tiny cabbages. You can substitute thinly shredded cabbage instead. It's not hard to find pre-prepped cabbage mix for coleslaw these days. I buy them often. Leeks are always paired with cabbage in my kitchen. I love their similar texture and color. Any leftovers Brussels + leeks can be stir-fried for a quick side dish. ____________________________________________________ The Recipe Shrimp Tacos + Avocado Cumin Aioli + Brussels sprout slaw + Almond Flour Tortillas Serves 2 to 4 people Taco Ingredients 1 pound medium size wild caught shrimp, uncooked and thawed 4 Siete Almond Flour Tortillas or tortilla of your choice Olive oil pan spray 2 Limes ½ teaspoon Sea Salt 1 teaspoon Black Pepper ½ pound Brussels Sprouts or half head of cabbage or pre-sliced coleslaw mix ½ large leek Handful cilantro leaves Parchment paper Avocado Cumin Aioli (recipe below) Shrimp Baked in Parchment 1. Preheat the oven to 425. 2. Line a cookie sheet with a piece of parchment paper. Spray with olive oil. 3. Lay the thawed shrimp in the middle of the parchment paper. 4. Slice one lime thinly and layer on top of the shrimp. 5. Season with sea salt and pepper. 6. Fold the long side of the parchment towards the middle and then tuck the ends under so the shrimp and limes are snug inside the parchment. 7. Bake for 18 to 20 minutes. 8. Meanwhile, make the Avocado Cumin Mayo. Avocado Cumin Aioli 1 ripe avocado 1 teaspoon apple cider vinegar ½ teaspoon raw organic agave or honey Juice of 1 small or ½ large lemon ¼ teaspoon salt ½ teaspoon mustard powder Zest of one lime (reserve the limes) ¼ teaspoon cumin Process all ingredients together in a food processor into a smooth paste. Taste and adjust seasonings to your liking. Brussels + Leeks Slaw Cut the stems off the Brussels sprouts and thinly slice horizontally. Thinly slice the leeks to match the size of the Brussels sprouts (or cabbage). Toss them together. 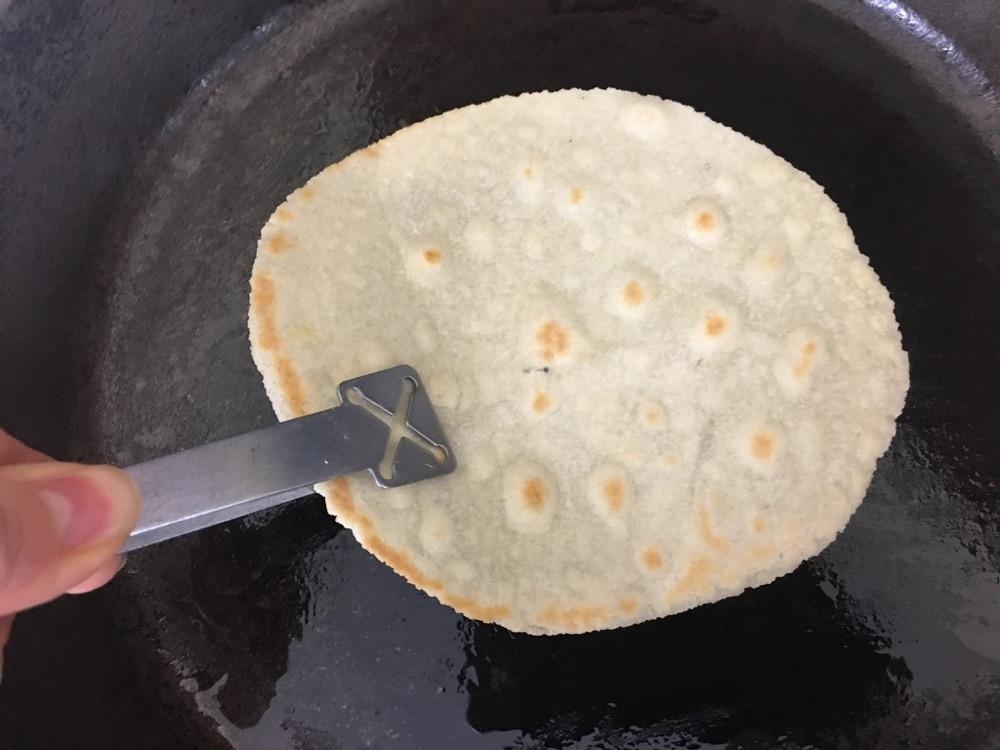 Assembly Heat up a heavy duty saute pan and spray lightly with olive oil. One at a time, toast the tortillas as soft or crispy as you like. Assemble the tacos with the shrimp, Avocado Cumin Aioli, Brussels sprouts + leeks slaw and avocado slices. Garnish with cilantro leaves and fresh lime juice. Click below for a printable version of the recipe:
 |
Authorprana is the common thread running through everything i love....the sun on my face...the sunlight through my camera.... breathing the ocean air... the sound of my breath...laughing with family + friends. A cookbook no cook should be withoutArchives
November 2018
Categories
All
|
||
 RSS Feed
